Get 10 Free Proxies For Android
Heading
Android is among the most widely used mobile operating systems. It is highly customizable and offers control over every aspect from UIs to functionality.
However, Android’s open-source nature also has its disadvantages. The code is publicly accessible and can be targeted by certain malware. Since Android is available on thousands of devices, it’s difficult for manufacturers to push out security patches. This puts your device at risk. Due to these reasons, it is a good idea to set up a proxy server for your device when browsing the internet.
One effective way to protect your browsing and app activity is by setting up a proxy server on your Android device. In this guide, we’ll show you two simple methods. The first is for browser traffic only, and the second is for tunneling all network traffic, including apps, through a proxy.
Before starting - obtain proxies
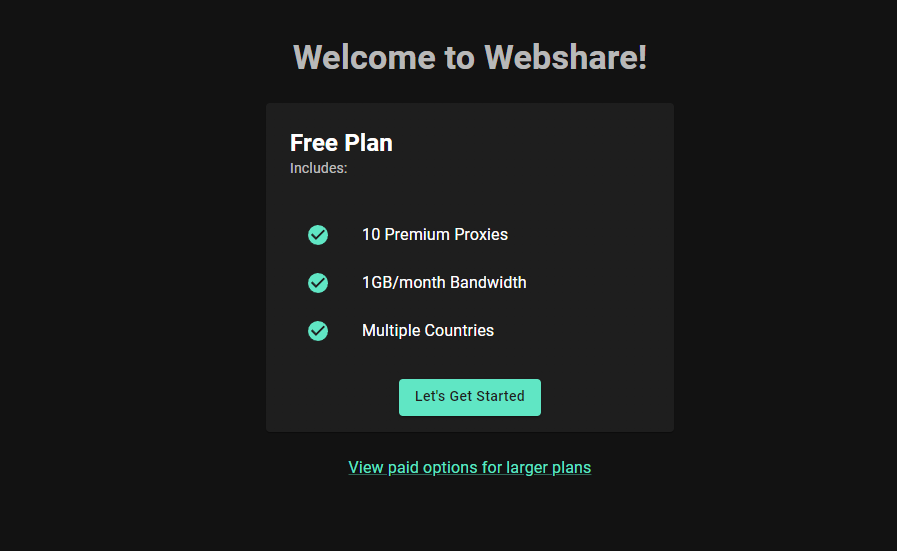
First, we need to obtain some proxies before we start the process. Webshare provides 10 free proxies to anyone who creates an account with them. You don't even have to provide your credit card information. All you have to do is go to the Webshare website and sign up for an account. Once this is done, you will get the details of your free proxies. We’ll need these later on in the article.
How to set up a single proxy on Android?
There are two main ways to configure a proxy on Android. Method 1 works only for browser traffic, and Method 2 routes all phone traffic.
Method 1: Proxy for browser traffic using Android settings
Follow the steps given below to set up a proxy server on your Android device.
1. Access Wi-Fi Settings
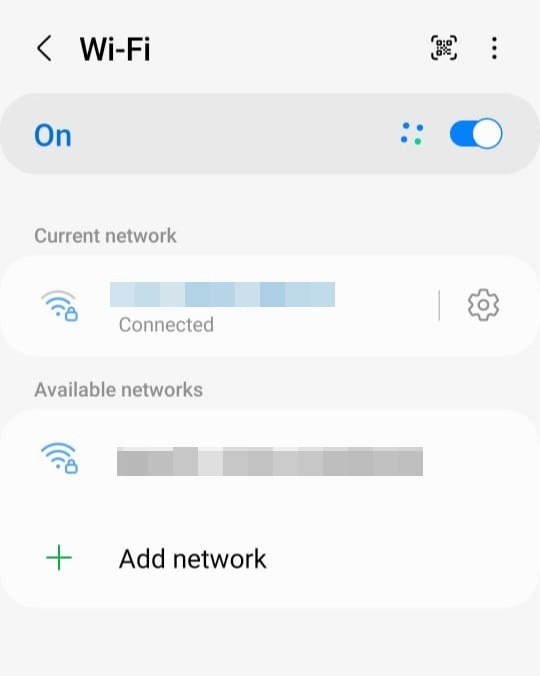
First, go into your settings. Remember that your interface can be different from ours because of the different skins used by device manufacturers. But fear not, the setup is similar on Android devices. Tap on the Wi-Fi tab and connect to the Wi-Fi network where you want to use the proxy. Once you have connected, tap on the Wi-Fi name. For some other phone models, tap on the settings icon next to the Wi-Fi name.
2. Configure Proxy settings
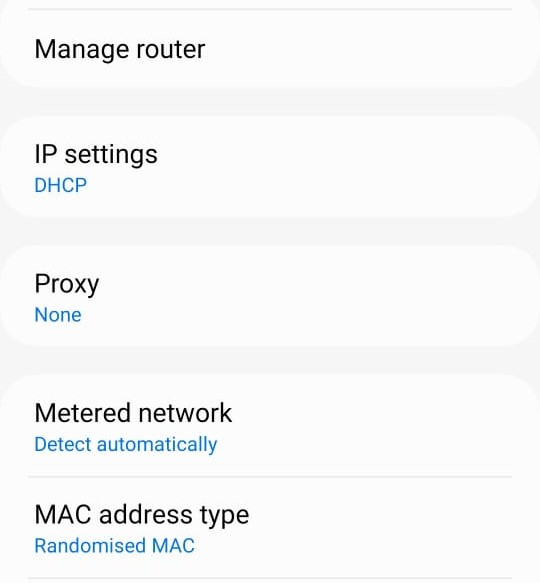
Now, you have to scroll down until you see the “Advanced Settings” option. Here, you will see the proxy drop-down. When you click on it, there will be three options: None, Manual, and Auto-config.
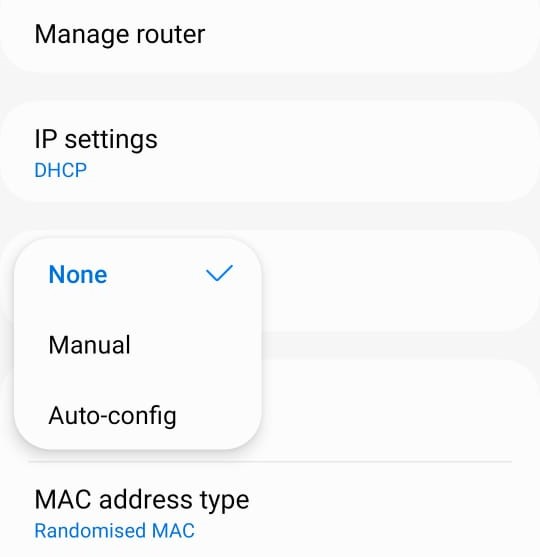
Select the manual option. Once you select manual, you will be asked to fill in the proxy hostname and the proxy port of your proxy server. Obtain the details from the proxy list in Webshare. You have 10 free proxies to select from. Select a proxy based on the country and the city. Finally, fill out the form using the details of the selected proxy. Webshare has made it easy for us to copy this information, as it only requires you to click on it.
Eg: Name: proxy1, IP: 49.123.241.122, Port:4220
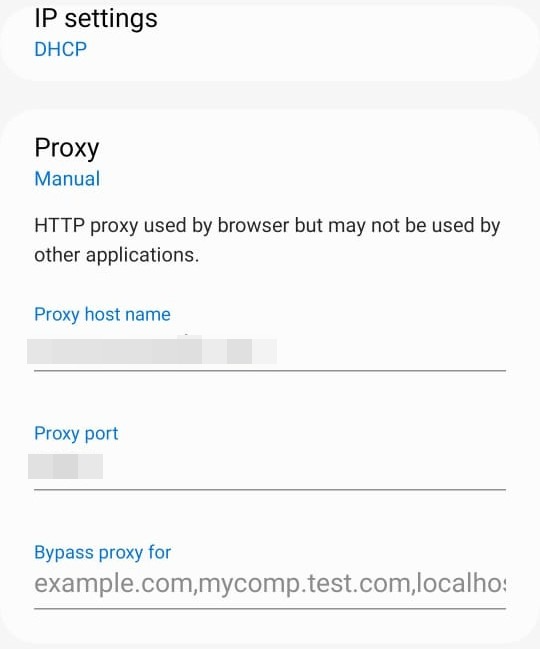
On some devices, you will get another option to bypass proxies for one or more websites of your choice. This option allows you to connect directly to the internet without passing through the proxy server when visiting these websites. You may use this feature when accessing trusted sites where using a proxy might cause performance issues or unnecessary complexity.
3. Authenticate proxy
In the proxy list page in Webshare, in your proxy dashboard, you can change the authentication method you want to use. The two options are “Username/Password” and “IP Authentication”. When using the Username/Password option, you will have to enter the username and the password of your proxy into your browser to continue searching the web.
E.g.: Username: username, password: password
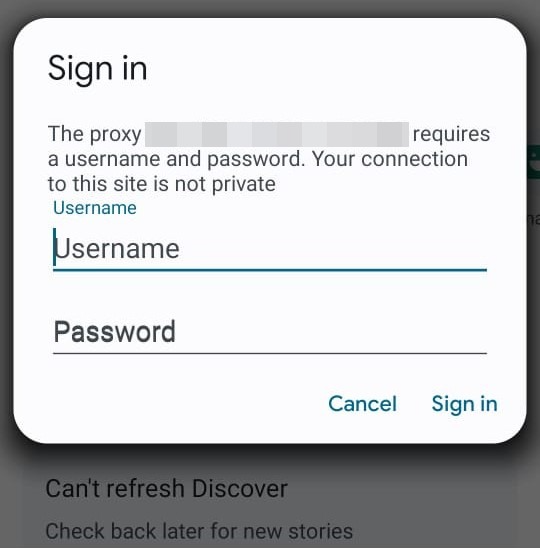
By selecting IP Authentication, you have the option to include the IP address of your Android device, which will then be granted whitelisted access. After adding it, there is no need to input your username and password in the browser for browsing.

Method 2: Proxy for all phone network traffic, including other apps
In the first method, we only configured a proxy for browser traffic, and it only worked inside your web browser. But what if you want every app on your phone, like social media, email, or even games, to use the proxy? That’s where this method is useful.
We’ll be using Super Proxy for the demonstration. Super Proxy is a reliable application that tunnels all your apps through an HTTP or SOCKS5 proxy server, without needing root access.
Technically, it works by creating a local VPN service on your Android device and routing all network traffic through the proxy server. This makes it especially useful if you want full privacy, bypass network restrictions at school or work, or want all apps to use the same proxy settings.
Follow the steps below to set it up.
1. Install Super Proxy
Open the Google Play Store on your device. In the search bar, type Super Proxy, and once it appears, tap Install.
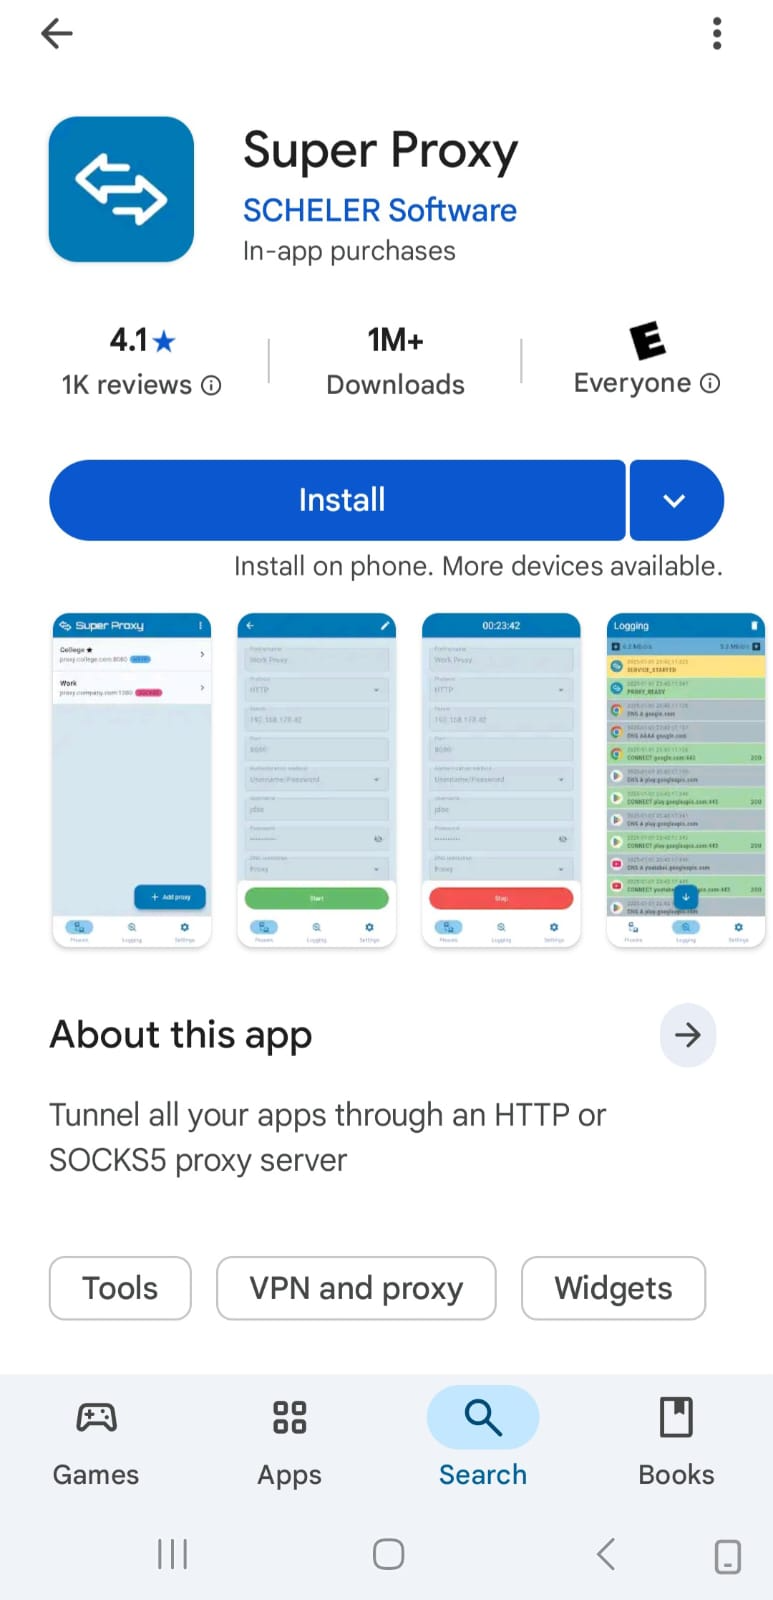
After installation is complete, tap Open to launch the application.
2. Add a new proxy
On the app’s home page, you’ll see options to Add proxy or Import proxies. Tap on Add proxy to add a new proxy manually.
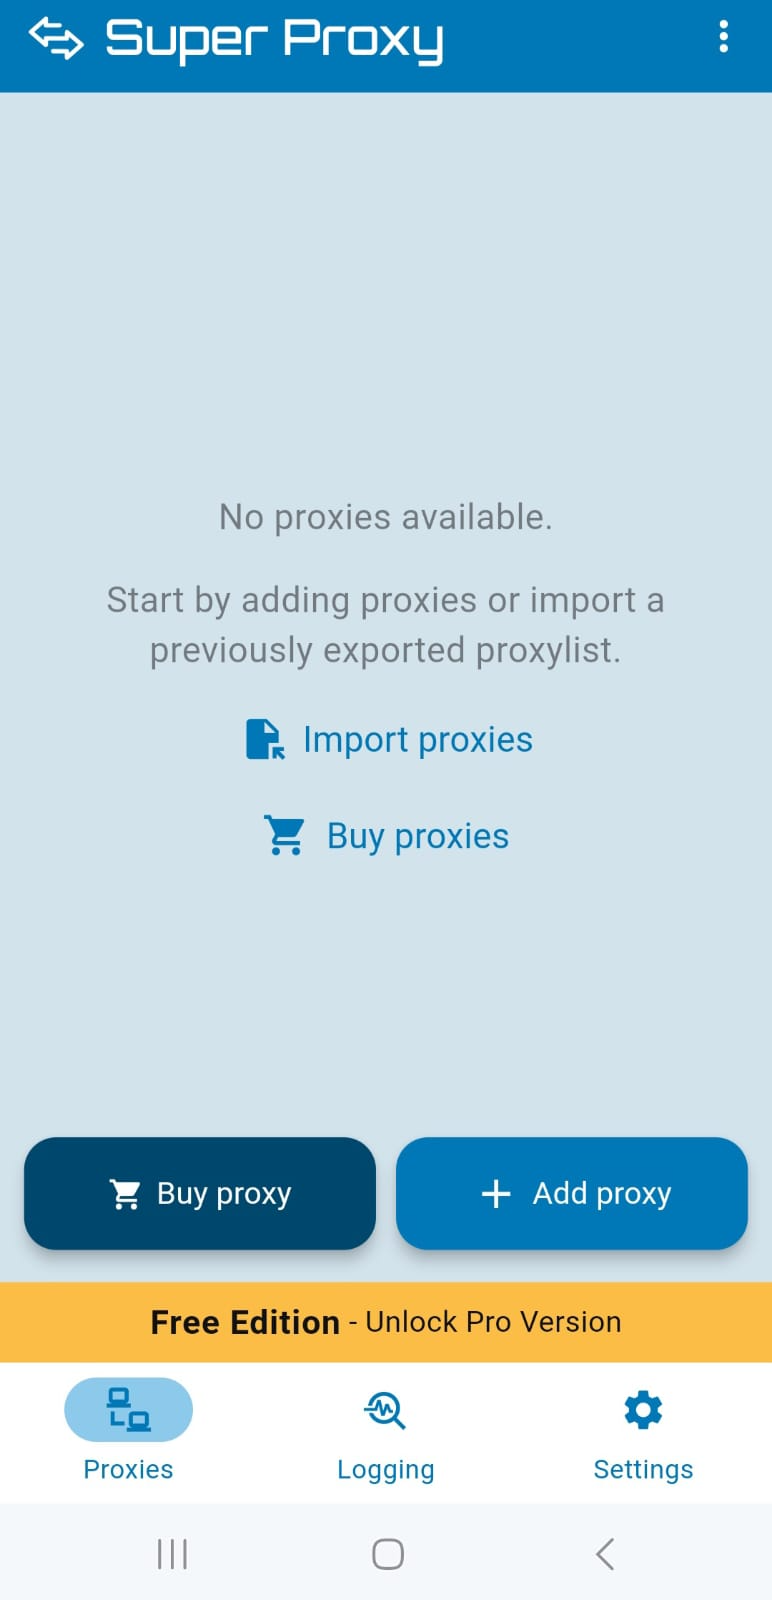
3.Configure basic settings
You will see a screen to set up your proxy settings.
Profile name - Enter any name you like (e.g., “Work Proxy” or “Webshare Proxy”).
Protocol - Choose between different proxy types. Options include:
- HTTP / HTTP + TLS - for standard web proxies.
- SOCKS5 / SOCKS5 + TLS - for more secure, flexible connections.
- Select the protocol based on the proxy details provided by your provider (for example, Webshare).
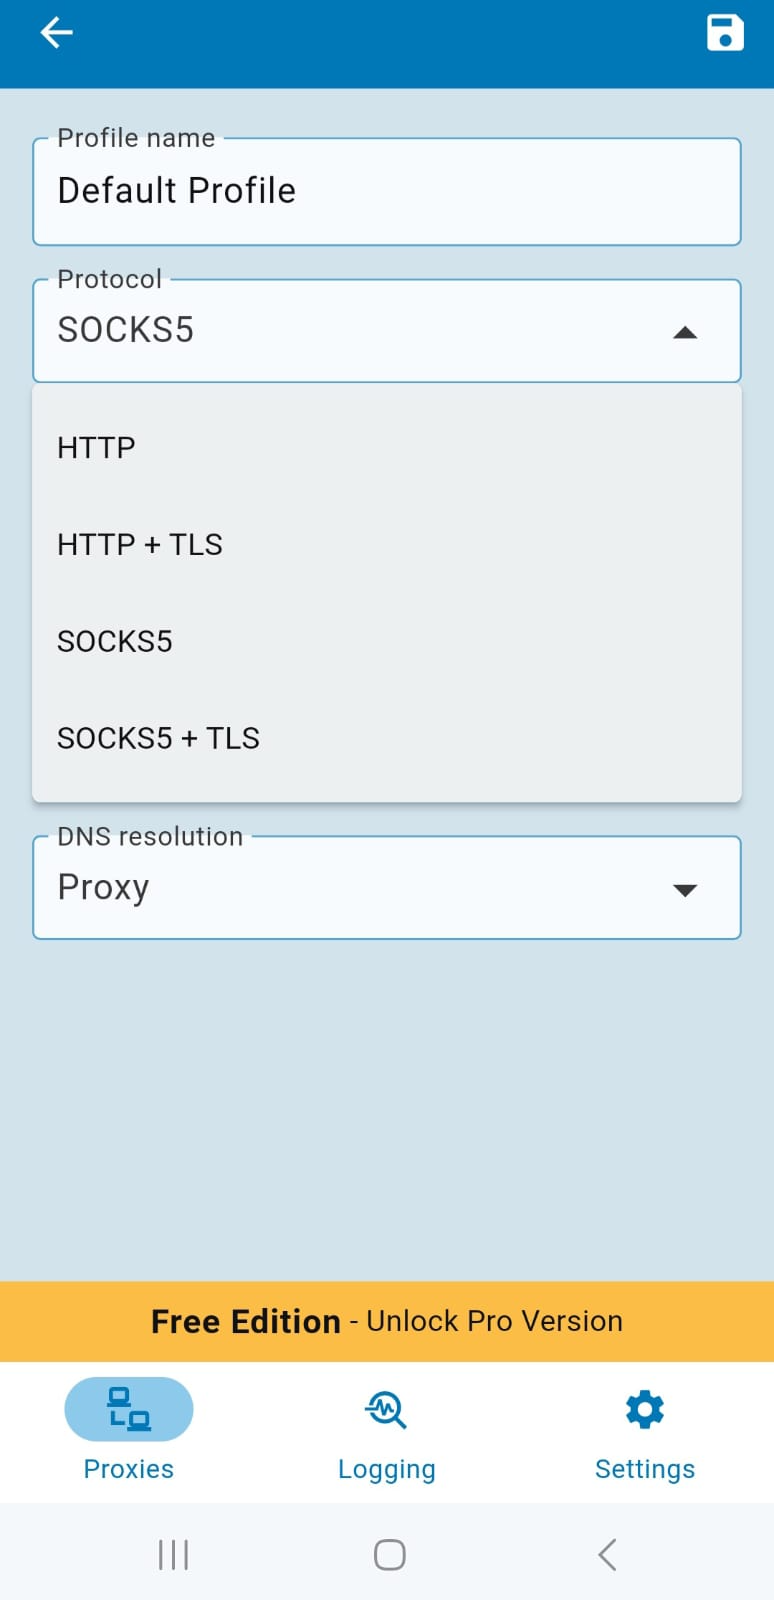
Server - Fill in the Server field with the proxy IP address.
Port - Enter the Port number as provided by your proxy provider.
Authentication method - Choose the correct authentication type for your proxy:
- None - if your proxy is IP authenticated.
- Username/Password - if your proxy requires login details. Enter the username and password given by your proxy provider (Eg, Webshare).

DNS resolution - Super Proxy also helps you to control DNS resolution. You can select:
- Proxy - resolve DNS requests through the proxy itself.
- Cloudflare DNS or Google DNS - for trusted external resolvers.
- Custom - if you want to set your own DNS server.
For most cases, leaving it as Proxy is recommended for privacy.
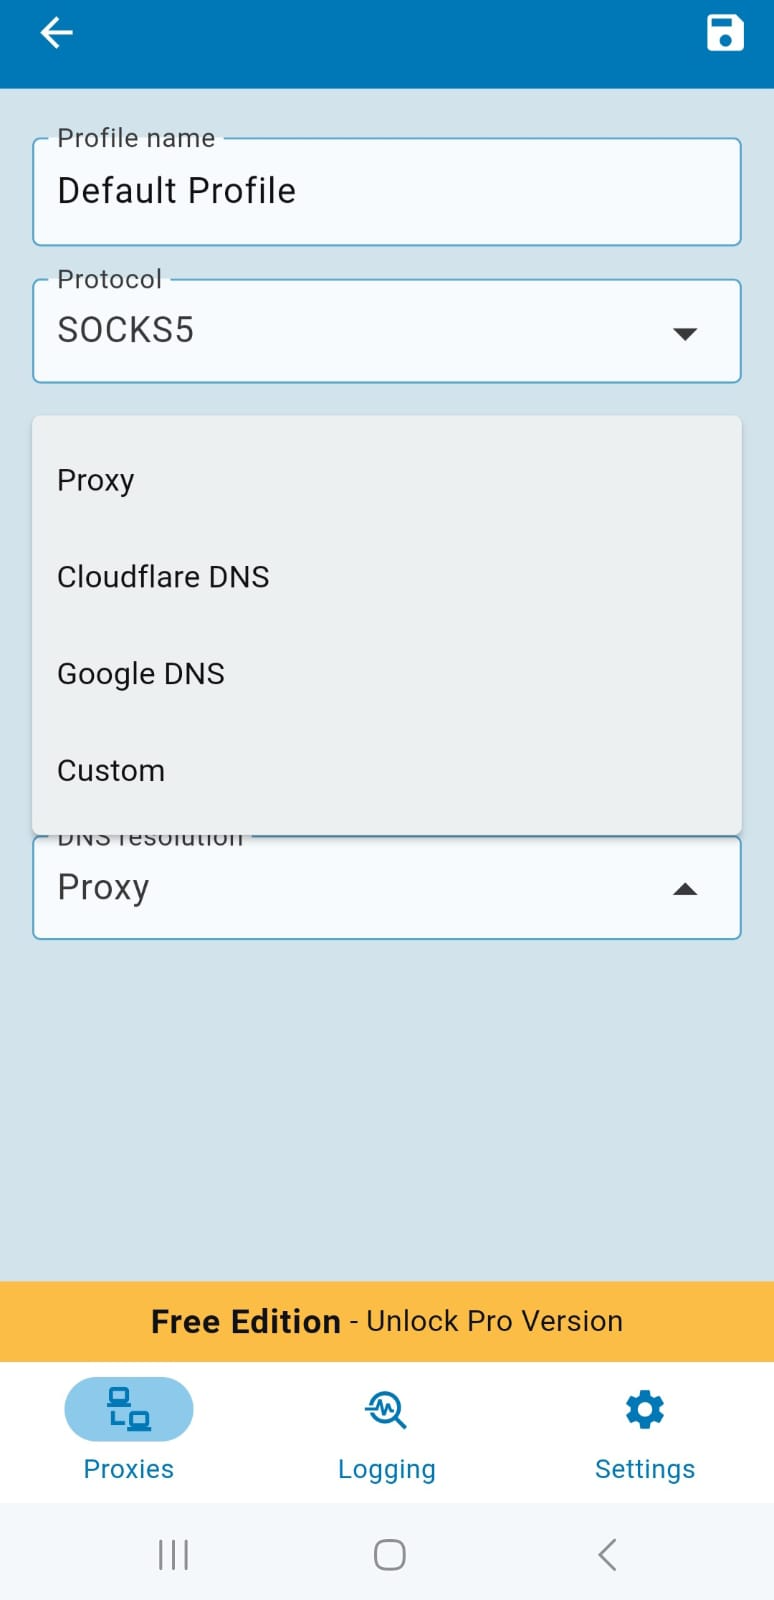
Once all details are entered, tap the Save icon at the top of the header bar.
Start browsing
Once you have completed the above steps, your proxy setup is ready. If you used Method 1, the proxy will only work on your default web browser. If you used Method 2, the proxy will work for all apps and network traffic on your phone. In either case, you can now browse the internet safely to your heart’s content.
To check whether your data is being routed through the proxy server, visit a site like IPinfo. If it shows the proxy’s IP details, you have successfully connected to the proxy server. If it shows your device’s original IP, then there has been a problem. In that case, redo the steps in this article to make sure you have entered the correct details.
Conclusion
We have now come to the end of our guide on configuring proxies on Android. If you have read the entire article, you now know two different methods to set up a proxy server, one for browser traffic only and another for all apps and network traffic on your phone. With this knowledge, you can choose the method that best fits your needs and browse securely and efficiently.
We will leave you with one more free advice. Sign up for an account on Webshare without a credit card and get access to 10 free proxies for free. Obtaining these proxies will definitely be worth your time. Therefore, make the right choice and don’t miss out on this great opportunity.


