


Bing, a search engine, was launched by Microsoft in 2009. Initially called Live Search, it was developed to rival Google’s dominance in the search market. Currently, Bing holds about 3% of the global market share, with most of its users (6%) in the United States. Bing uses Microsoft’s web crawler (Bingbot) to index web pages. It has advanced search features, such as visual search, and is also well-integrated with Microsoft products.
Though Bing has a global reach, some users might not be able to use it because their accounts or IP addresses have been banned. In this case, a proxy can be used to access the platform. In this article, you’ll learn how to use a proxy with Bing.
Get Free Proxy for Bing
You cannot use a proxy with Bing without first getting access to the proxy. There are several proxy providers out there that can give you access to different proxies. When choosing a proxy, make sure it is from a source you can trust. For example, Webshare, a reliable proxy provider, will give you access to 10 free proxies and several premium features without asking you to connect your card or upgrade your account.
To start using Webshare proxies, open an account on their free proxy page. They’ll ask for some details, and then ask you to create a username and password in order to access the Webshare dashboard for your free proxies.
Easiest Method: Bing Proxy for Chrome
If you’re looking for the easiest way to access Bing with a proxy, your best bet is Chrome. You can use a Chrome proxy extension to directly access Webshare’s features. All you need to do is download the extension. Here’s what to do:
Step 1: Install Proxy Extension
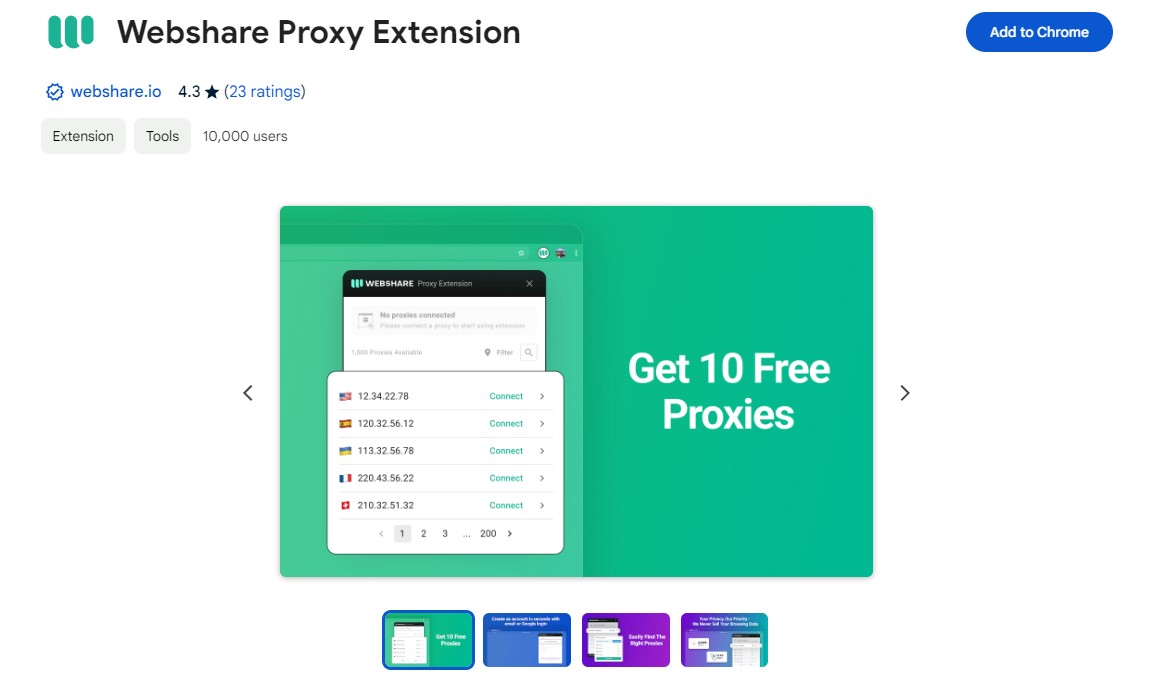
To install the Webshare extension, enter ‘Webshare Proxy Manager’ in your Chrome Web Store. When the result comes up, click ‘Add to Chrome’ beside the Webshare extension.
Step 2: Configure Extension
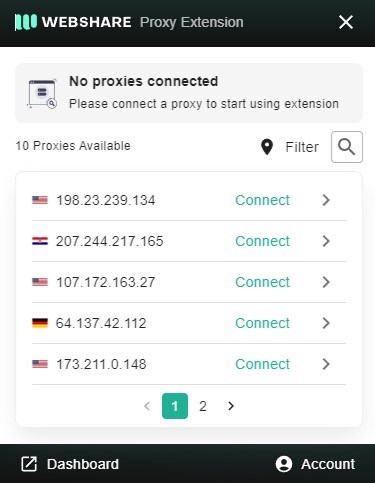
The next thing to do is to set up the proxy. On your Chrome extension tray, you’ll see the Webshare icon. When you click on this, you’ll be required to provide your login details. Once in, you can access the proxies on your dashboard.
Step 3: Connect to Proxy
Finally, select the proxy you want to use and click ‘Connect’. This will automatically connect you to the proxy server. When choosing a proxy, ensure it is in a location that works well with Bing.
Bing Proxy for Windows Instructions
If you use a Windows system and you would rather connect your proxy directly to it, here are the steps to follow:
Step 1: Go To Proxy Settings
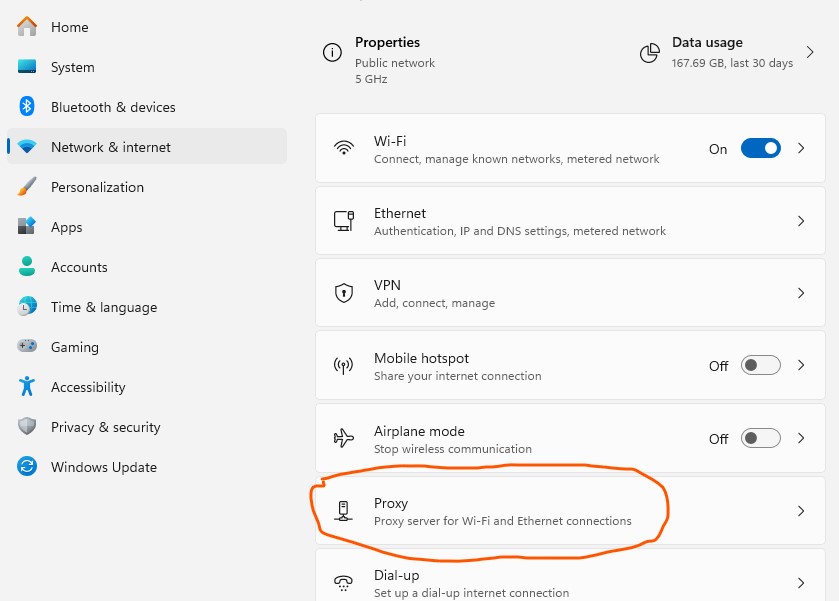
The first thing to do is to open your Windows Proxy settings. To do this, first open your Windows Settings page. There are two ways to do this: either search ‘settings’ on your search bar or press Windows + I. With the settings opened, just go to ‘Network & Internet’ and select ‘Proxy’ to open the proxy settings.
Step 2: Set Up Proxy

On the Proxy Settings page, select ‘Manual Proxy Setup’. For the manual option, you’ll need to provide the port number and IP address of your proxy before you can connect to the proxy server. To set it up, you can follow these steps:
- Under ‘Manual Proxy Setup’, select ‘Setup’ to open the configuration window
- On this window, toggle the ‘Use a proxy server’ option on
- Then, you’ll be asked to enter the proxy’s server address and port. These will be available on your Webshare dashboard
- There is a box labelled ‘Use the proxy server except for addresses that start with the following entries’. Here, type in the addresses you want to visit without the proxy.
- Then click ‘Save’.
Bing Proxy for Android Instructions
If you like, you can also set up your proxy on your mobile phone. This makes it possible to access Bing while on the go. If you use an Android, here’s how to go about setting up your Webshare proxy:
Step 1: Connect to Wi-Fi
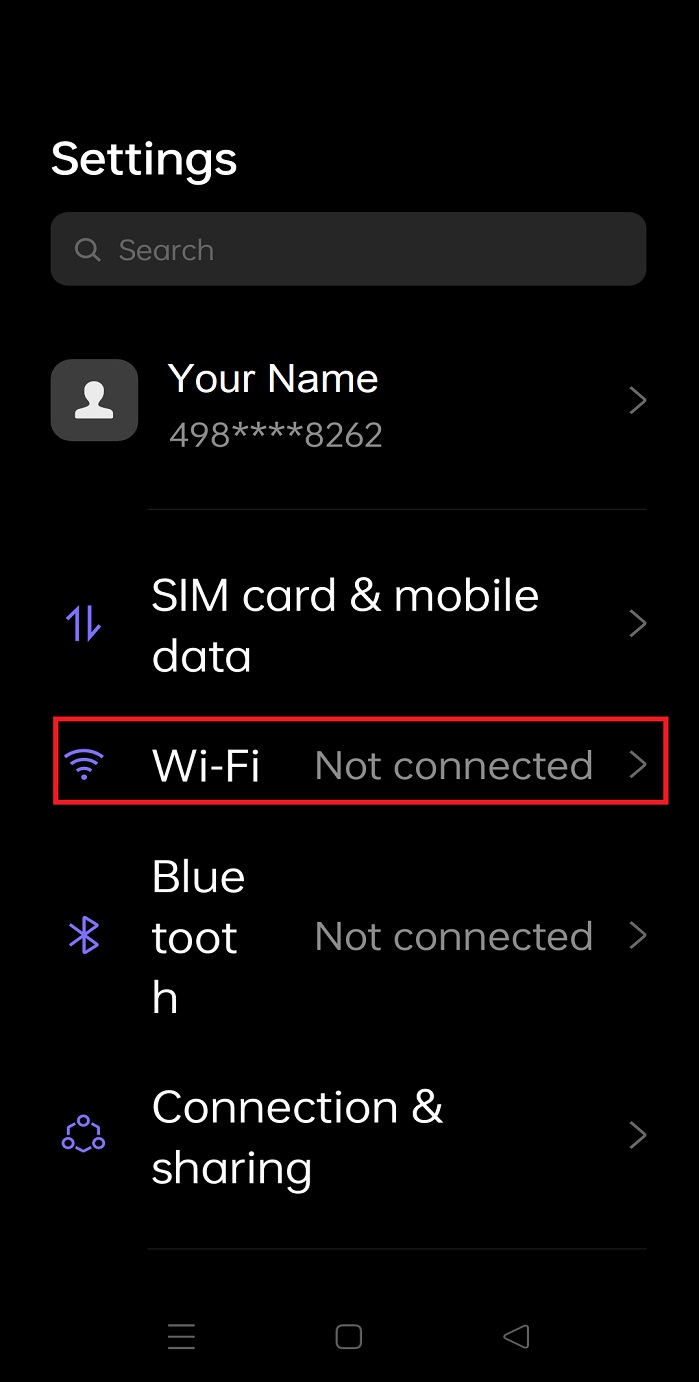
First things first: you need to connect to a Wi-Fi network, as you cannot use a proxy with your Android mobile network. To do this, go to your Android Settings, open the Wi-Fi settings, and select a network to connect to.
Step 2: Set Up Proxy
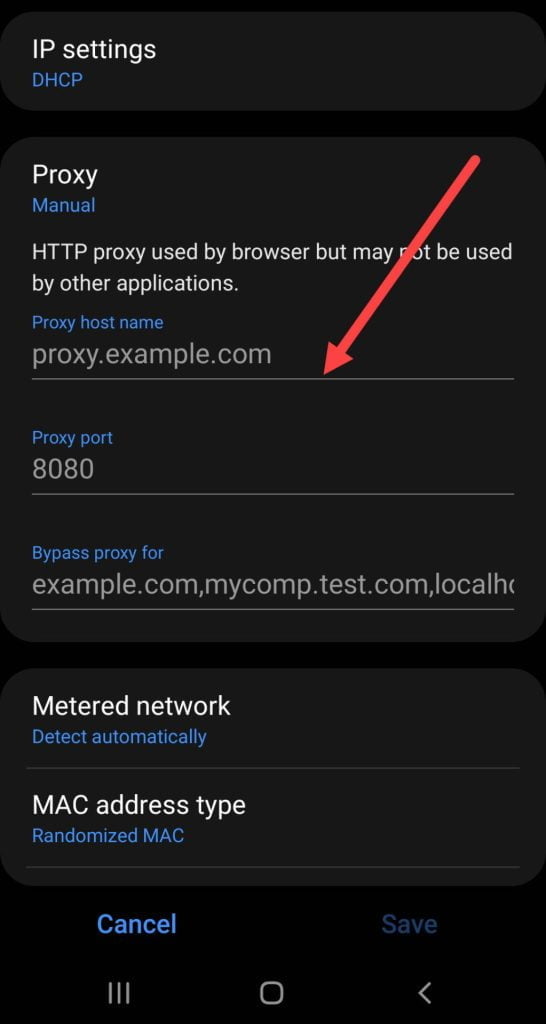
Once your Android is connected to a Wi-Fi network, open the network’s settings (you can do this by clicking the network name or the settings icon beside it, on some devices). Here, go to Advanced Settings, then open proxy settings. Three options will be presented to you: ‘None’, ‘Automatic’ and ‘Manual’. Choose ‘Manual’. Then input your proxy host name and port. You can get these on your Webshare dashboard.
Step 3: Authentication Method

Next, you’ll need to choose an authentication method. This will be done on your Webshare dashboard. There, you’ll see the option of using ‘Username/Password’ or ‘IP Authentication.’
The ‘Username/Password’ option, on the one hand, will require you to provide your proxy’s username and password each time you want to connect it to your browser. On the other hand, the IP Authentication option gives you direct access to your proxy after you provide your Android’s IP address.
How to test Bing Proxy?
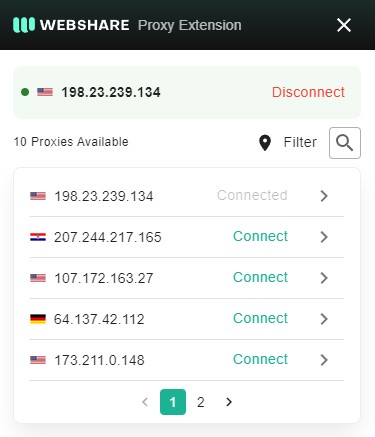
To test that your proxy is working well for Bing, you need to first connect to the proxy server. Then, go to your Webshare dashboard. If you can see your Proxy’s IP address displayed, that means your proxy is working well. To confirm, visit Bing to see if you can use the search engine.
How to Turn off Bing Proxy?
Here’s how to turn off your proxy when you’re done using Bing:
- Chrome: You can turn off your proxy on Chrome simply by clicking Disconnect on the Webshare Chrome extension.
- Windows: To turn off your proxy on Windows, go to your Windows Proxy settings and toggle ‘Use a proxy server’ to off. Then, click save.
- Android: If you set up your proxy on your Android, you can disconnect it by going to Proxy settings under Wi-Fi settings. Here, select ‘None’ in the proxy options and click ‘Save changes’.
What is the Best Proxy to Use with Bing
When choosing a proxy for Bing, you should always go for the best. Here are some tips to help you choose the best proxy to use with Bing:
- Go for residential proxies, as these types of proxies use real IP addresses from genuine internet users, not data centers. They are generally more reliable.
- Choose a proxy in a location that works well with Bing. Otherwise, you’ll not be able to access the platform.
- Finally, go for a proxy with username/password support, as these are generally considered more private and safer than others.
-fotor-bg-remover-20250204113548.png)


