


SOCKS5 proxies offer a secure and flexible way to route your internet traffic through an intermediary server. Unlike HTTP proxies, which are limited to web traffic, SOCKS5 works with various types of connections, making it ideal for browsing, streaming, gaming, and even torrenting. It also supports authentication, ensuring that only authorized users can access the proxy server.
Firefox allows users to configure SOCKS5 proxies directly within its settings, making it easy to mask your IP address and improve privacy. Whether you want to bypass regional restrictions, enhance security, or maintain anonymity online, setting up a SOCKS5 proxy in Firefox is a straightforward process.
In this guide, we’ll show you how to get a free SOCKS5 proxy, configure it in Firefox, check if it’s working, and disable it when needed.
How to get a free SOCKS5 proxy for Firefox browser?
To set up a SOCKS5 proxy in Firefox, you first need a reliable proxy provider. Webshare offers 10 free SOCKS5 proxies without requiring a credit card, making it a great option for testing and everyday use.
You can get your free proxies by visiting Webshare’s free proxy page, signing up, and getting your proxy credentials. To use SOCKS5 proxy we recommend setting up a Backbone connection in your dashboard for private and secure browsing on Firefox.
How to change SOCKS5 proxy settings in Firefox browser?
Once you have your SOCKS5 proxy credentials from Webshare, you need to configure Firefox to use the proxy. Firefox allows manual proxy configuration within its settings, but you can also use a proxy manager extension for easier setup. Below, we’ll cover both methods step by step.
Method 1: Use a proxy manager extension
A proxy manager extension (like FoxyProxy Standard) simplifies proxy setup, making it easy to switch between different proxies without modifying Firefox settings manually. Here’s how you can do it:
First, install a proxy manager extension. Open Firefox, visit the Firefox Add-ons website and search for the FoxyProxy Standard extension.
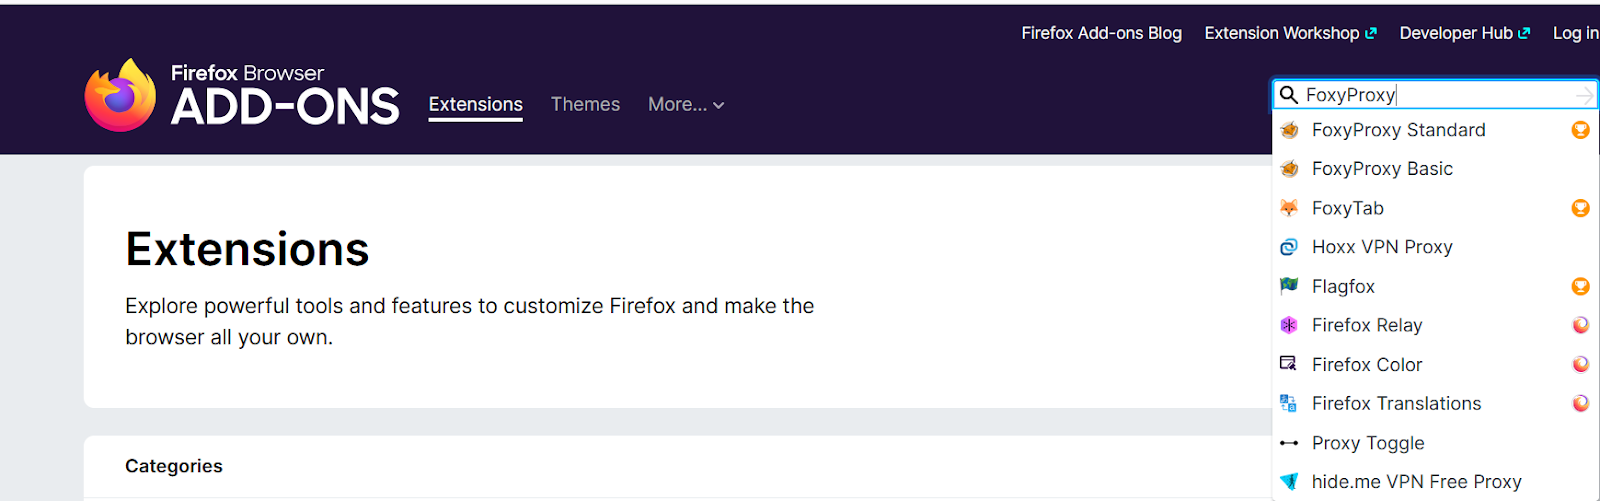
Click Add to Firefox, then click Add in the confirmation prompt.
Access the proxy manager extension icon.
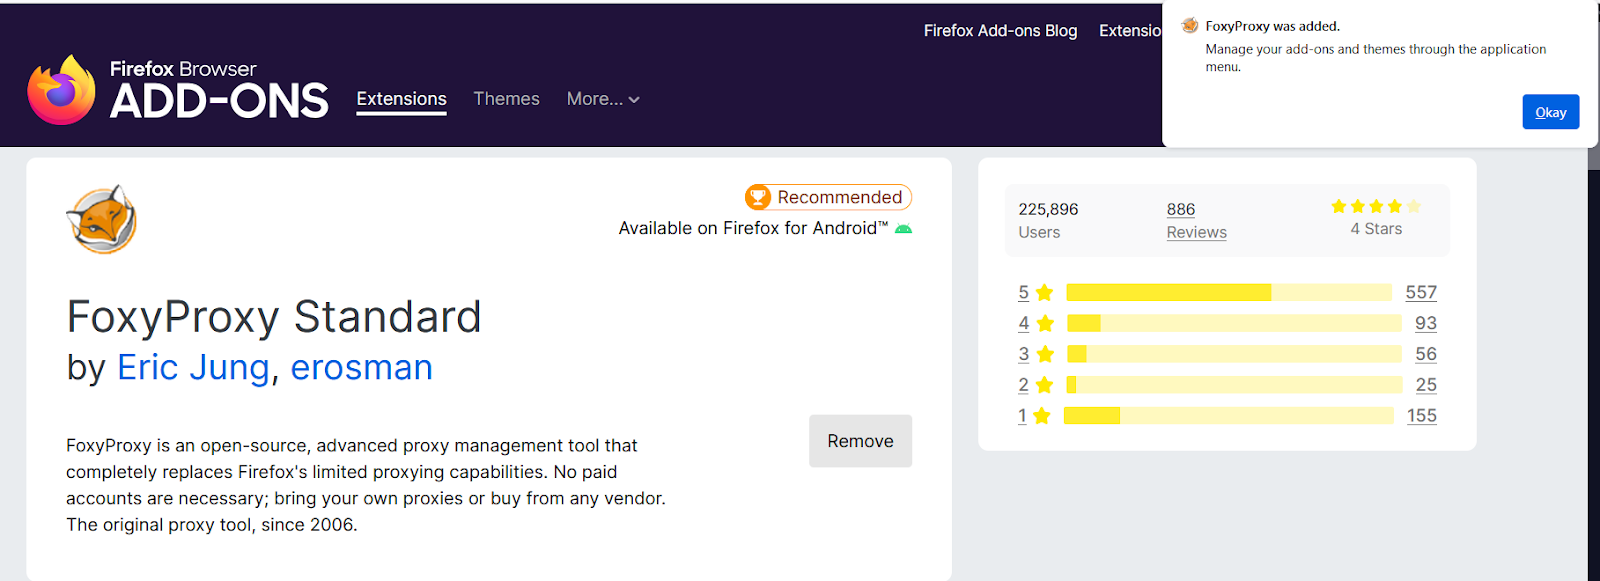
- After installation, the FoxyProxy icon will appear in the Firefox toolbar.
- If you don’t see it, click the menu button (three horizontal lines) and go to Add-ons and Themes to find FoxyProxy and manage its settings.
Open the proxy manager extension settings.
- Click the FoxyProxy icon in the toolbar and select Options to open the settings page.

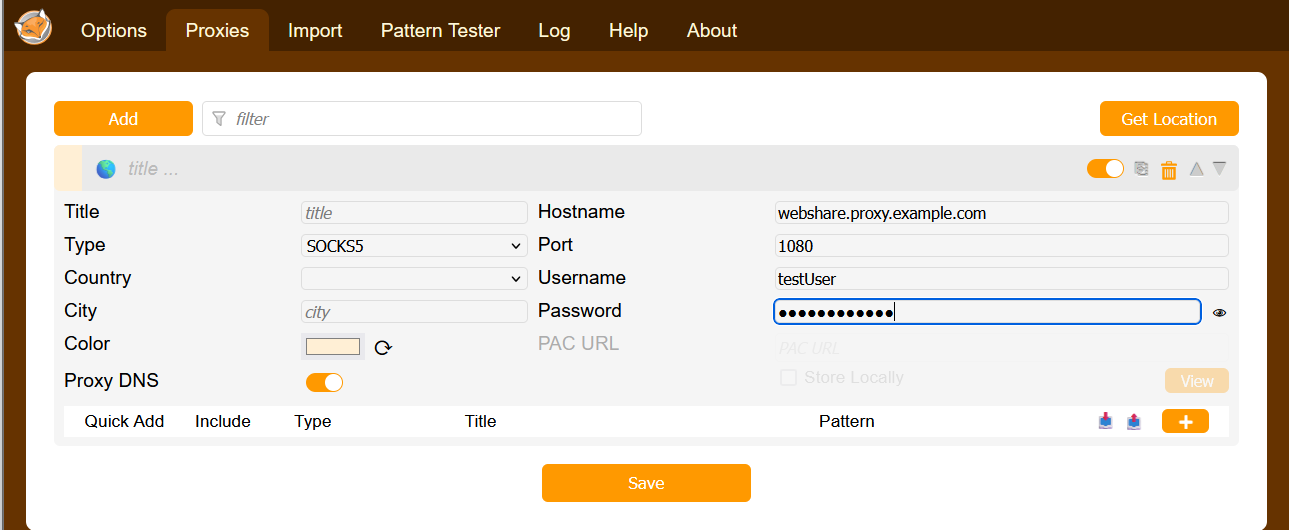
Add a new proxy:
- On the Proxies tab, click the Add button.
- Enter the SOCKS5 proxy details from Webshare:
- SOCKS5 Host: Enter the proxy server address from Webshare in the Hostname field.
- Port: Enter the corresponding port number in the Port field.
- Username & Password: As authentication is required, enter Webshare credentials in the Username and Password fields.
- Set the Proxy Type to SOCKS5.
- Check the box Proxy DNS when using SOCKS5 to ensure that DNS requests also go through the proxy.
- Click Save to store your proxy settings.
Activate the proxy:
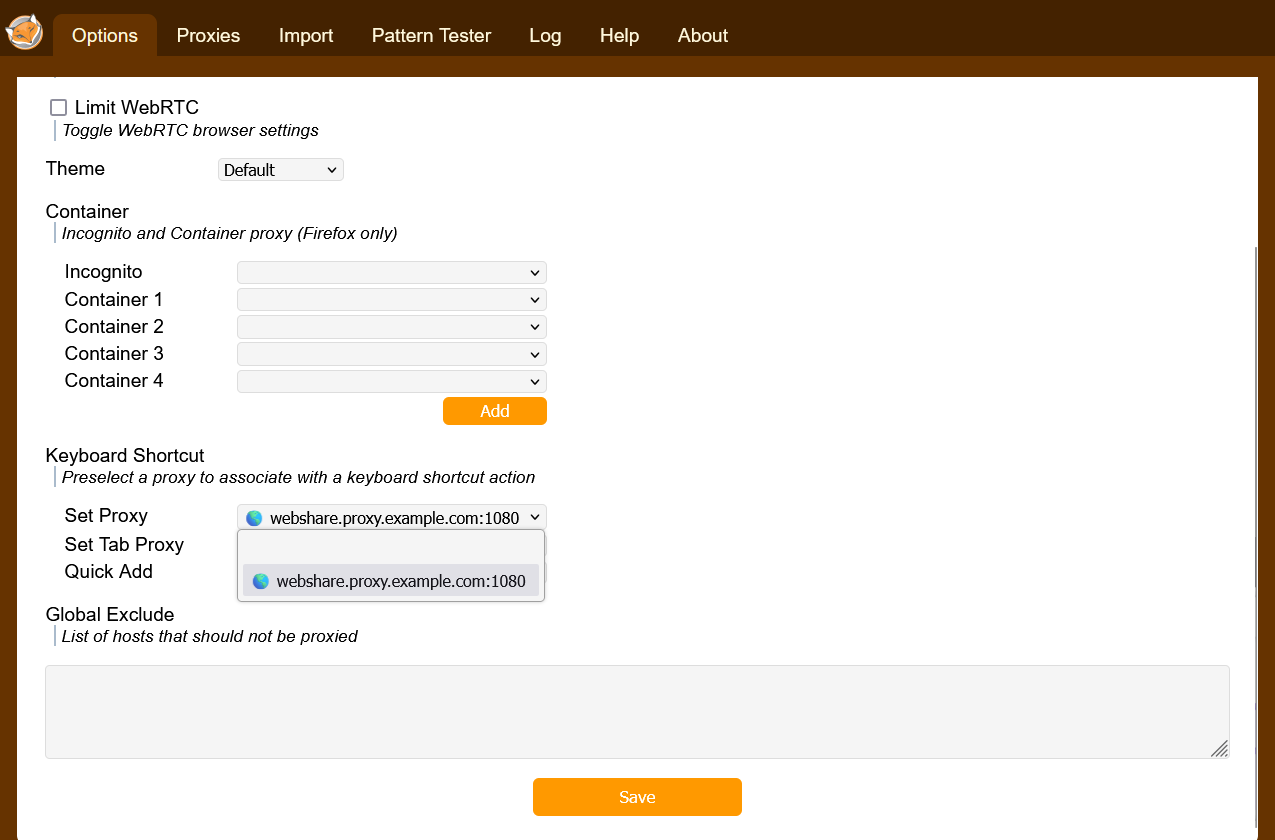
- After saving, go back to the FoxyProxy main page and enable the proxy by selecting it from the dropdown list.
Method 2: Configure SOCKS5 proxy in Firefox settings
Firefox also has a built-in option to configure proxies without needing extensions. Here’s how you can set it up:
Open Firefox proxy settings:
- Open Firefox and click on the menu button in the top-right corner.
- Select Settings from the dropdown.
Alternatively, you can access the settings directly by typing about:preferences in the Firefox address bar and pressing Enter.
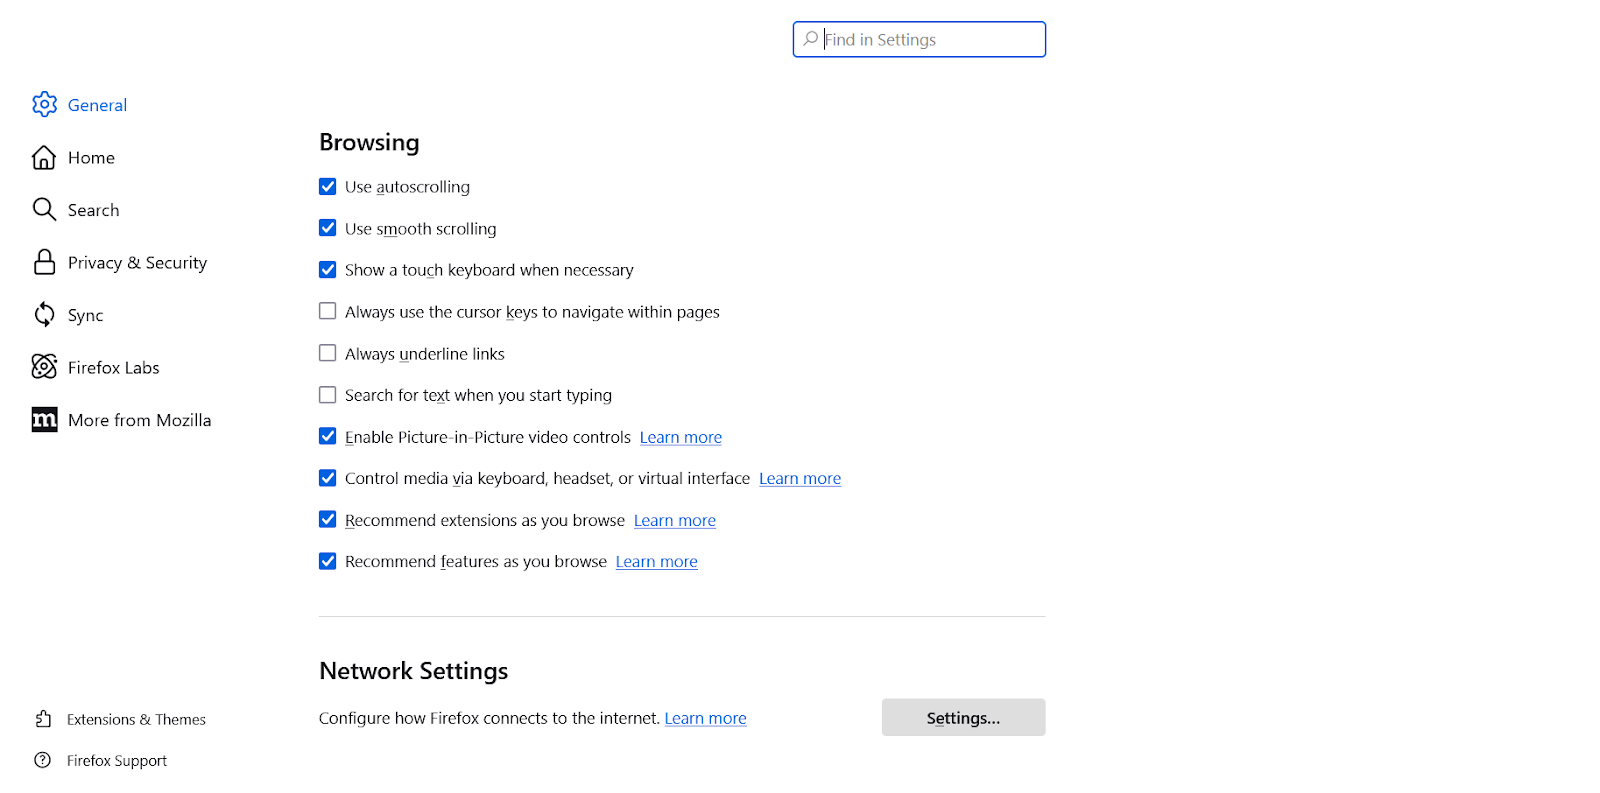
Navigate to Network Settings. Once you're in the Firefox settings:
- Scroll down to the bottom of the General tab.
- Look for the section labeled Network Settings.
- Click on the Settings button next to Network Settings.
This will open the connection settings window where you can configure proxy settings.
Configure SOCKS5 proxy:
- In the Connection Settings window, select Manual proxy configuration.
- Under SOCKS Host, enter the proxy server address you got from Webshare.
- In the Port field, enter the corresponding port number.
- Choose SOCKS v5 (instead of SOCKS v4).
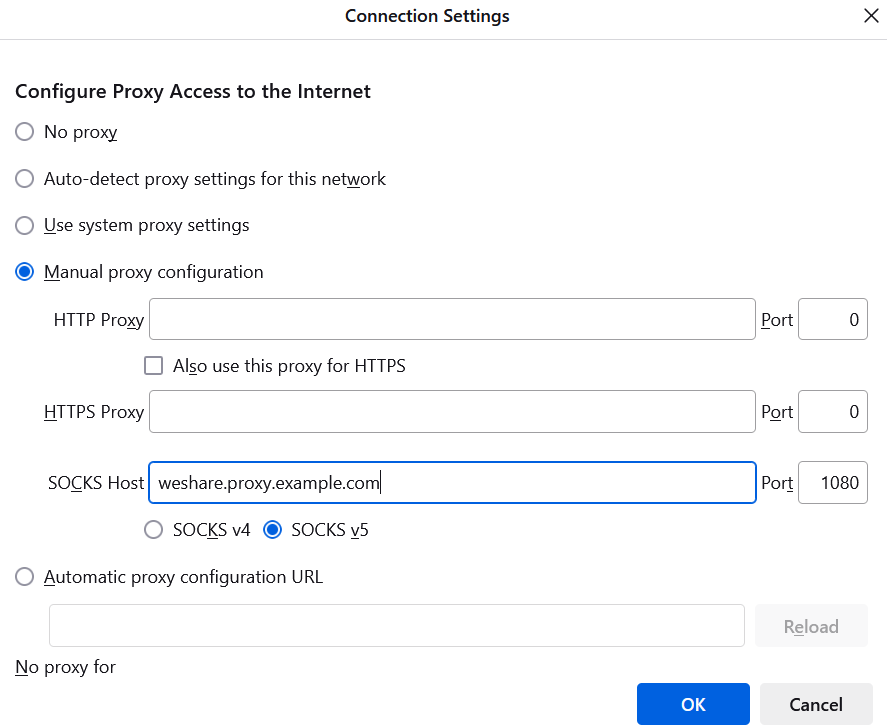
- Check the box Proxy DNS when using SOCKS v5 to ensure that DNS requests also go through the proxy.

Save and apply proxy settings:
- Once you've entered the proxy server details, click OK to save the changes.
- Refresh Firefox to ensure the new proxy settings take effect.
How to check proxy connection?
Once you've set up the SOCKS5 proxy in Firefox, it's important to verify that your traffic is actually being routed through the proxy. The easiest way to do this is by checking your IP address.
Open IPinfo to check your IP address
- Open Firefox and go to IPinfo.io.
- The website will display your current public IP address, along with location details.
Compare your IP address
- If the IP address shown on IPinfo.io matches your proxy’s IP, then the proxy is working correctly.
- If it still shows your real IP, the proxy is not active, and you should double-check the settings.
Troubleshooting (if proxy isn’t working)
- Ensure that FoxyProxy (or the browser’s proxy settings) is enabled.
- Verify that the SOCKS5 proxy address, port, username, and password are correct. A common mistake is using your proxy provider's email and password as proxy username and password. Proxy username and password differs from your account details, make sure you double-check these in your proxy dashboard.
- If using Firefox’s built-in proxy settings, check that Proxy DNS when using SOCKS v5 is enabled to prevent leaks.
How to turn off SOCKS5 proxy in Firefox browser?
If you no longer need to use the SOCKS5 proxy in Firefox, you can disable it through the proxy manager extension (if used) or by changing Firefox’s internal proxy settings.
Method 1: Disable proxy in proxy manager extension (if used)
- Click on the FoxyProxy icon in the Firefox toolbar.
- Select Options and disable the toggle in the Proxies tab to revert to the default connection.

- Your browser will now use your regular internet connection.
Method 2: Disable proxy in Firefox settings
- In the Connection Settings window, select No proxy.
- Click OK to save changes.

Note: If neither method works or your browser doesn’t support proxy configurations, you can set up the proxy through your computer’s network settings instead.


