


Gmail is an email service launched in 2004 by Google. Although other email services already existed, Gmail changed the scene by offering users unprecedented free storage space (initially, it was 1GB, which was massive for the time). This, in addition to the creative user interface, was what set the platform apart. What began as an invitation-only beta service has grown to become the world's most popular email platform with billions of users.
Many of the features that Gmail introduced have since become industry standards. For example, instead of traditional folders, Gmail introduced labels, which are used for organizing emails and categorizing messages. The platform is also well-integrated with other Google services like Calendar, Drive, and Meet, which increases your productivity.
However, although Gmail is open to users from all over the world, certain users might experience restrictions for various reasons. For example, if you frequently send mass unsolicited emails or use email lists without permission, this might earn you a ban. In this guide, you’ll learn how to navigate a Gmail ban by using a proxy.
Get Free Proxy for Gmail
To use a proxy with Gmail, you need to first acquire the proxy. You can do this by exploring the many proxy providers available. For example, there is Webshare, a trustworthy proxy service that lets you make use of 10 free proxies without connecting your card. All you need to do is register on their free proxy page. You’ll need to provide some details and then create a username and password to log into your dashboard.
Easiest Method: Gmail Proxy for Chrome
The easiest way to use a proxy with Gmail is through Chrome. All you need to do is download a Webshare Chrome extension, set it up, and you’ll be able to enjoy seamless browsing. Here are the steps involved:
Step 1: Install Proxy Extension
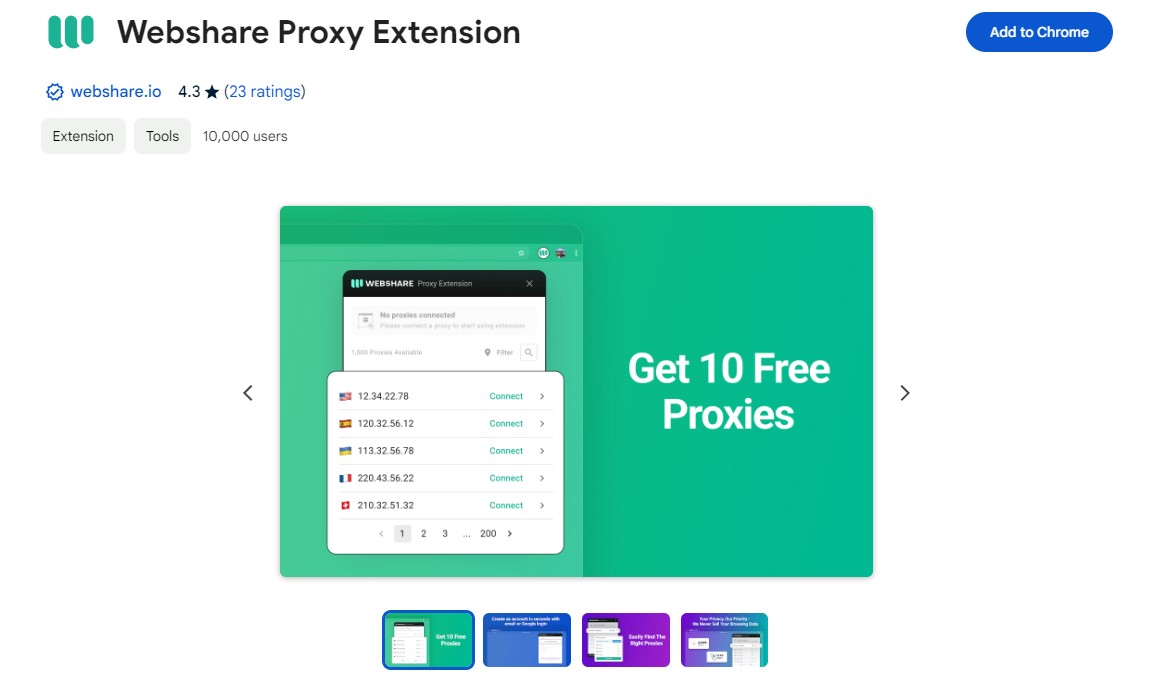
Installing a Webshare extension is a pretty straightforward process. You simply need to go to your Chrome Web Store and search ‘Webshare Proxy Manager’. When it pops up, just click ‘Add’.
Step 2: Configure Extension
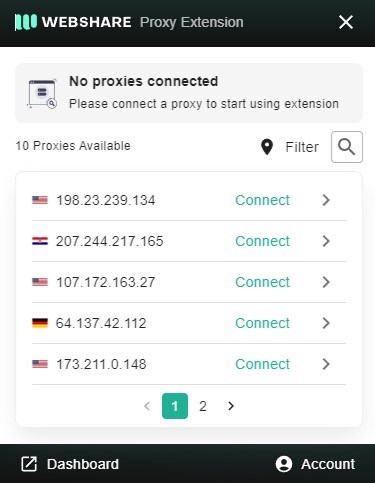
Next, you need to set up the proxy. Go to your Chrome extension bar and open the Webshare extension. You’ll be asked to log into your Webshare dashboard. Do this to gain access to your dashboard.
Step 3: Connect to Proxy
On your dashboard, simply choose your preferred proxy and then click ‘Connect’. You will be automatically connected to the proxy server.
Gmail Proxy for Windows Instructions
If you have a Windows system and you want to configure your proxy directly on it, here’s how to go about it:
Step 1: Go To Proxy Settings
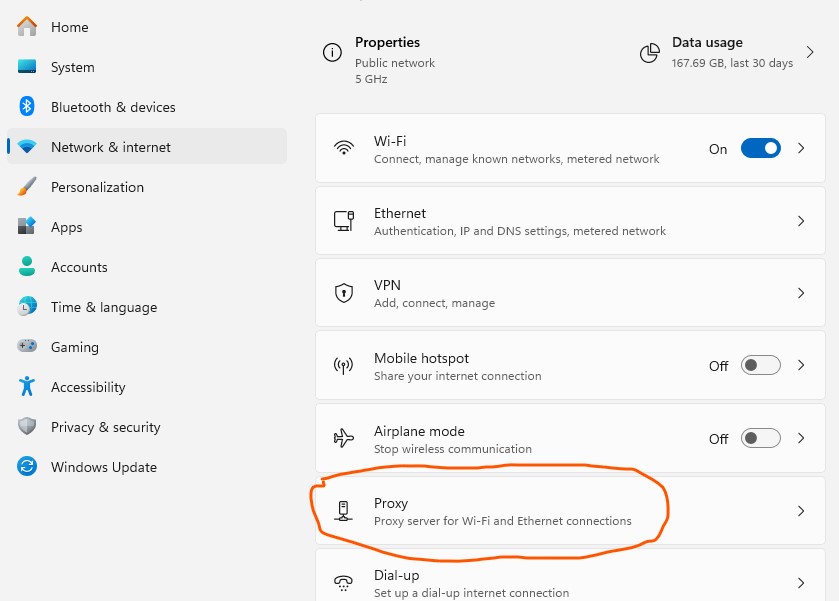
First, you need to go to your Windows settings. Search settings on your Windows search bar, or press the Windows + I buttons. Then, find Network & Settings, and, under it, select ‘Proxy’. This will open your proxy settings.
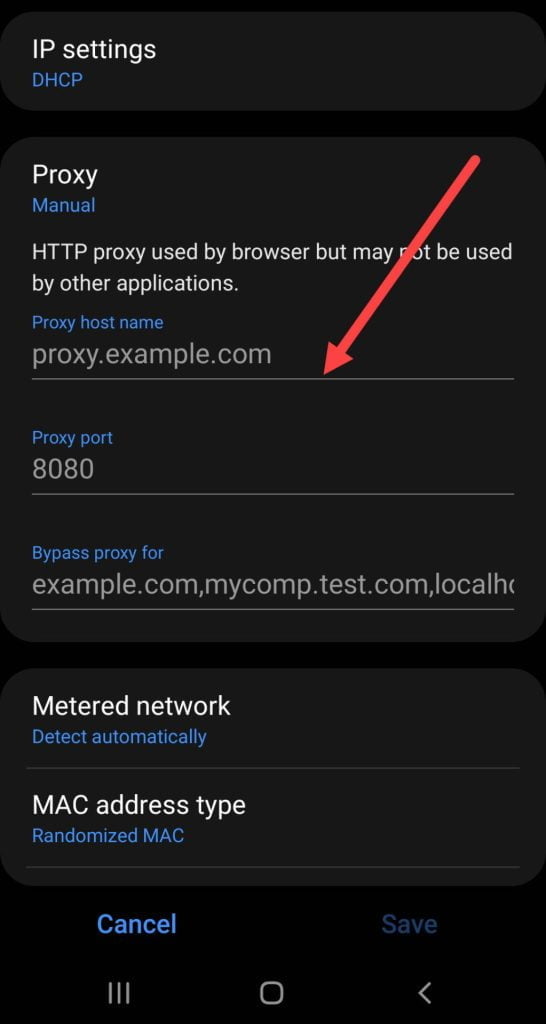
Step 2: Set Up Proxy

Under Proxy settings, you’ll see two options: Automatic Proxy Setup’ and ‘Manual Proxy Setup’. You’ll need to select the Manual option. How you’ll proceed from here will depend on which option you go for. Here’s how to set it up:
- You’ll need to open the configuration window by clicking on ‘Setup’.
- Then, you need to toggle the ‘Use a proxy server’ button to On.
- Afterwards, key in your proxy’s server address and port, which are available on your Webshare dashboard.
- In the box called ‘Use the proxy server except for addresses that start with the following entries’, provide the address you want to open without the proxy.
- To update, click save.
Gmail Proxy for Android Instructions
You can also consider setting up your Webshare proxy on your Android device. This will enable you to send and receive messages on Gmail while in transit. Here are the steps involved in configuring your proxy on your Android:
Step 1: Connect to Wi-Fi
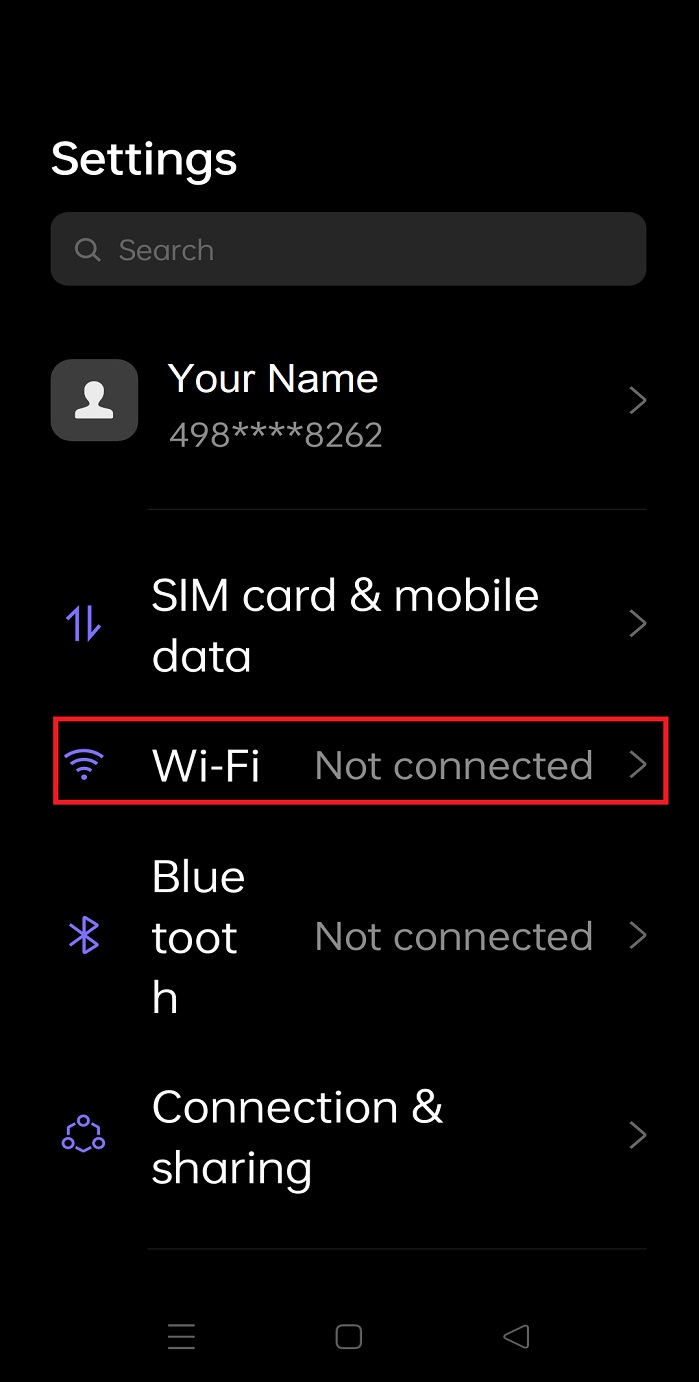
When using a proxy on a mobile device, you need to first connect to a Wi-Fi network. This is because you cannot set up a proxy on a mobile network, So, first, you need to go to your Wi-Fi settings and connect to your chosen Wi-Fi network.
Step 2: Set Up Proxy
Once you’ve successfully connected to the Wi-Fi network, it’s time to configure your proxy. Clicking the settings icon beside the Wi-Fi name (on some Android devices, you’ll need to click on the Wi-Fi name to open the settings), then navigate to Advanced Settings and then Proxy settings. When you click proxy settings, you will be given three options. Go for ‘Manual’, this will require you to key in the proxy’s hostname and port, which are available on your Webshare dashboard.
Step 3: Authenticate Proxy
You will be prompted to authenticate the proxy you are trying to connect to.
Proxy username and password will be listed in your dashboard proxy list, where you took the IP and port in previous steps.
How to test Gmail Proxy?
It’s important to test your proxy after configuring it to make sure it’s working normally. To do this, you need to be connected to the proxy and then go to your Webshare dashboard. If you can see the proxy’s IP address displayed on the dashboard, then it is working as it should. You can now visit Gmail to send messages.
How to Turn off Gmail Proxy?
To turn off your proxy, follow these easy steps:
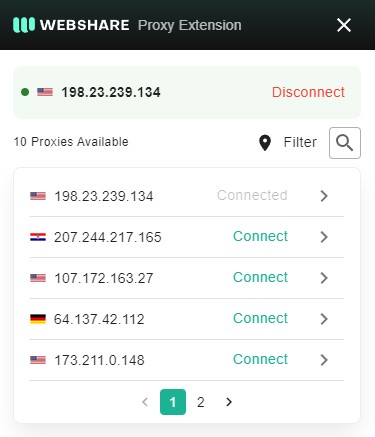
- Chrome: Turning off your proxy on Chrome is straightforward. Simply open the Webshare icon and click ‘Disconnect’ on the proxy you’re using.
- Windows: To disconnect your proxy on your Windows system, you need to return to your Windows Proxy settings and turn the ‘Use a proxy server button’ on. Finally, click save.
- Android: To turn off your proxy on your Android device, go to the Wi-Fi settings, then navigate to Proxy settings. Out of the three options you’ll see, select ‘None’, then click ‘Save changes’ to update.
What is the Best Proxy to Use with Gmail
It is important to consider certain factors when choosing a proxy to use with Gmail. Some of these include:
- Static Residential Proxy: The type of proxy you use will determine your browsing experience. When selecting a proxy, go for static residential proxies, as these use real IP addresses and are more reliable.
- Proxy provider: It’s also important that you choose a proxy from a reliable proxy provider with excellent user support.
- Location: Ensure that your proxy is from a location that works well with Gmail. Otherwise, you might still experience restrictions when trying to visit the platform.
-fotor-bg-remover-20250204113548.png)


