


Browser fingerprinting has been around since the arrival of web browsers, and numerous solutions have emerged to solve the problem of securely managing multiple accounts on different platforms from a single device. Thankfully, Hidemyacc is a strong contender in the anti-detect browser market.
In this integration tutorial, we will cover the fundamentals of Hidemyacc, guide you through setting up a proxy using Hidemyacc services, and evaluate its performance through testing.
What is Hidemyacc?
Hidemyacc is an advanced anti-detect browser designed to prevent malicious websites from tracking or identifying users through their browser fingerprints. Hidemyacc allows you to create and manage multiple browser profiles, each with unique identities, ensuring comprehensive coverage of your online activities.
Hidemyacc supports numerous applications, including web scraping, digital marketing, social media management, e-commerce, and more. It also offers web automation features. For instance, you can record mouse movements and keystrokes to automate repetitive tasks. Additionally, you can create complex web interaction sequences using a visual editor with a simple drag-and-drop interface.
Beyond these amazing features, Hidemyacc also caters to a broad range of customer types, including small, medium, and large enterprises. Additionally, Hidemyacc provides API and offers free trial subscription and quotation-based pricing models.
Before starting
You must upgrade your plan to use more than two profiles on Hidemyacc, as the free version is limited to two profiles per account.
To set up Webshare proxies on Hidemyacc, you need an active Webshare account. As a new user, you can enjoy a complimentary offer of 10 premium proxies upon registration. No credit card information or coupon is required.
Notably, these 10 free proxies will be automatically added to your account. So, simply create your Webshare account to start!
How to set up a single proxy in Hidemyacc?
Setting up a single proxy on your Hidemyacc account takes only 7 straightforward steps. Let’s examine them:
1. Download Hidemyacc
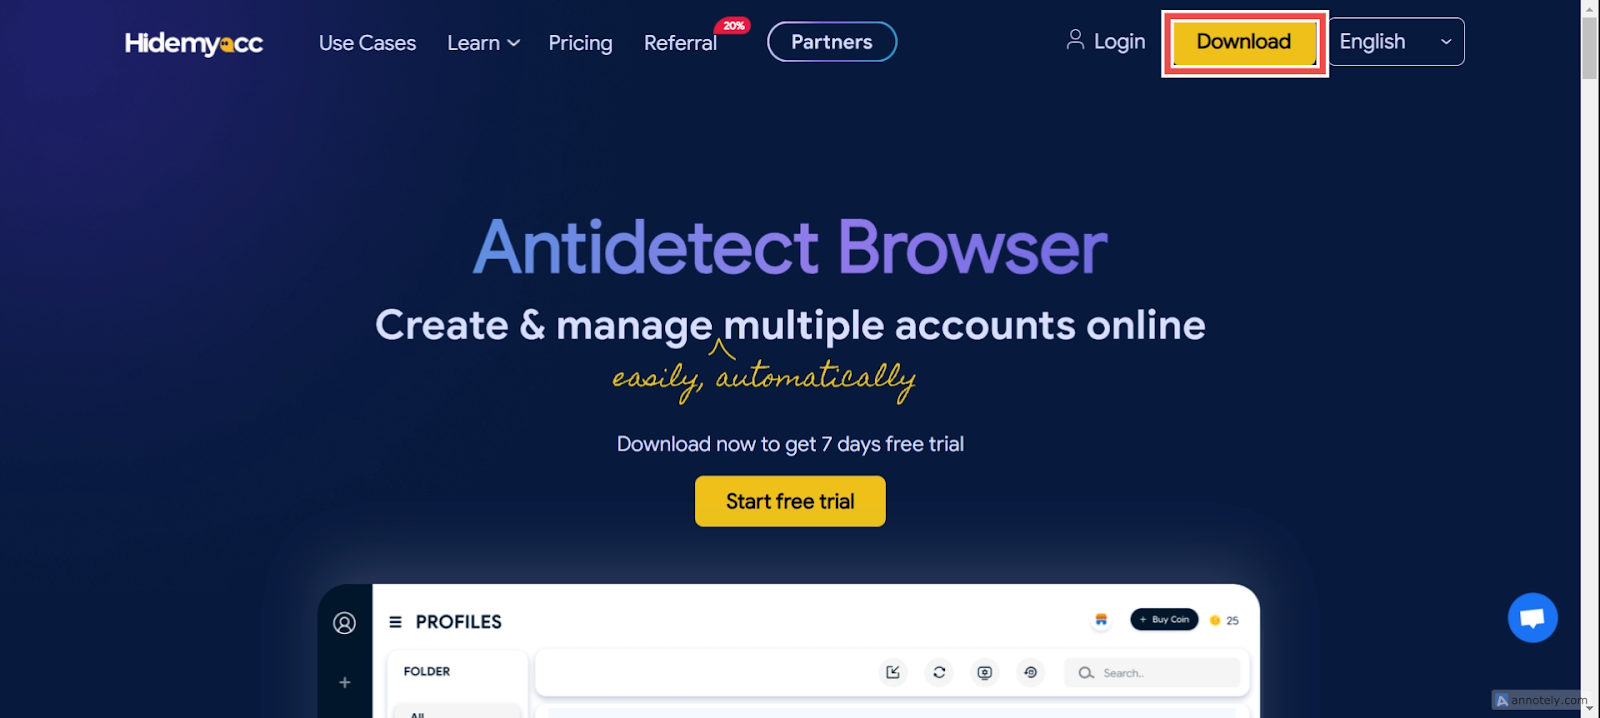
To download Hidemyacc, visit the official website and click on the Download button at the top right corner of the page.
2. Create new profile
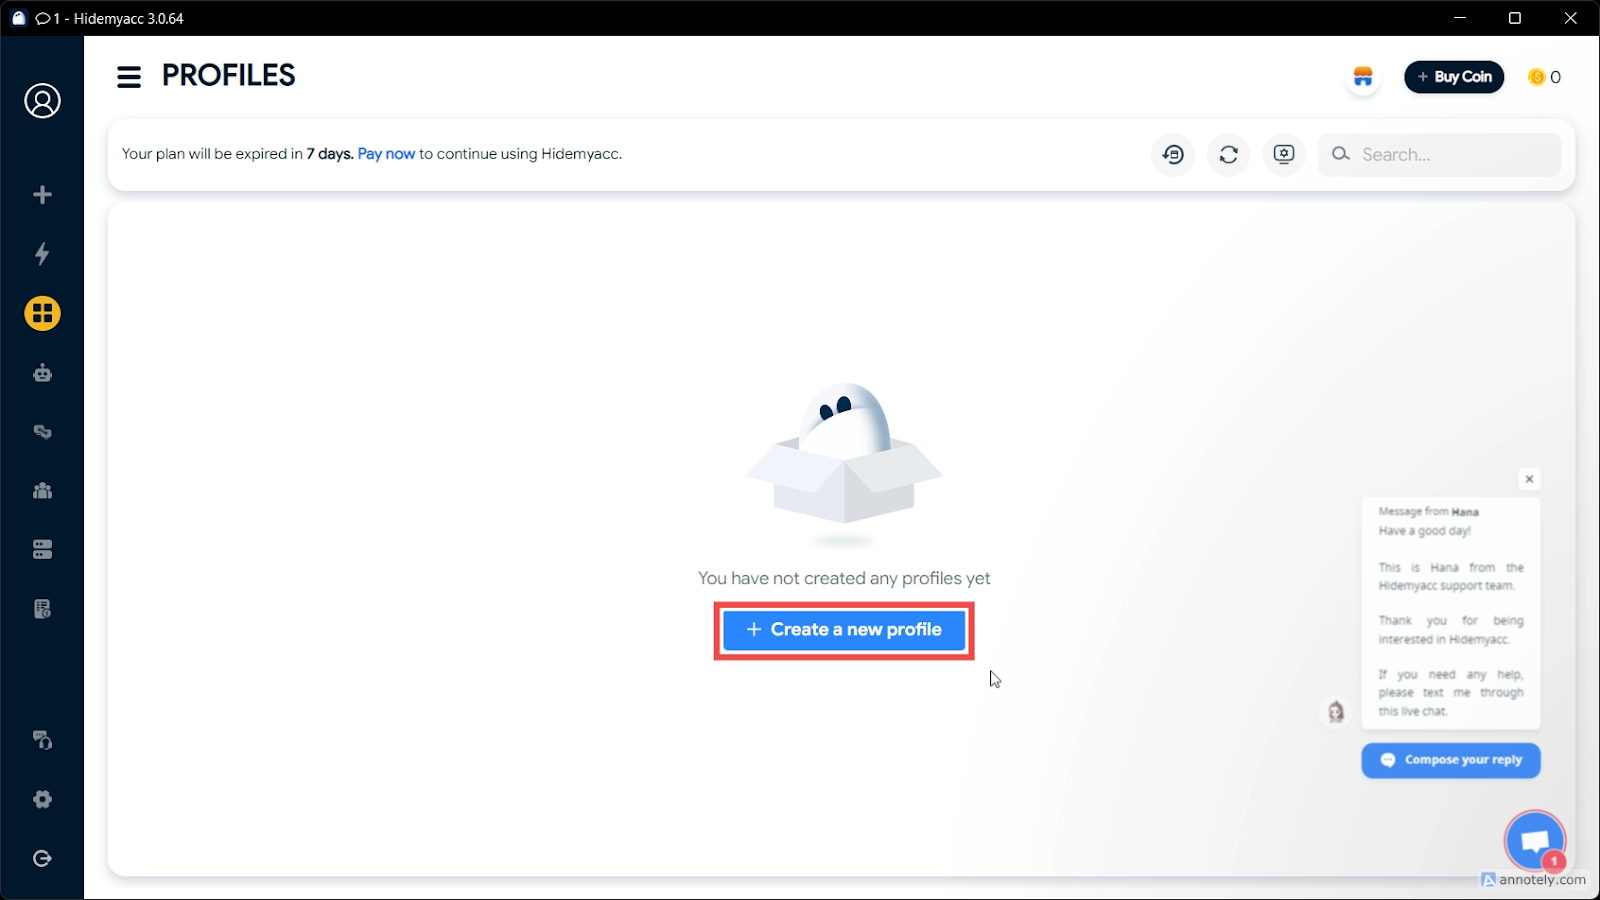
After launching the app, select the + Create a new profile option at the top left. Hidemyacc will automatically generate unique fingerprints for each profile, ensuring its uniqueness and security.
3. Configure Your Profile
Add your profile name and other proxy settings to configure your browser profile.
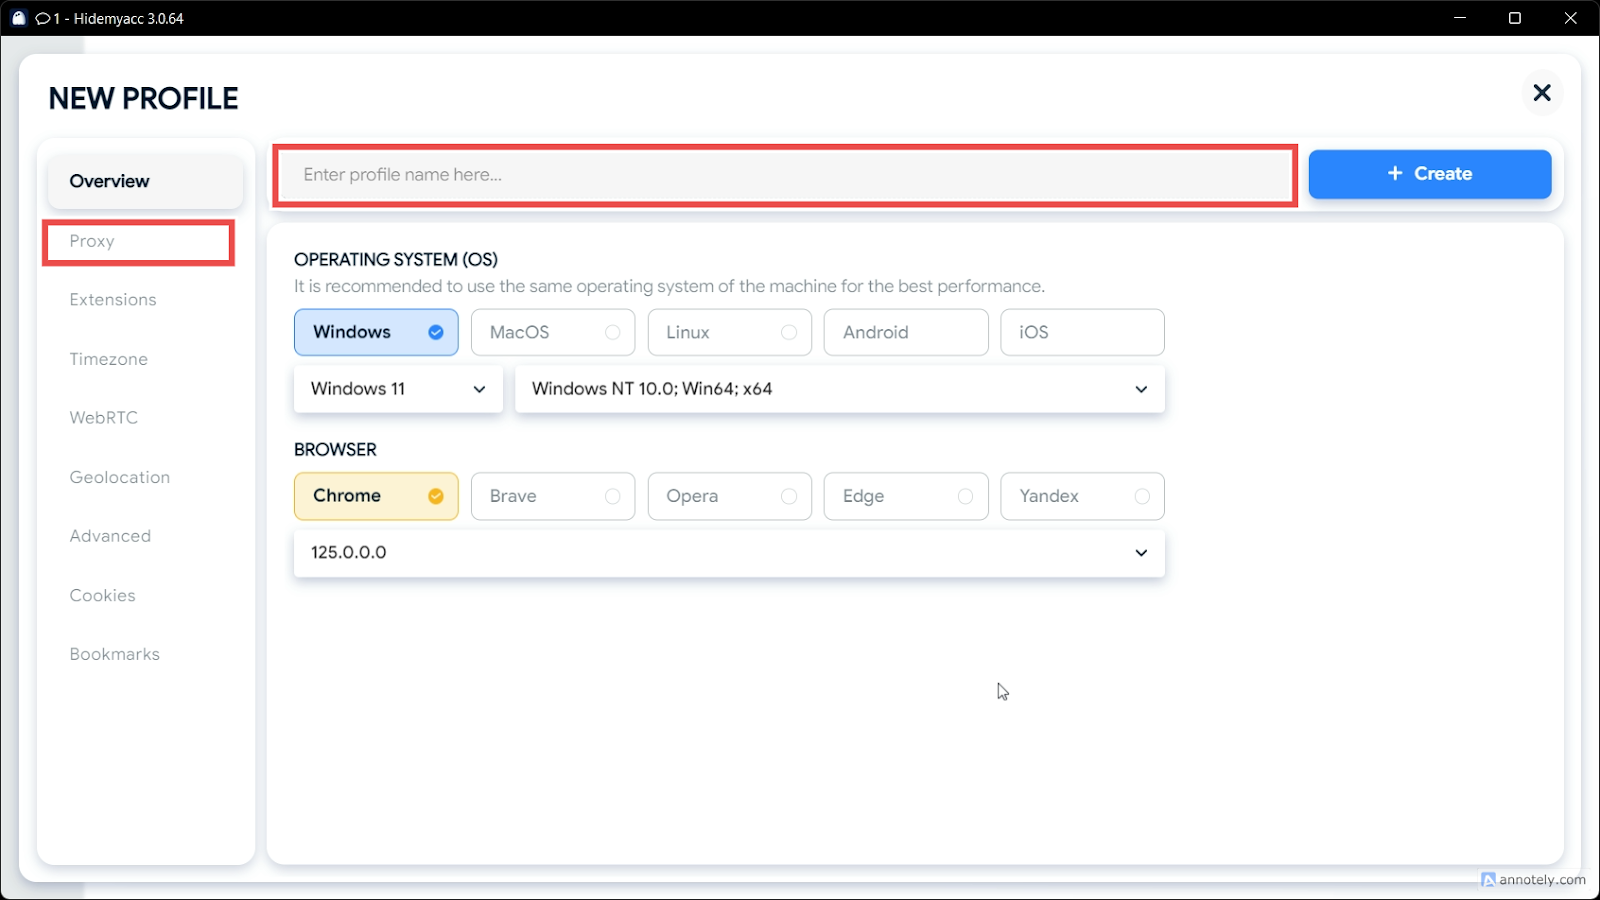
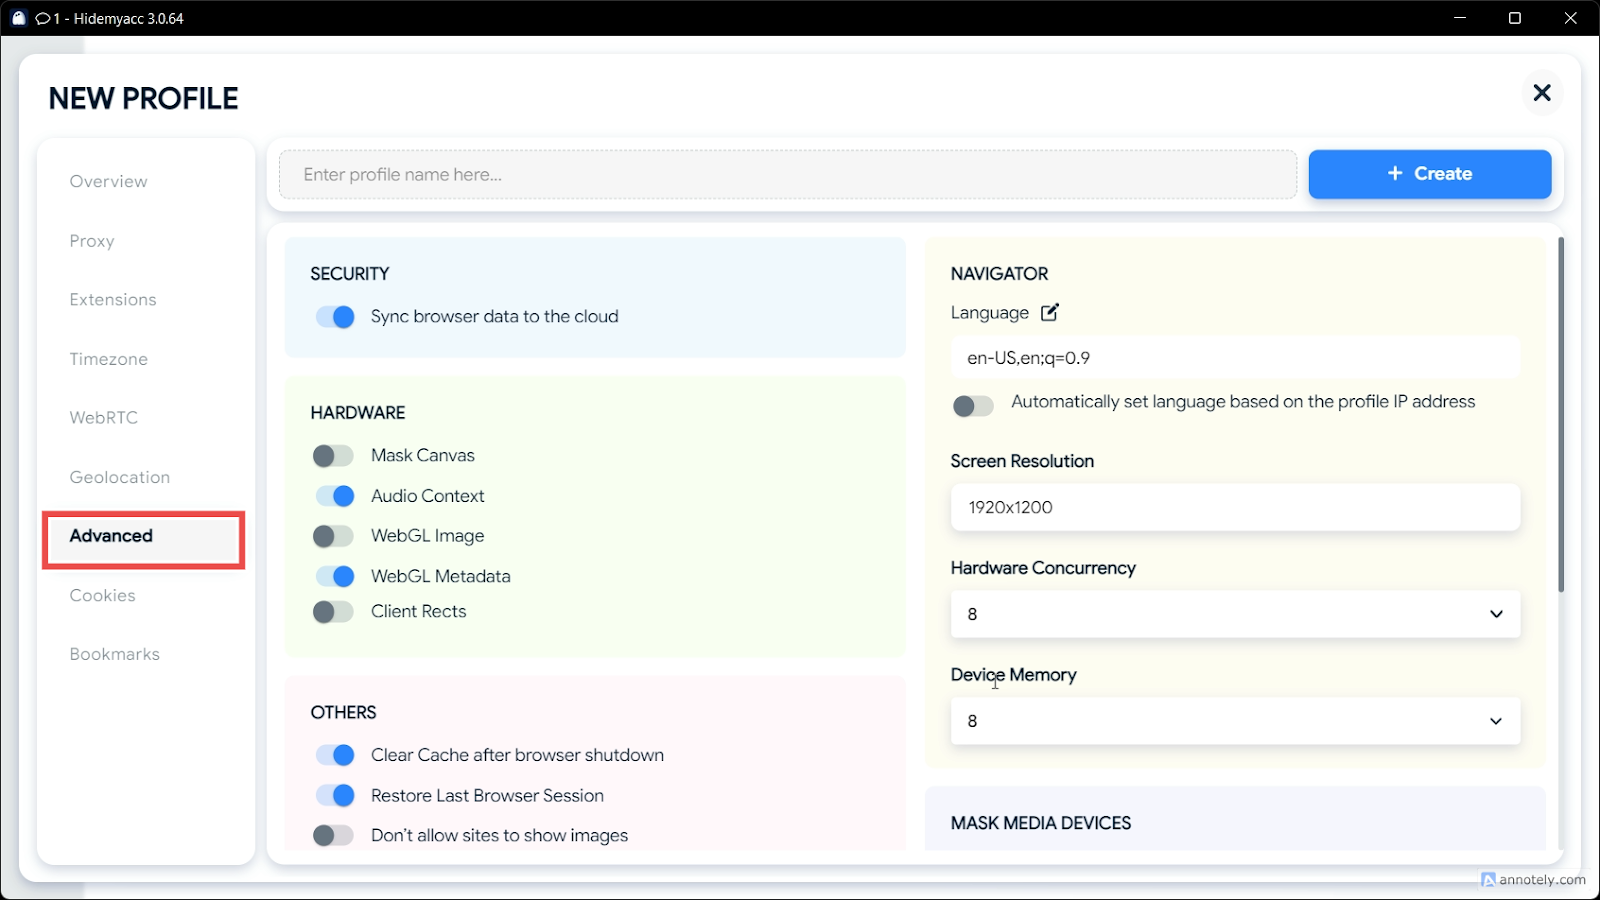
Then, customize your fingerprinting options as needed.
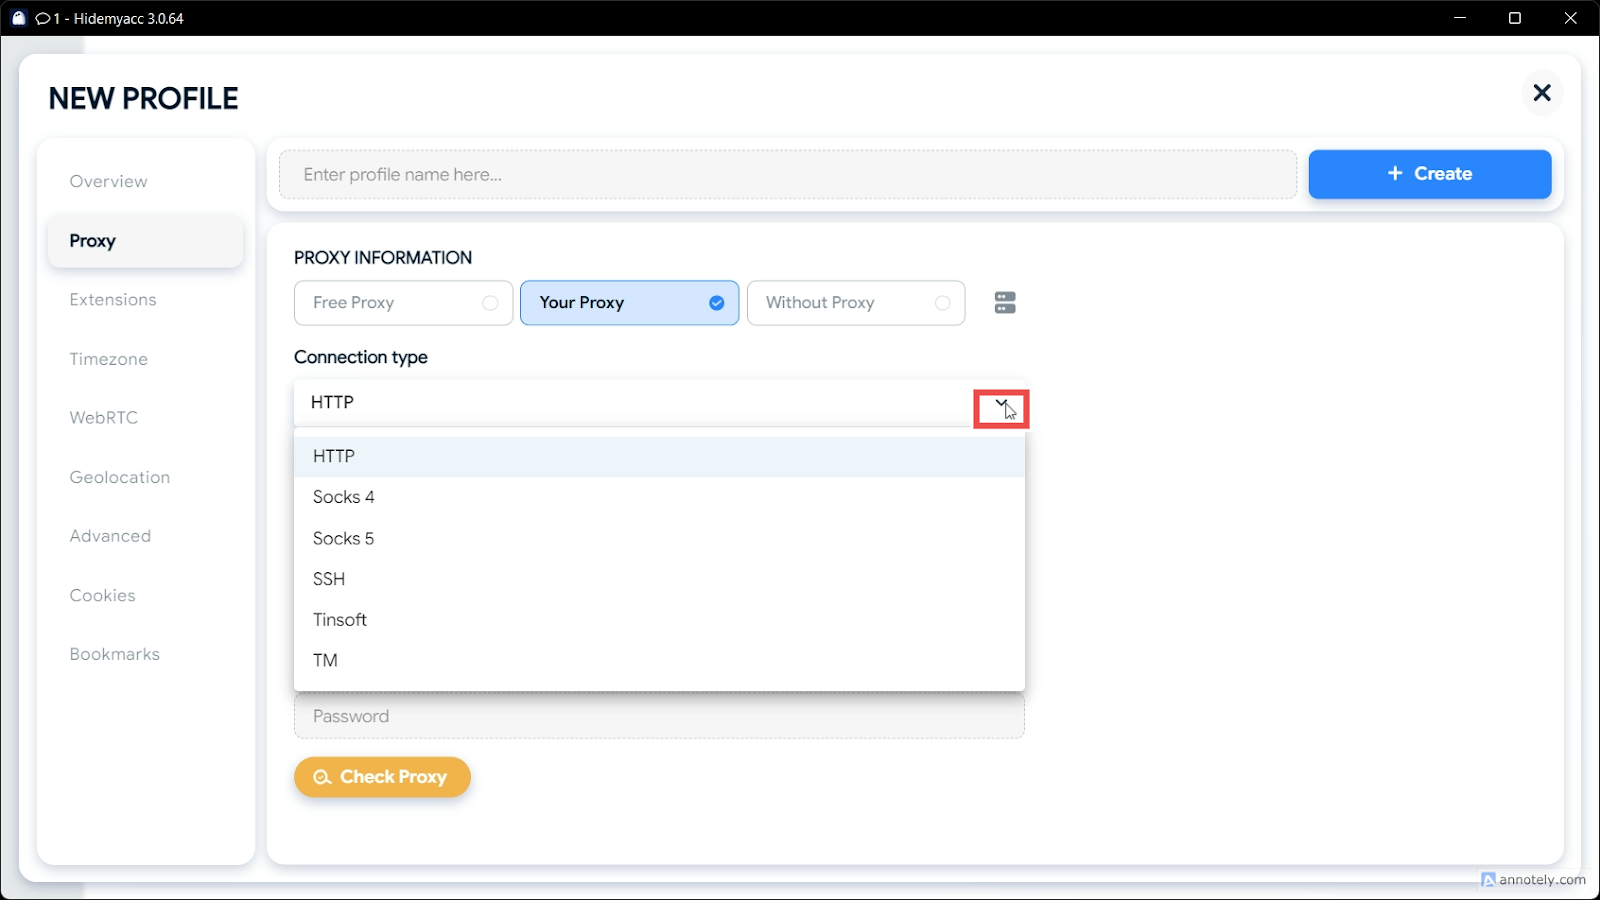
4. Select your proxy type
Proceed to the Proxy setting tab and choose Custom Proxy type. Notably, all Webshare proxies support HTTP and SOCKS5 protocols. We will use the HTTP proxy type for this tutorial, as it is the most commonly used one.

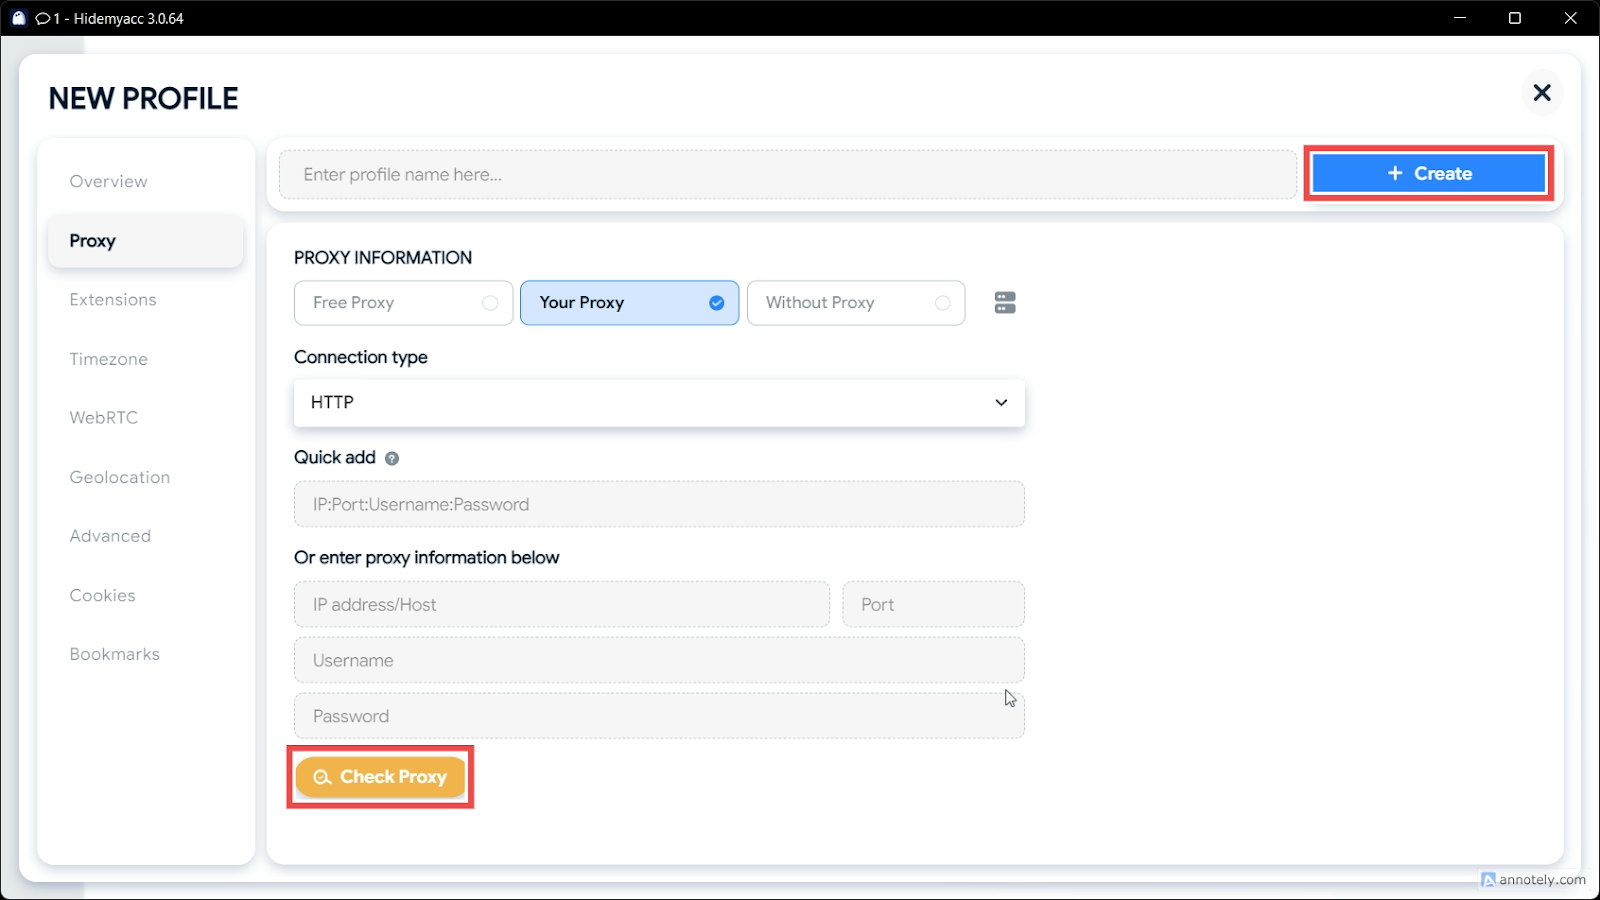
5. Fill in Proxy configuration details
Choose your connection or proxy type and fill in the appropriate configuration details, depending on whether you prefer rotating or static proxies.
Static IP Address Configuration
Static IP address proxies could be Datacenter or residential proxies. As such, you will need the following information from your account’s proxy list:
- Proxy type: HTTP or SOCKS5.
- IP/Host: Proxy address number (e.g., 198.123.338.798)
- Port: Specific number (e.g. 2000)
Rotating IP Address Configuration
For this, use the Rotating Proxy Endpoint for configuration, alongside the following information:
- Proxy type (Internet protocol): HTTP or SOCKS5
- IP/Host: Profile Name (e.g. p.webshare.io)
- Port: Proxy Port field (e.g., 80)
Adjust the country settings in the Rotating Proxy Endpoint configuration page to use country-specific rotating IP addresses.
6. Create and test your connection
Click Check Proxy to test if your proxy is functioning properly. If successful, you will get a positive message. If there are errors, recheck your configuration for any mistakes.
7. Start Using Hidemyacc with a Proxy
Click Start to launch a new browser profile. When the profile loads, a Chromium-based browser will appear, ready for use.
You can verify the configuration, especially the IP address, by checking the Hidemyacc information tab in the browser to ensure it matches your setup.
How to set up batch proxies in Hidemyacc
After learning to add a single proxy in Hidemyacc, you can optionally import multiple proxies using Proxy Manager. Here, you can add proxy lists without first creating a browser profile. Set up proxies and then add or remove them from your browser profiles.
Notably, batch addition can significantly streamline this process, saving time and effort. Before you begin, keep the following tips in mind:
- If the proxy type is not specified, the default is HTTP.
- Bulk proxies can be HTTP, HTTPS, SSH, and SOCKS5.
- Enter one proxy per line, with a maximum of 100 proxies at a time.
- Proxy information fields must not contain "@" or ":" symbols, as these will cause parsing errors. If your data includes these symbols, use the [Add Proxy-Single Add] function instead.
For your batch proxy setup:
1. Get Your Proxies List: You must list in the format IP:Port:Username:Password. Moreover, you are to add one proxy per line. As a Webshare user, you can easily download your configuration by visiting your account’s Proxy list page. After this, open the text file, copy its content, using the above format before proceeding.
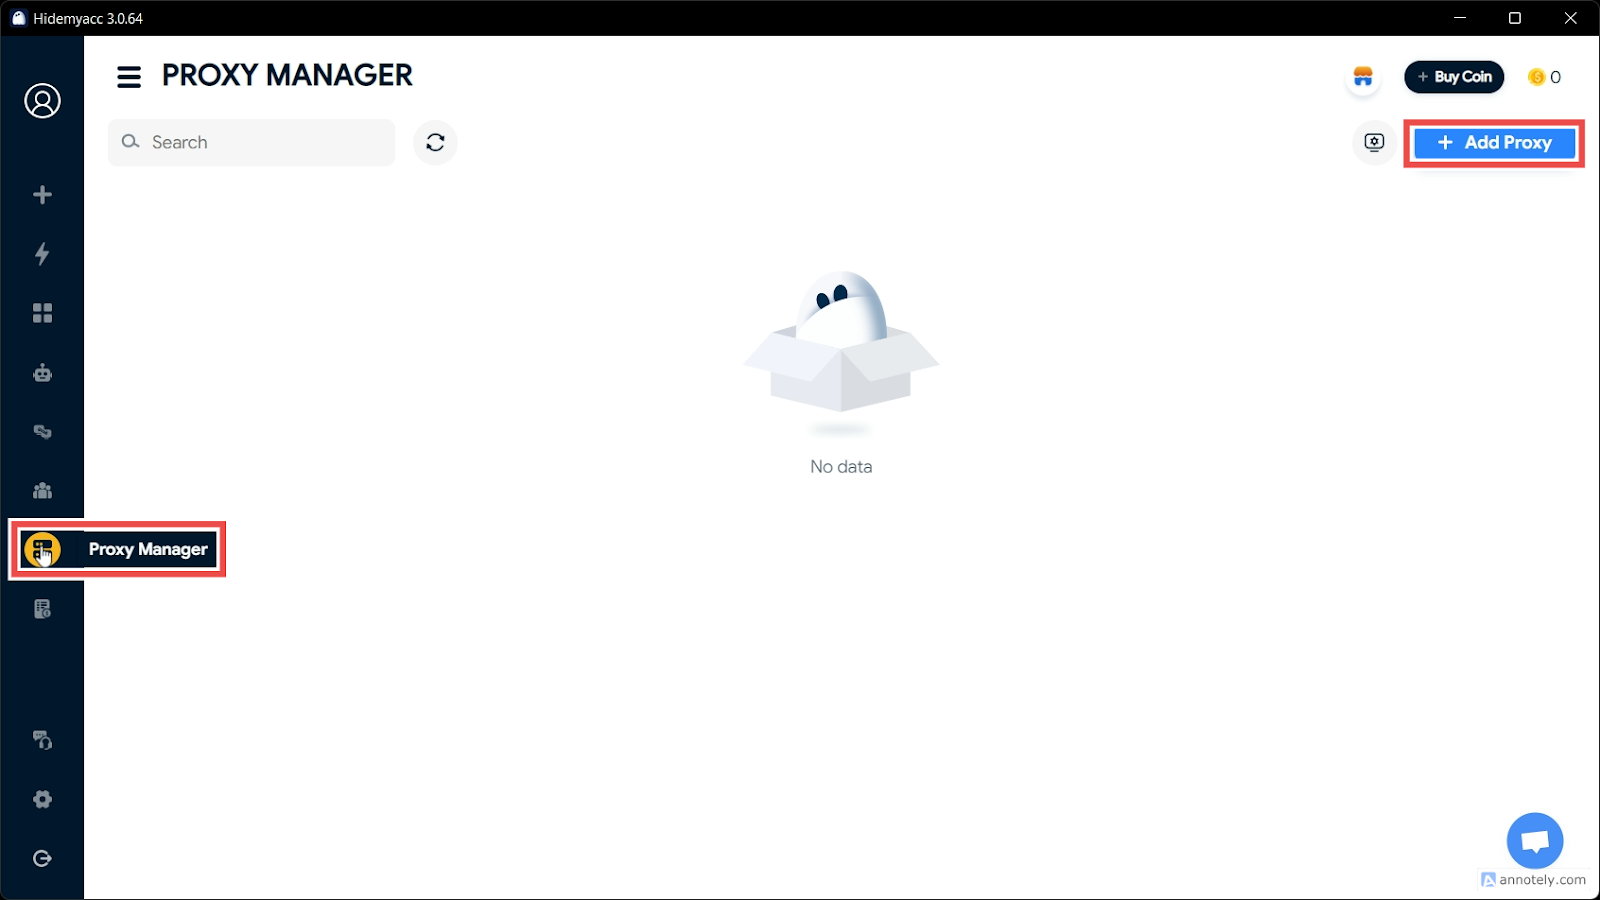
2. Proceed to Proxy Manager: On your Hidemyacc dashboard, expand the left sidebar, click on Proxy Manager, and then Add Proxy.
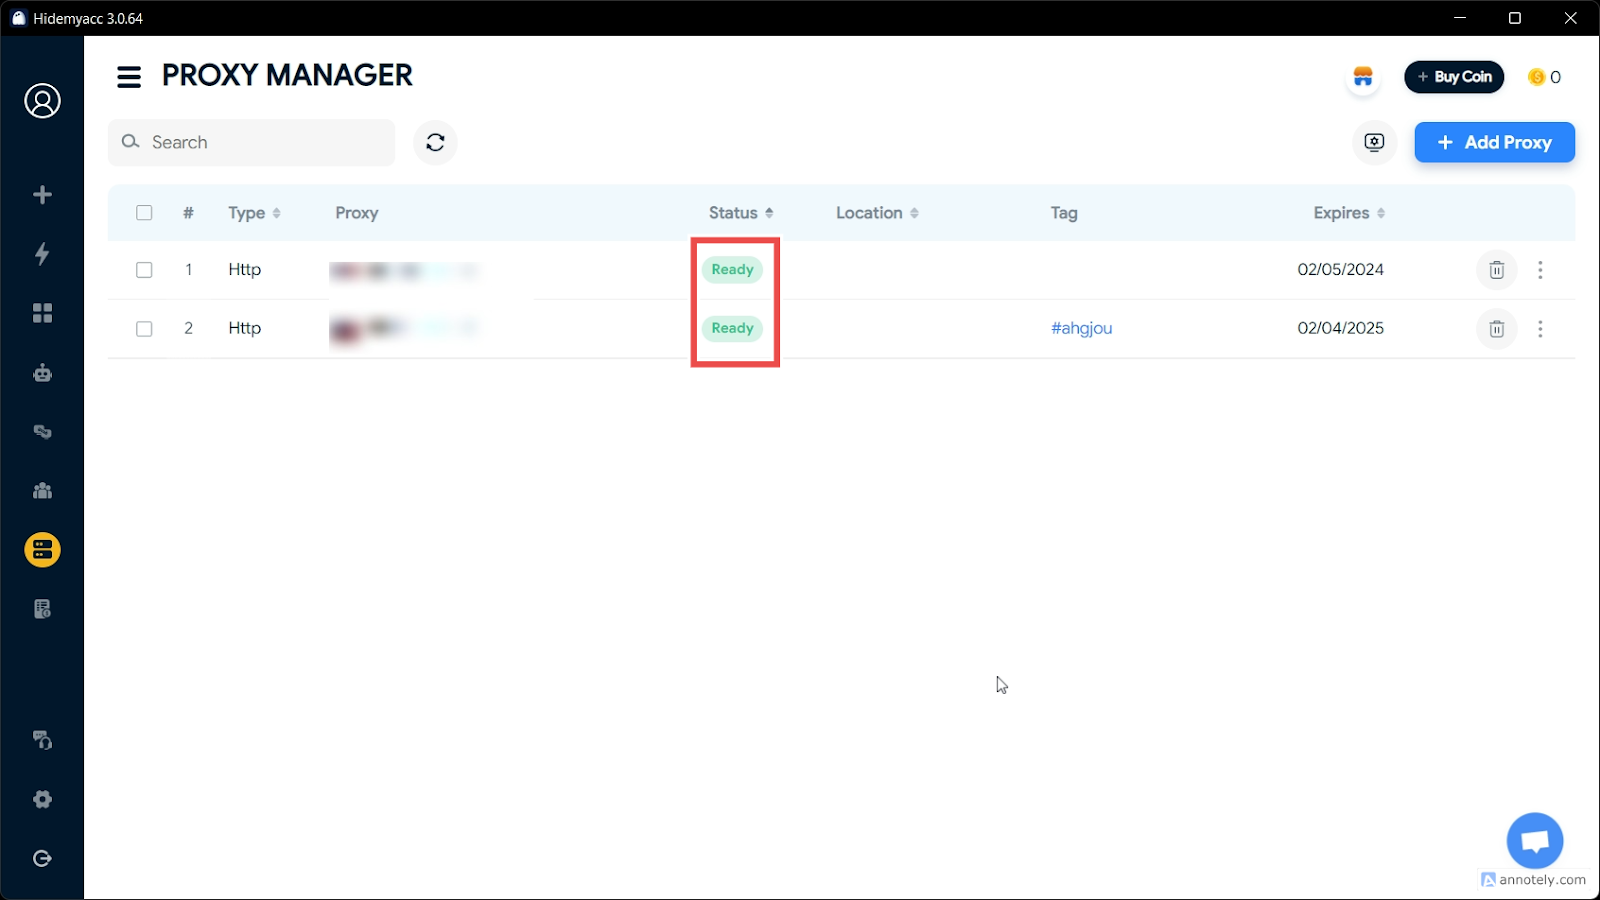
2. Access Bulk Configuration: After clicking the Add Proxy button, paste the copied text file contents directly into the textbox in Hidemyacc. The proxy table below should populate with your proxies, following the format in the image below.

3. Run Your Batch Setup: If everything works fine, your status should show Ready, just like this:
By now, you are crystal clear on setting up proxies in Hidemyacc using single and batch methods. Additionally, you can use various proxy IP address types, including Static and Rotating.
Remember, you can always set up a free Webshare account without needing a credit card and use 10 premium proxies freely. This offer is a perfect way to test Hidemyacc's services, so why not grab it while it’s still available?


