

Don’t miss your 10 free proxies
The Incogniton browser is a remarkable tool designed for private, secure browsing. In this comprehensive guide, we will discuss what makes the Incogniton browser stand out and highlight its key features. We will also walk you through the simple yet effective steps to configure proxies, whether single or batch. Let’s begin!
What is Incogniton?
The Incogniton browser is a strong contender among the various anti-detect browser options. This tool offers robust online fingerprint protection and management of multiple browser profiles, e-commerce, and social media from only one device.
In addition to its efficient account management, Incognito supports task automation via Selenium or REST API. A huge benefit of the Incogniton browser is that you can enjoy several notable features on the Starter (free) plan.
If you are a business owner, we suggest you turn to the premium versions, as they provide scalability for businesses that need to tailor the browser to their growing needs.
Before starting
You can enjoy Incogniton’s features without subscribing to any plan. However, depending on your activities, it’s ideal to explore more pricing packages before making a final decision.
For a smooth plan transition, you certainly will need proxies. Luckily, Webshare currently offers 10 premium proxies. Simply create an account to receive your free proxies and use the Incogniton browser to its full capacity!
How to set up a single proxy on Incogniton
1. Download Incogniton
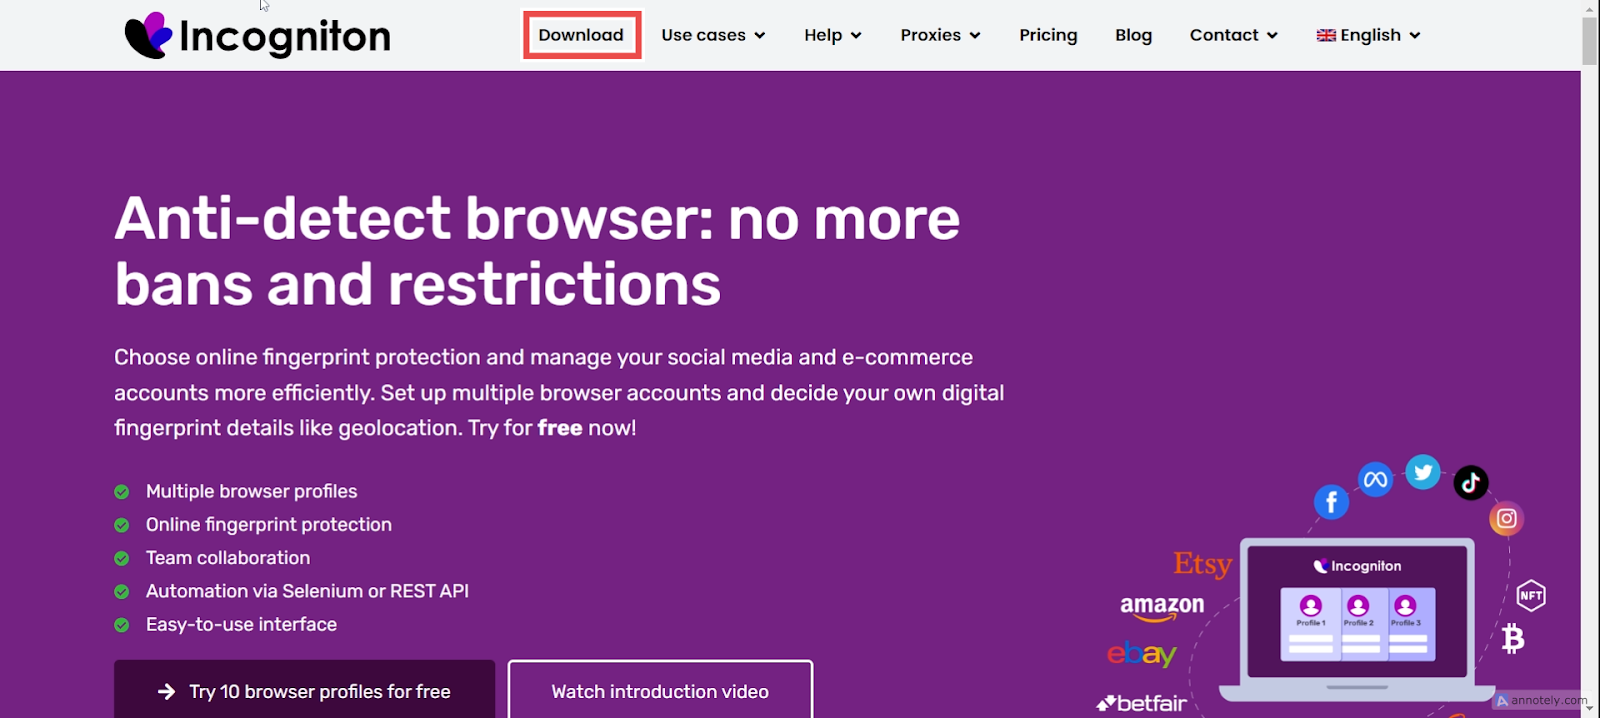
Visit the official Incogniton website and locate the Download option on the navigation bar.
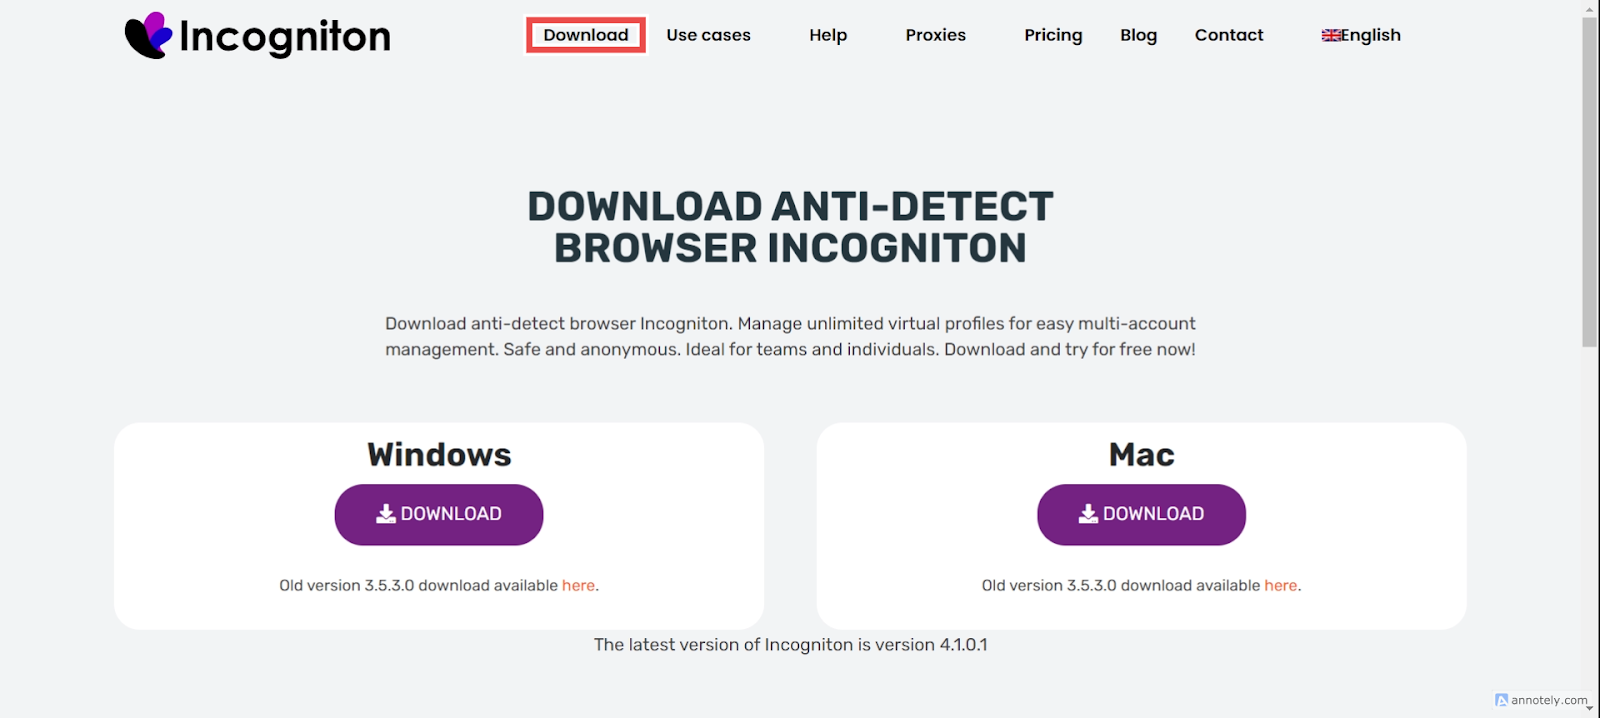
On the download page, click the appropriate button link for your device to initiate the download process.
After the app download is complete, follow the provided installation steps to install the app on your device, then return to the Incogniton website.
2. Navigate to the pricing page
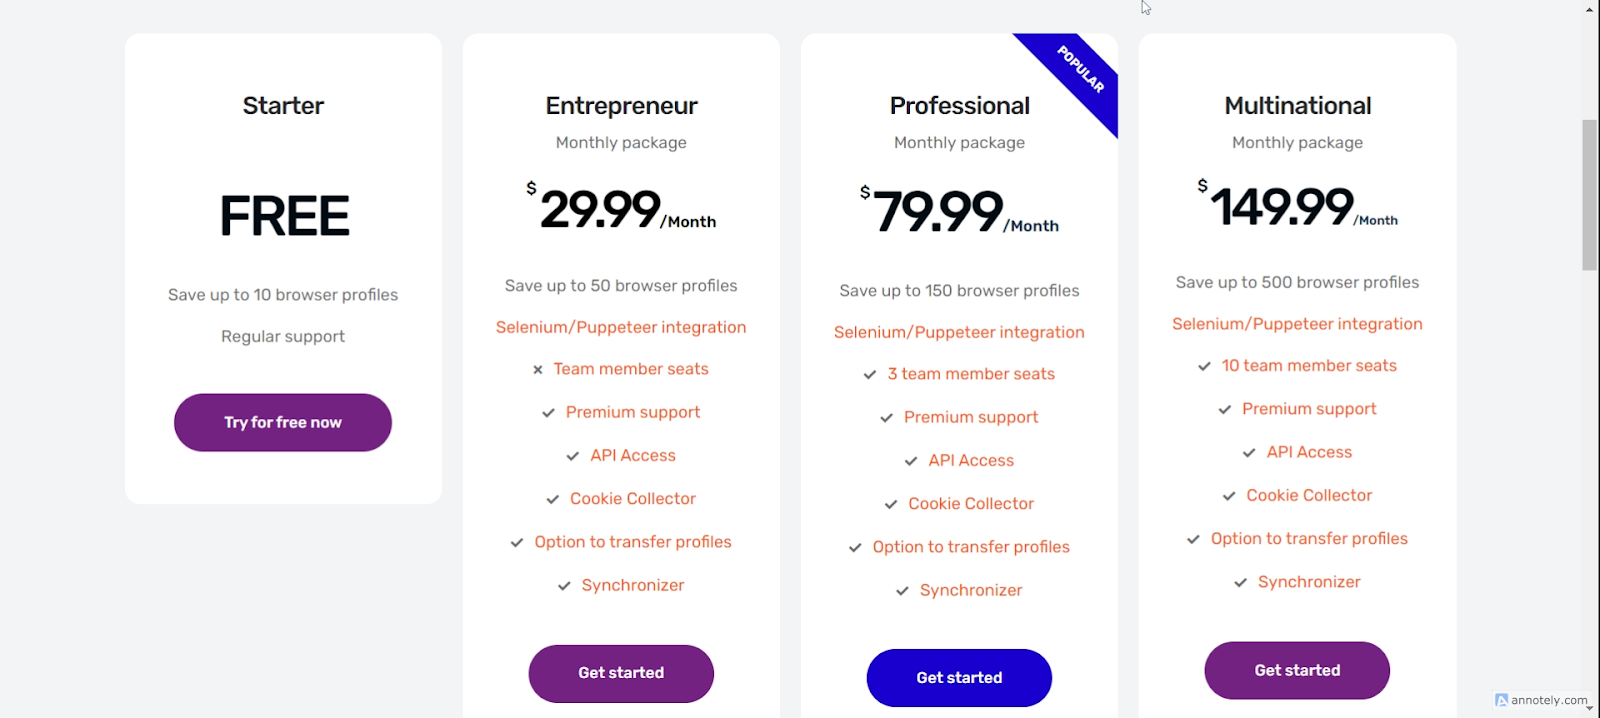
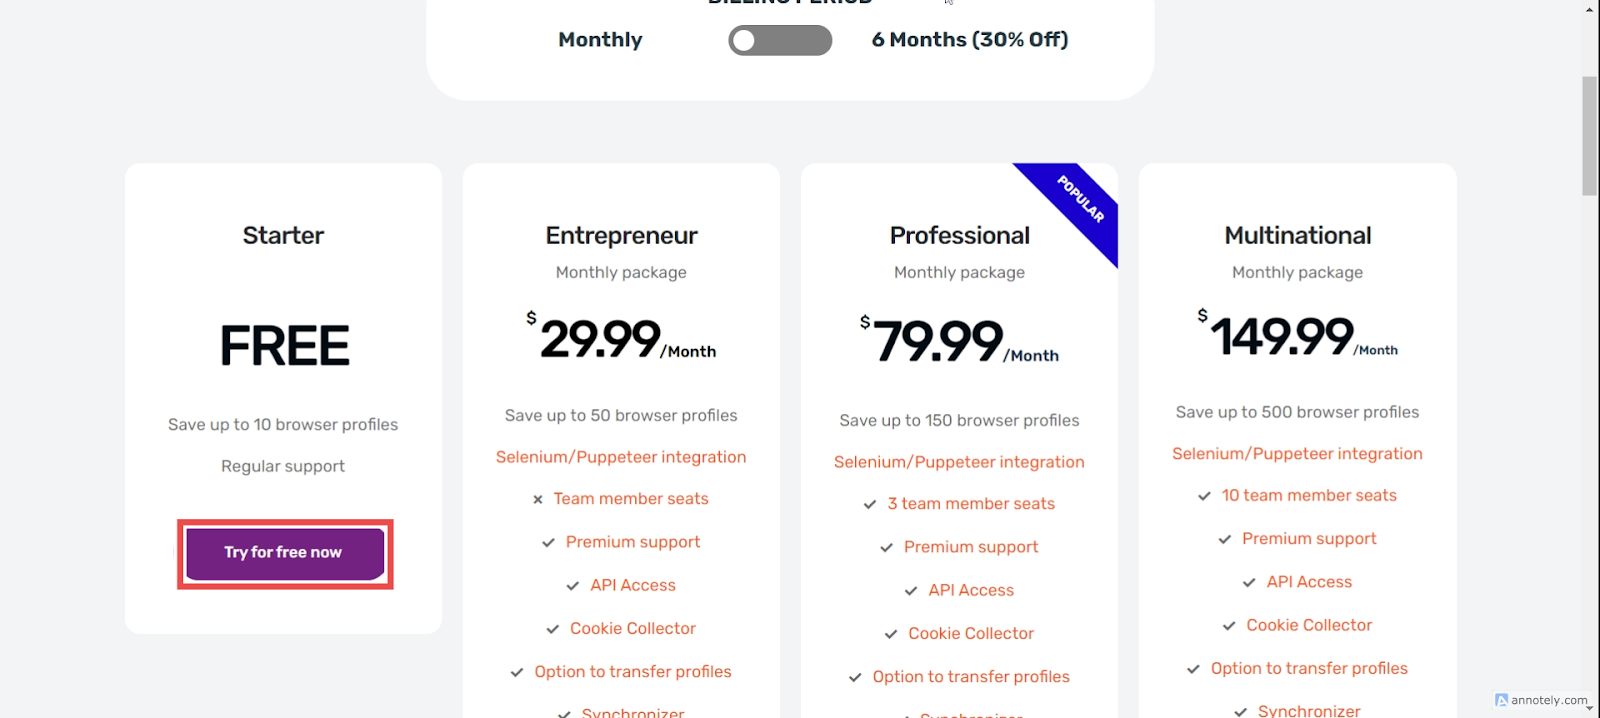
Visit the pricing page via the hero section or the navigation bar. Explore the available packages, including Starter, Entrepreneur, Professional, and Multinational. Choose the Starter plan if you want to test the platform without financially committing.
3. Complete the registration process
Finalize your account registration by following the instructions to create your Incogniton account. Then, open the Incogniton app on your computer and sign in using your login credentials.
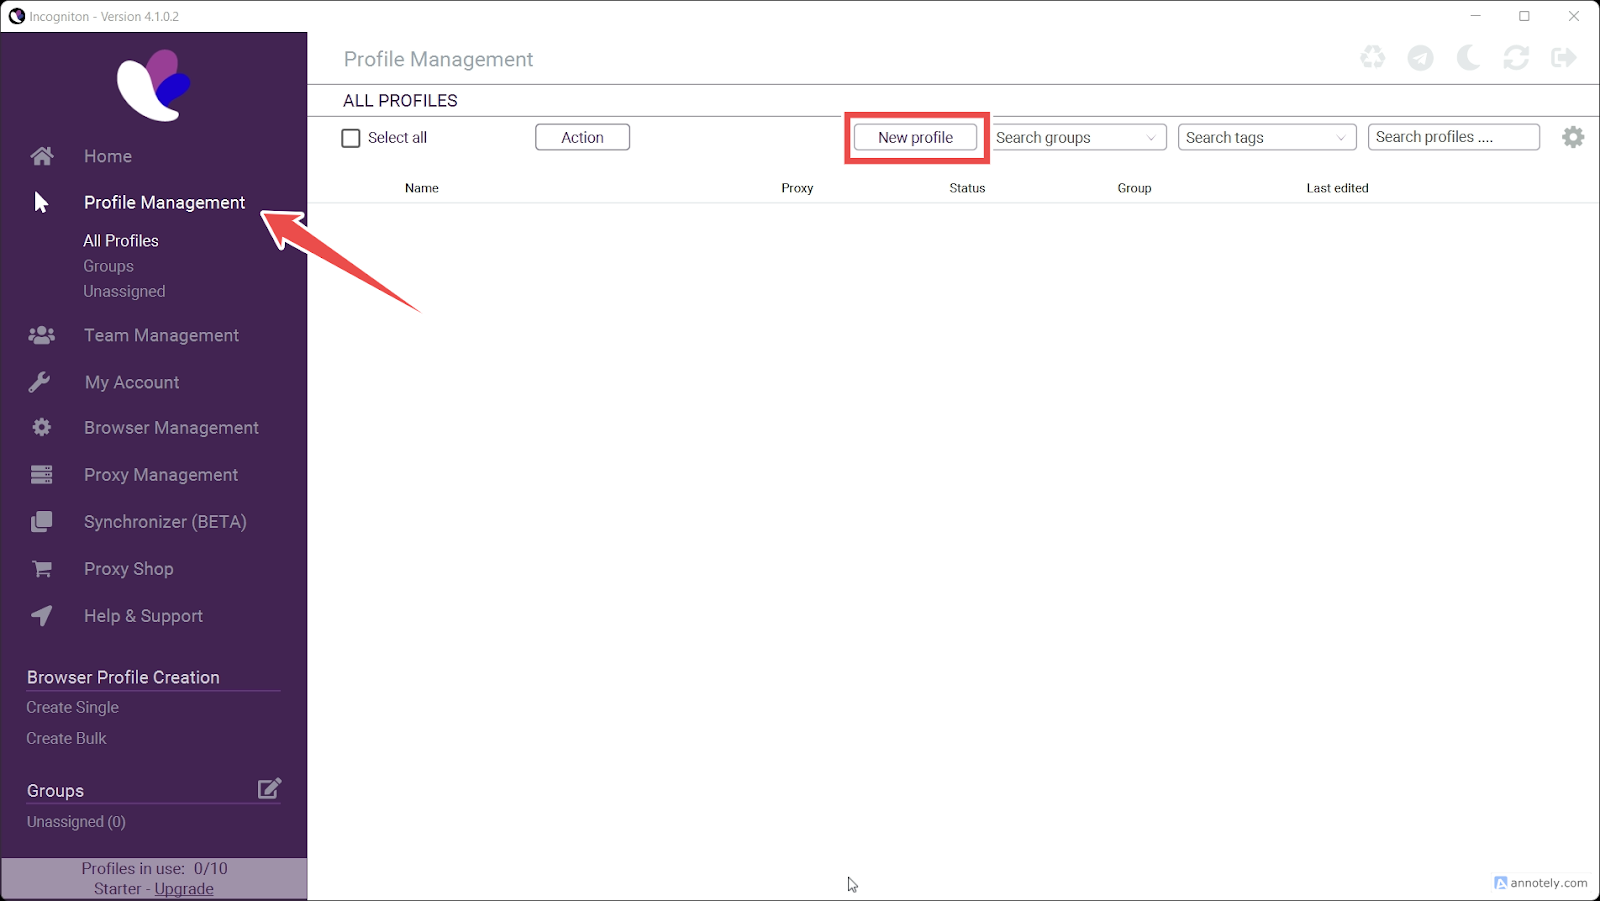
4. Create a profile on the Incogniton app
Open the Incogniton app and move to Profile Management on the sidebar. Then, click the New Profile button to create your new browser profile.
Configure your browser profile by including your browser profile name, adding groups, and randomizing fingerprints.

5. Create your proxy
Navigate to Proxy via the sidebar, then fill in your Proxy details as shown below. Your proxy details include Name, proxy:PORT, Proxy username, Proxy Password.
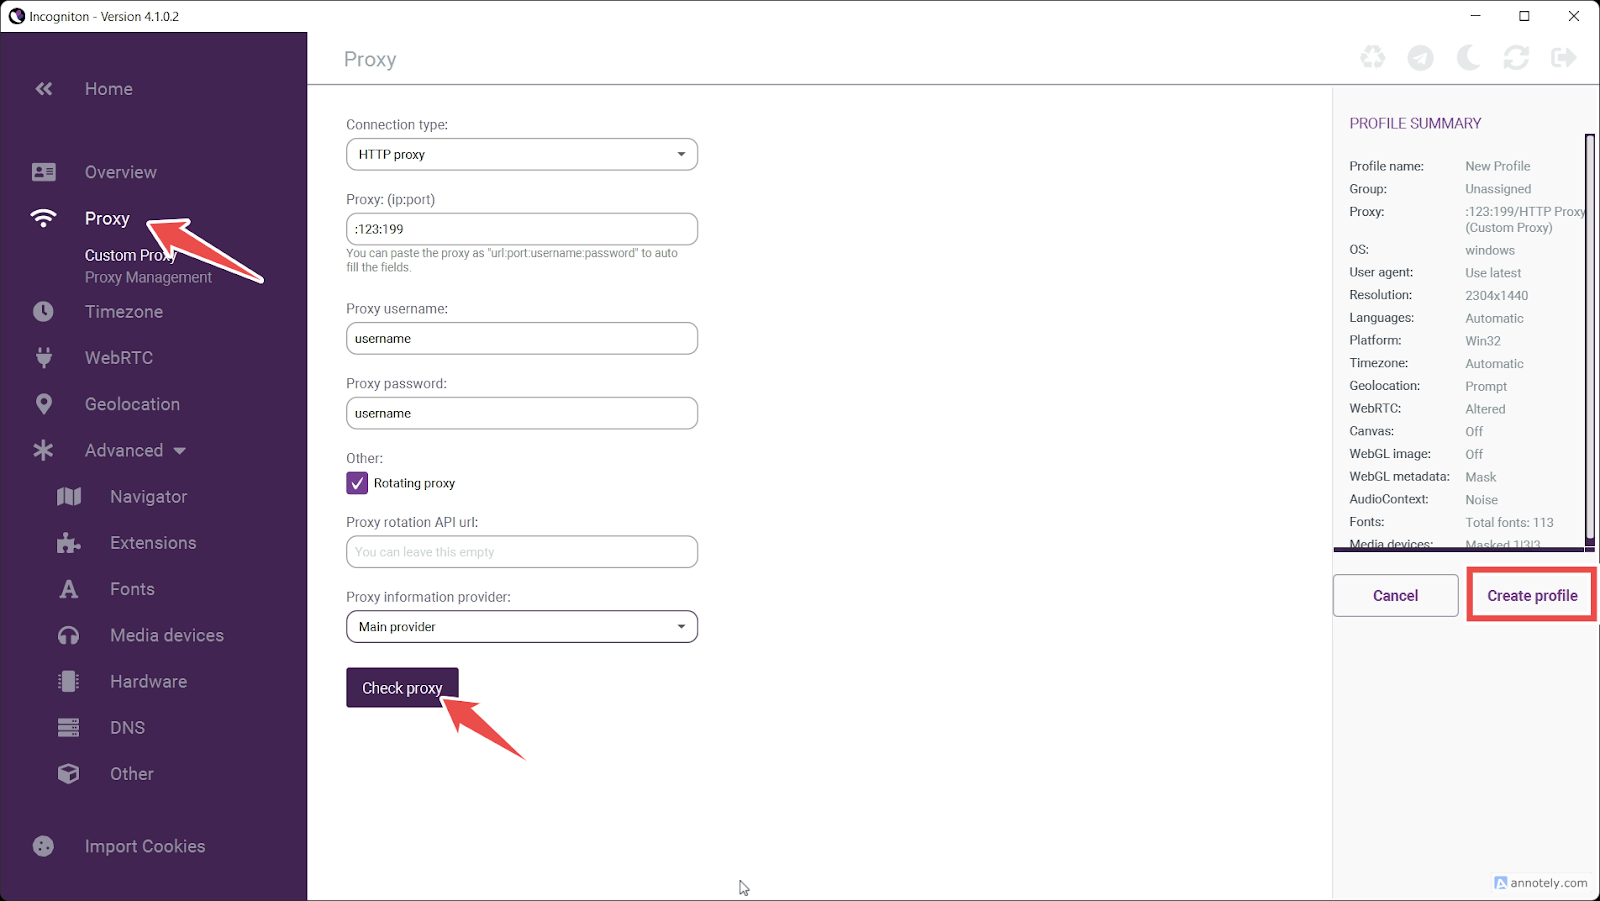
In the case of a rotating proxy, check the Rotating proxy option. Here is the general overview of a rotating proxy or IP address configuration:
Rotating IP address configuration
For this option, use the Rotating Proxy Endpoint for configuration following this simple format:
- Proxy type (Internet protocol): HTTP or SOCKS5
- IP/Host: Profile Name (e.g. p.webshare.io)
- Port: Proxy Port field (e.g., 95)
Don’t forget to adjust the country settings on the Rotating Proxy Endpoint configuration page. This adjustment enables you to use a country-specific rotating IP address. Upon completion, click Check Proxy and Create Profile to begin.
If you decide not to click on Rotating proxy, your proxy configuration will automatically be set to a static proxy. Here is a brief look into the static proxy or IP address configuration:
Static IP address configuration
Notably, this type of configuration could be a data center or residential proxy. If you opt for a static IP configuration, you must obtain information from your account’s proxy list:
- Proxy type: HTTP or SOCKS5.
- IP/Host: Proxy address number (e.g., 198.111.338.798)
- Port: Specific number (e.g. 2000)
Depending on your preferences, you can also organize your proxies into groups.
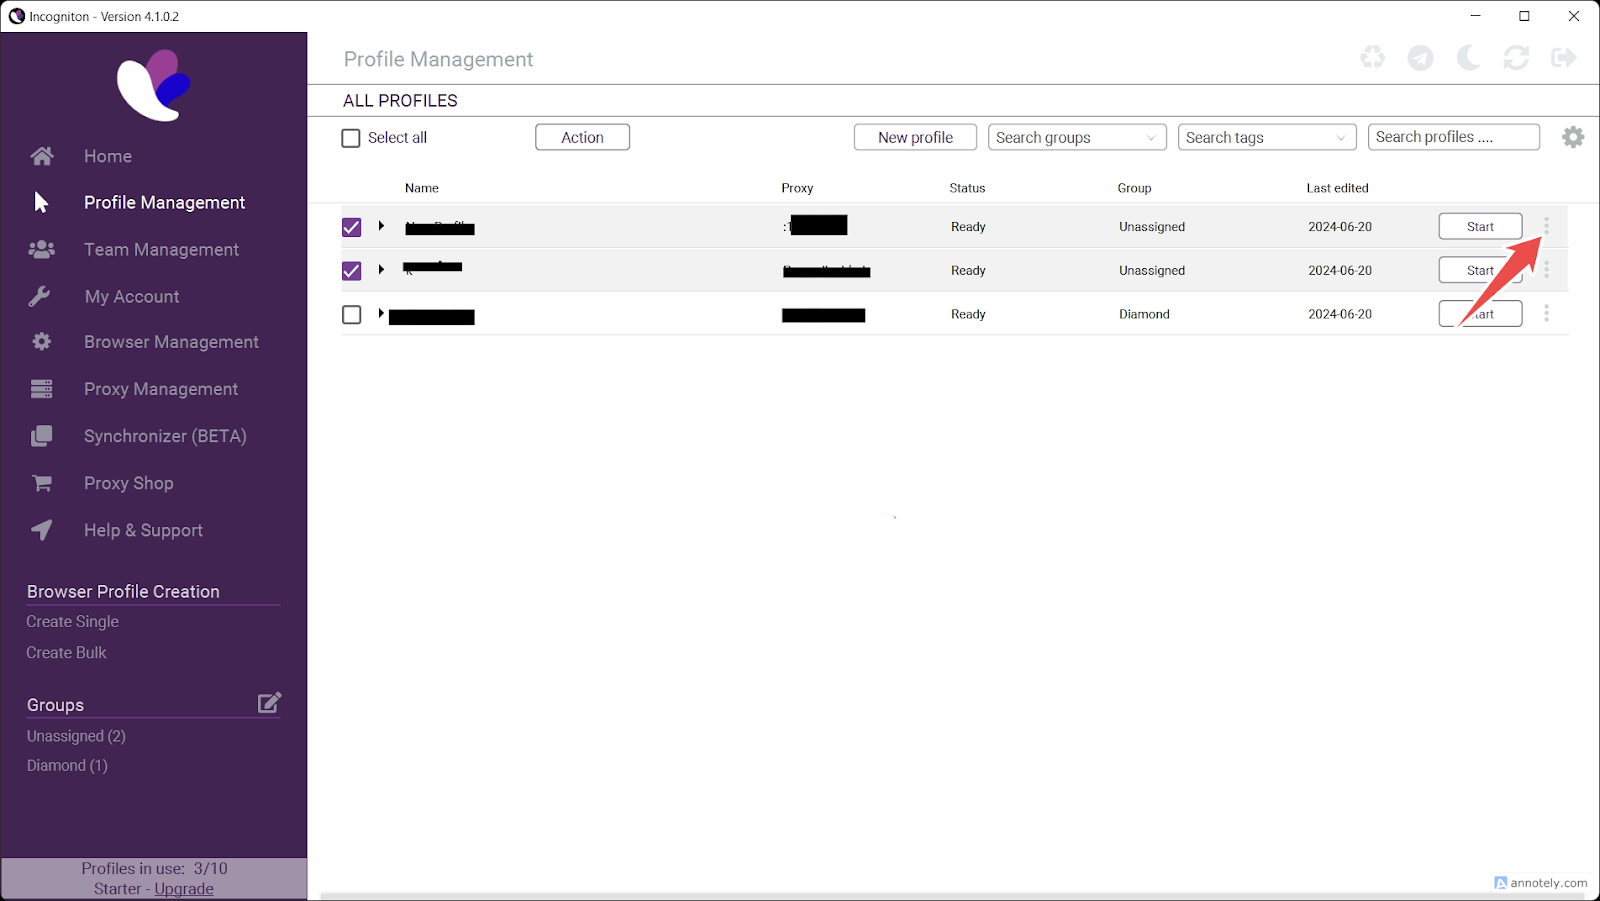
To do this, select the proxy you want to move and click on the three-dot menu on the right sidebar. Then, choose the appropriate group.
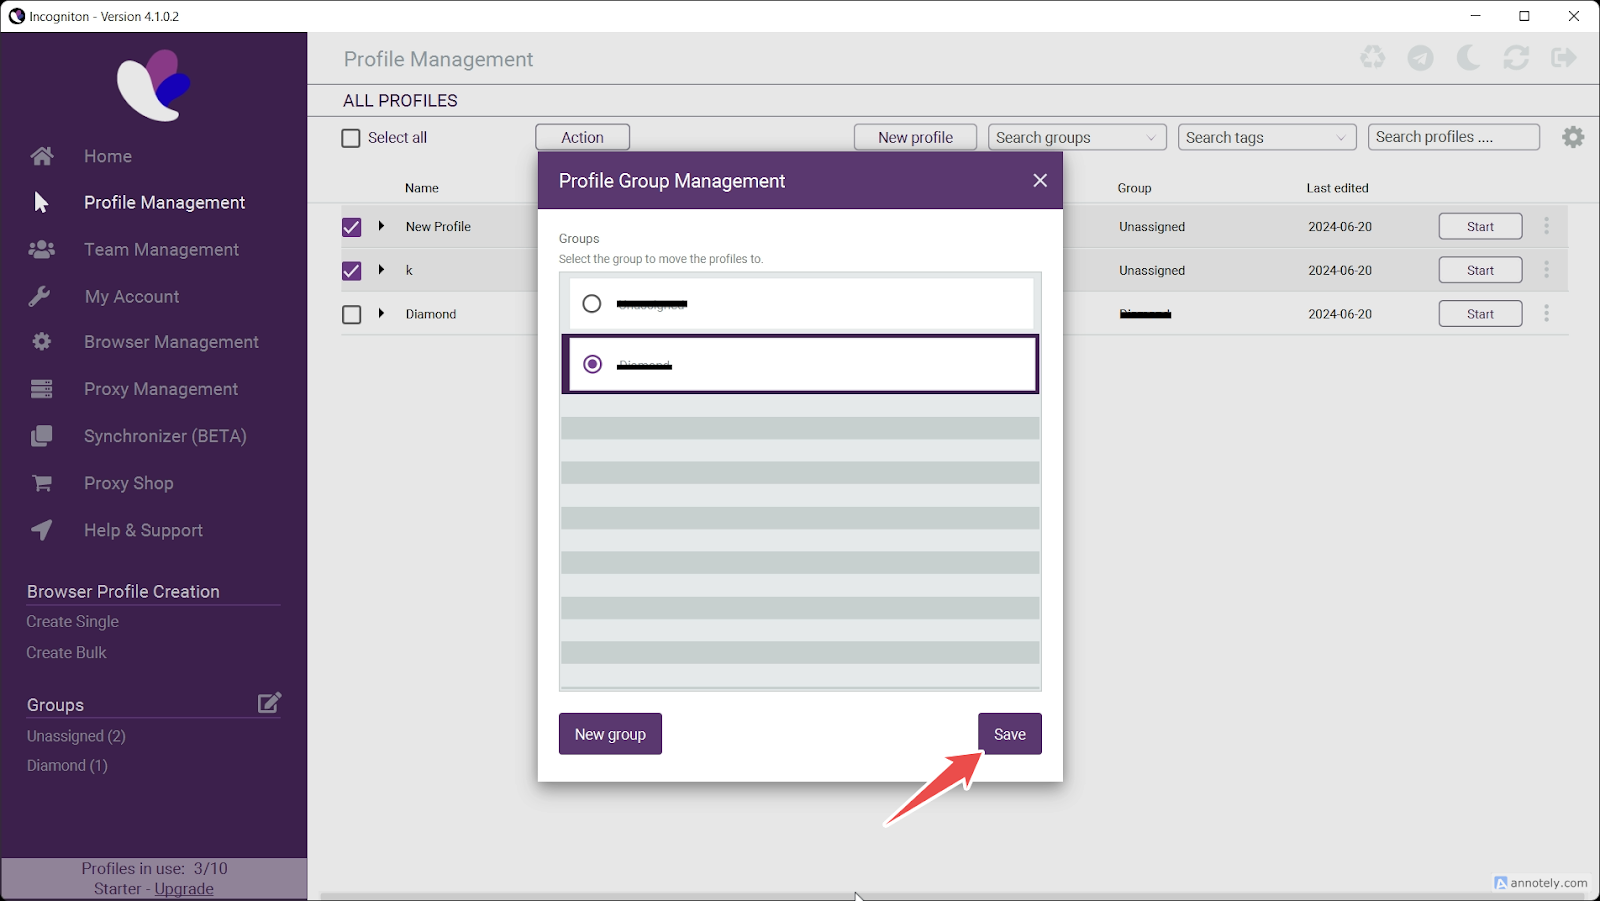
Save your action; voila, your proxies are automatically added to the new group.
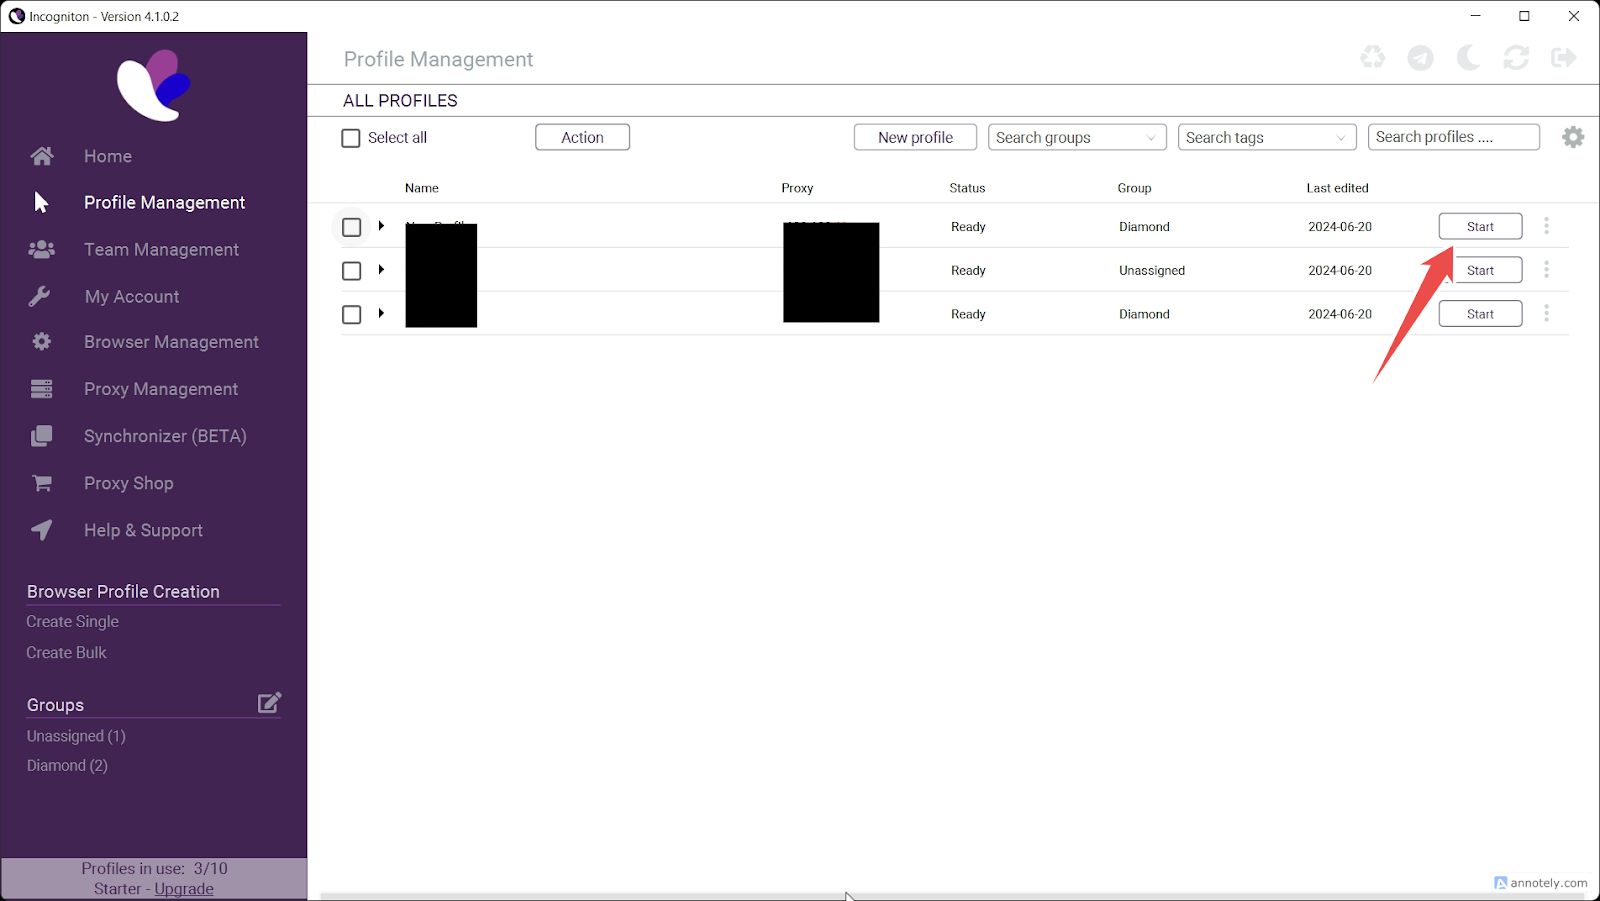
6. Activate your proxy
Click the Start button on your new profile, as illustrated below, to activate your proxy.
How to set up batch proxies in Incogniton
If you intend to use or manage multiple profiles in different sessions, it’s advisable to learn how to configure a batch proxy. A batch or bulk proxy allows you to access these profiles with just a few clicks.
To begin, navigate to Proxy Management and click Create Bulk, as illustrated in the image below. A pop-up will appear, and then you can import your proxies however you like.
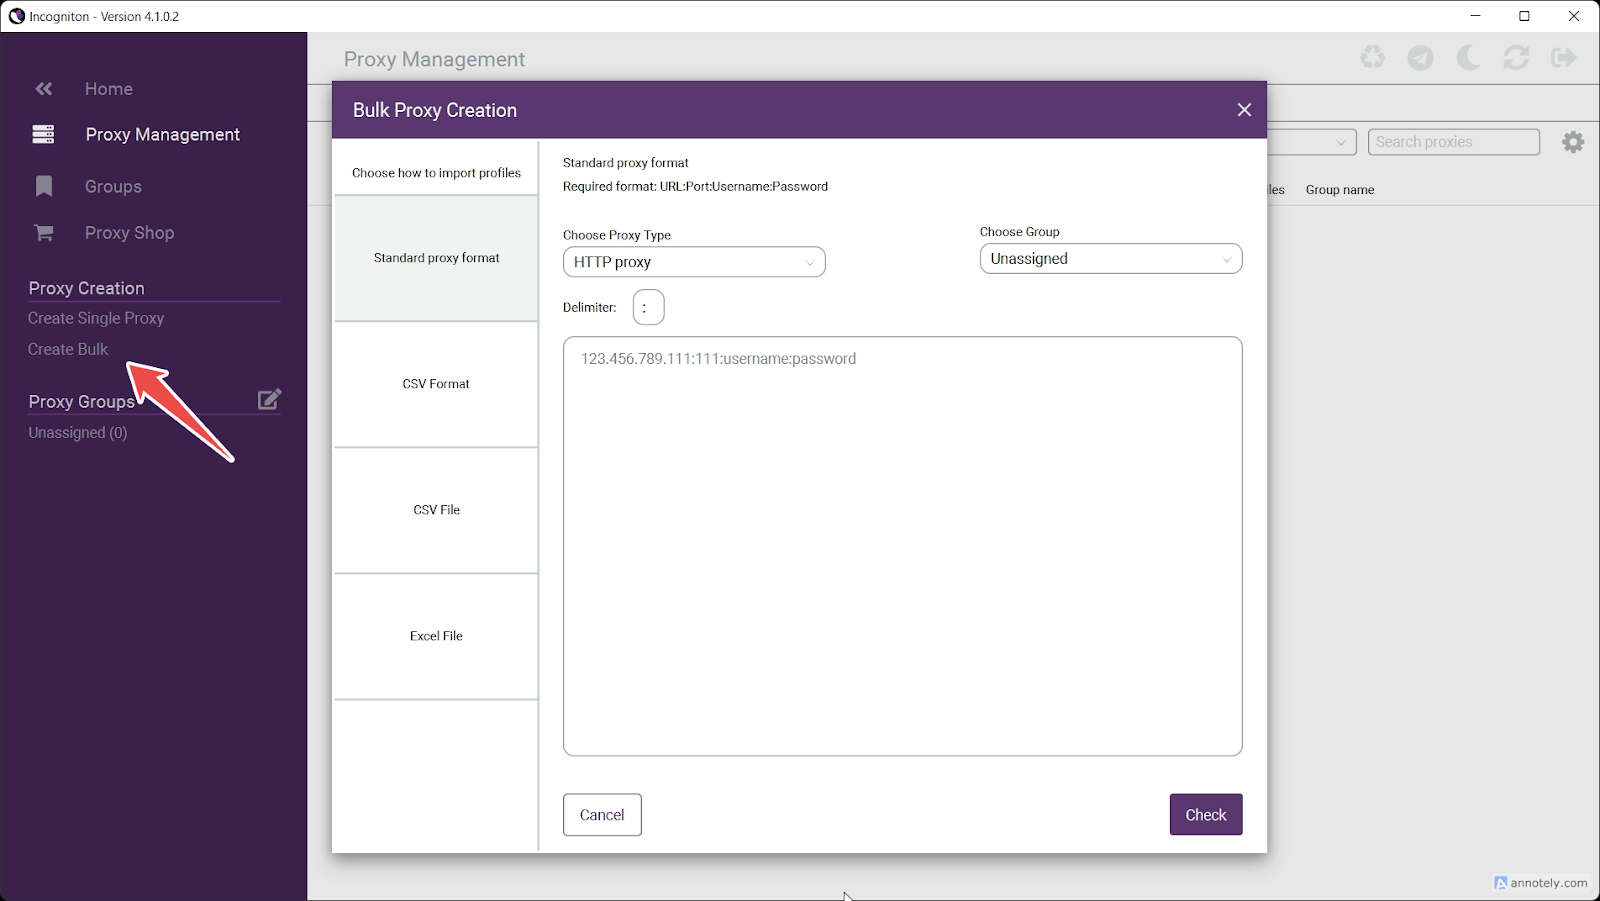
Creating a bulk proxy on Incogniton involves four major formats, including:
1. The standard proxy format
The standard format for bulk or batch proxy creation on Incogniton involves pasting the proxy, port username, and password in the format shown below. As a Webshare user, you can easily download your configuration from your account’s Proxy list page.

Simply open the file, copy its content, and paste it into the box that pops up upon clicking Standard proxy format. You can limit your proxy to one per line or choose the colon format, which is usually set by default.

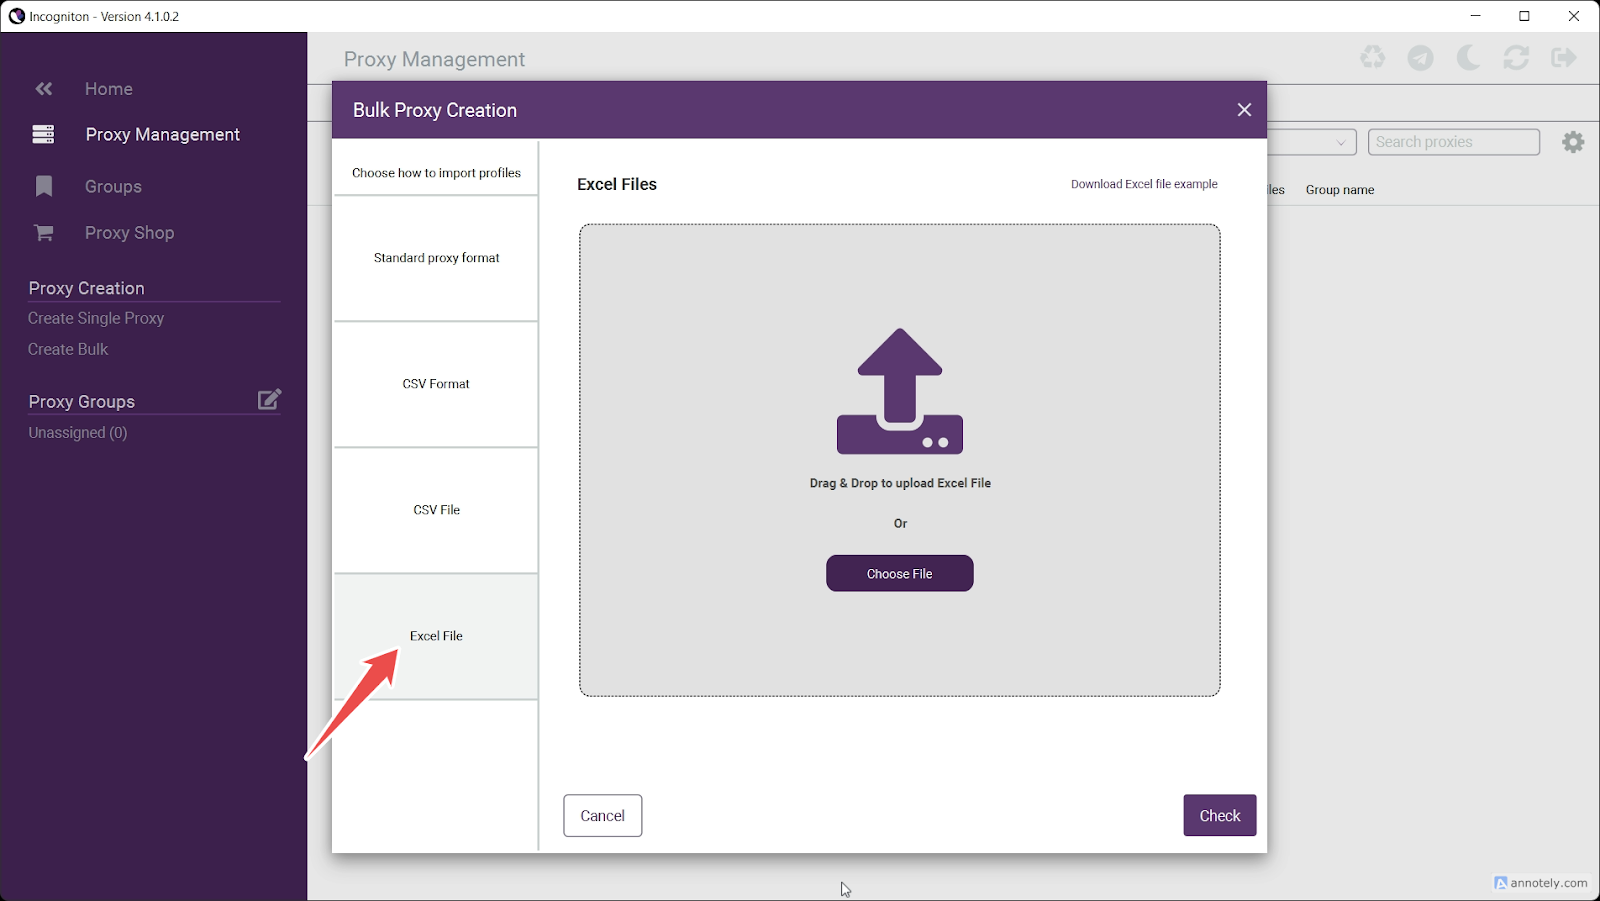
2. The CSV format and Excel format
Importing your proxies via CSV or Excel requires you to download the template first. Then, you must fill out the template and save the document to your device. After this, click on the CSV file or Excel file.
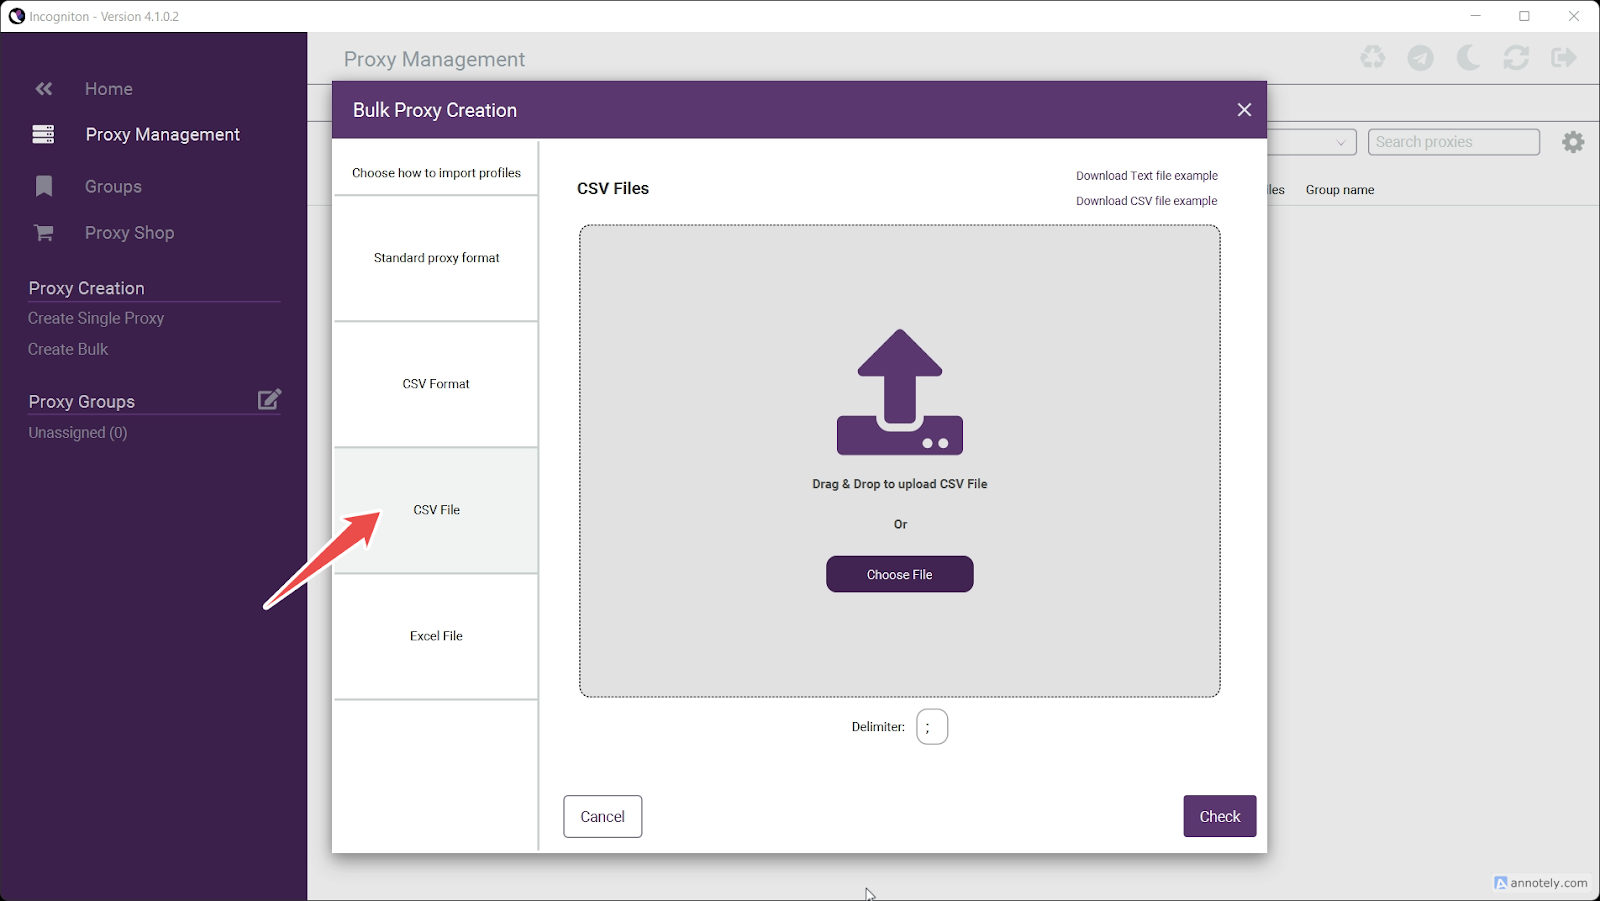
This allows you to upload the already completed document.
Check and import your bulk proxies
Depending on the format used, click Check.
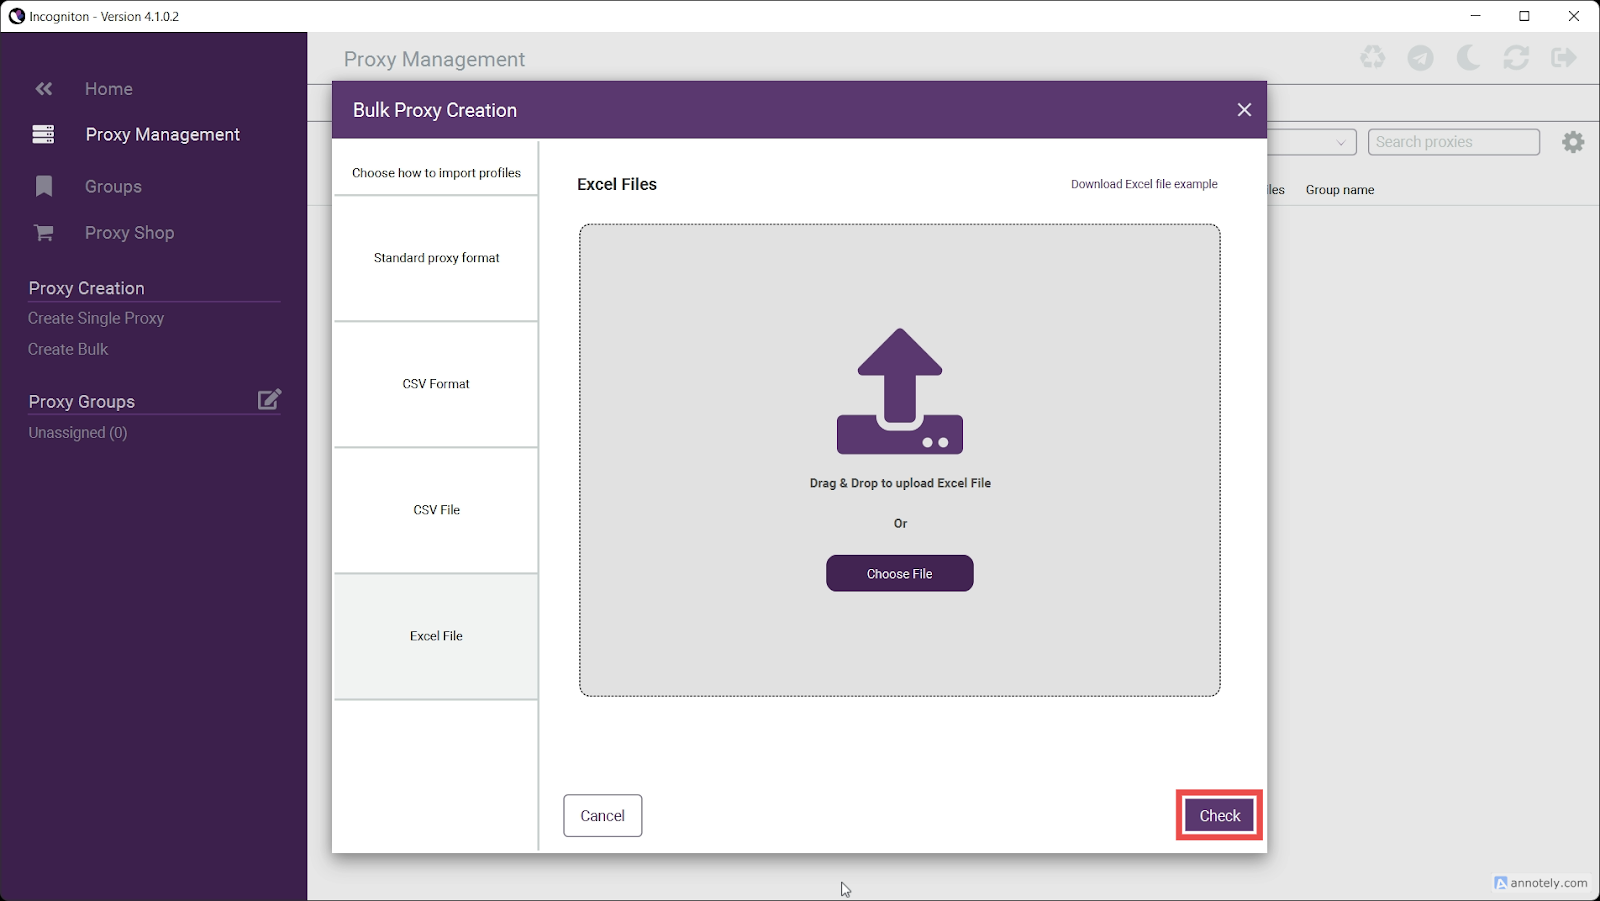
Your document and proxies will be checked and imported into the database in Incogniton.

There you go! We have walked you through the necessary steps to integrate proxies on Incogniton and enhance privacy and security further. With these steps, you are one step closer to integrating your proxies, whether single or in bulk.
Remember to take advantage of Webshare offer of 10 free proxies with each account you create. This offer is still up for grabs. Enjoy!


