

Get 10 Free Proxies For Multilogin
Multilogin is an anti-detect browser designed to help users manage multiple accounts without getting detected. Businesses, marketers, and automation specialists rely on it to create unique browser profiles that bypass tracking mechanisms and prevent bans.
To get the most out of Multilogin, users need to integrate proxies. These proxies mask real IP addresses so that each browser profile appears to come from a different location or device. This is important to bypass website restrictions, run multiple accounts on the same platform, and automate actions without getting flagged.
In this tutorial, we will walk you through two methods to integrate proxies with Multilogin. By the end, you’ll know how to set up a secure and reliable proxy connection with Multilogin to enhance your browsing experience.
Multilogin Versions: Multilogin X and Multilogin 6
Multilogin offers two versions, Multilogin X and Multilogin 6. Multilogin X is the latest generation, packed with advanced automation, AI features, and integrated proxies. Since it does not support older operating systems, make sure your OS is compatible before installing it. If your system is not supported, you may face issues such as agent installation failures or connection errors between the agent and the launcher.
For those who prefer the traditional setup, Multilogin 6 is a previous-generation desktop app that includes all essential features for multi-account management. It also supports older macOS versions like macOS 12 Monterey and macOS 11 Big Sur.
Before starting
If you want to evaluate Multilogin before committing to a plan, you're in luck! Multilogin now offers a 3-day trial for just €3.99 to give you the opportunity to explore its features and see if it meets your needs.
When it comes for paid subscriptions, Multilogin provide several options to match different needs. The Starter plan is great for individuals managing up to 10 browser profiles. The Solo plan expands this to 100 profiles with API access and more proxy traffic. For teams, the Team plan offers 300 profiles with unlimited team members. If you need even more, the Custom plan provides more customized solutions with extra profiles, unlimited API access, and increased proxy traffic.
Moreover, when using Multilogin, pairing it with a solid proxy provider helps mask your real IP address and prevents account bans.
Webshare is a great option because it offers premium proxies that work well with Multilogin. You get 10 free premium proxies, 1GB of monthly bandwidth, and access to proxies from multiple countries just for signing up. There’s no need to enter your credit card details, so you can try it out without any risk. If you’re looking for an easy way to get started, head over to Webshare and create your account today!
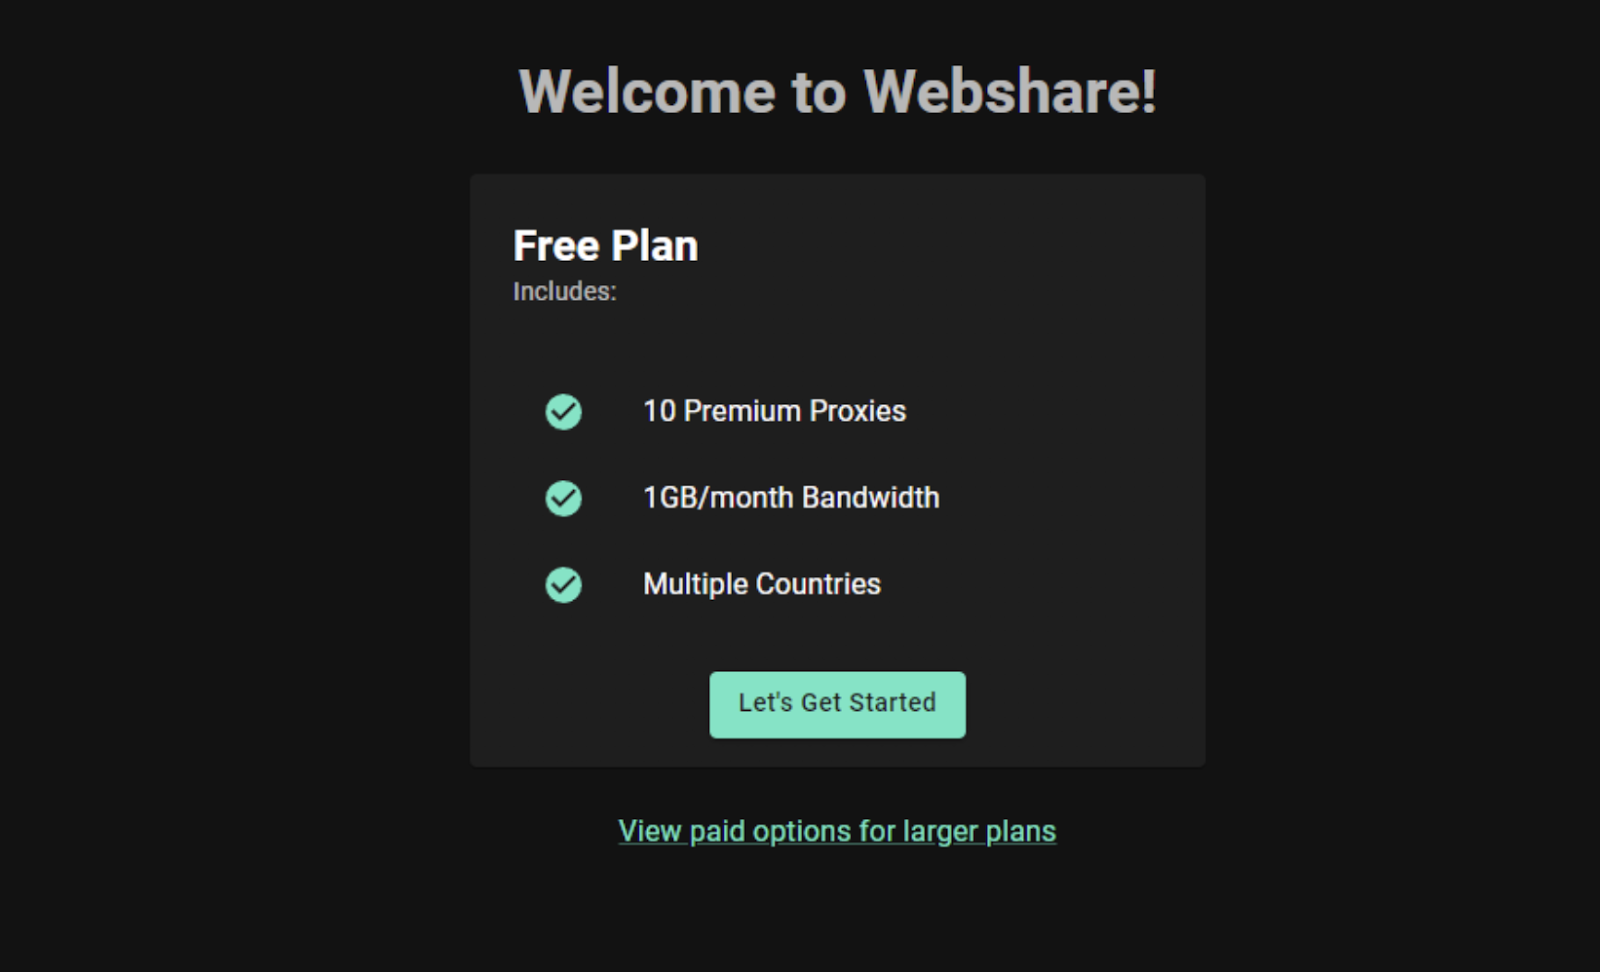
After signing up, go to the Proxy List section. There, you will find a list of 10 free proxies available to you, along with their details, including IP, port, and authentication credentials.
How do I set up a single proxy with Multilogin?
A single proxy is a dedicated proxy assigned to a single browser profile to mask its IP address and provide anonymity.
To use Multilogin to configure a single proxy, you need to download Multilogin and set up an account. While Multilogin does not offer a completely free trial, they provide a 3-day trial for €3.9 to test the platform before committing to a plan. If you prefer to go with a subscription plan, you can also choose a subscription plan that best fits your needs.
Follow the steps below to set up your single proxy with Multilogin.
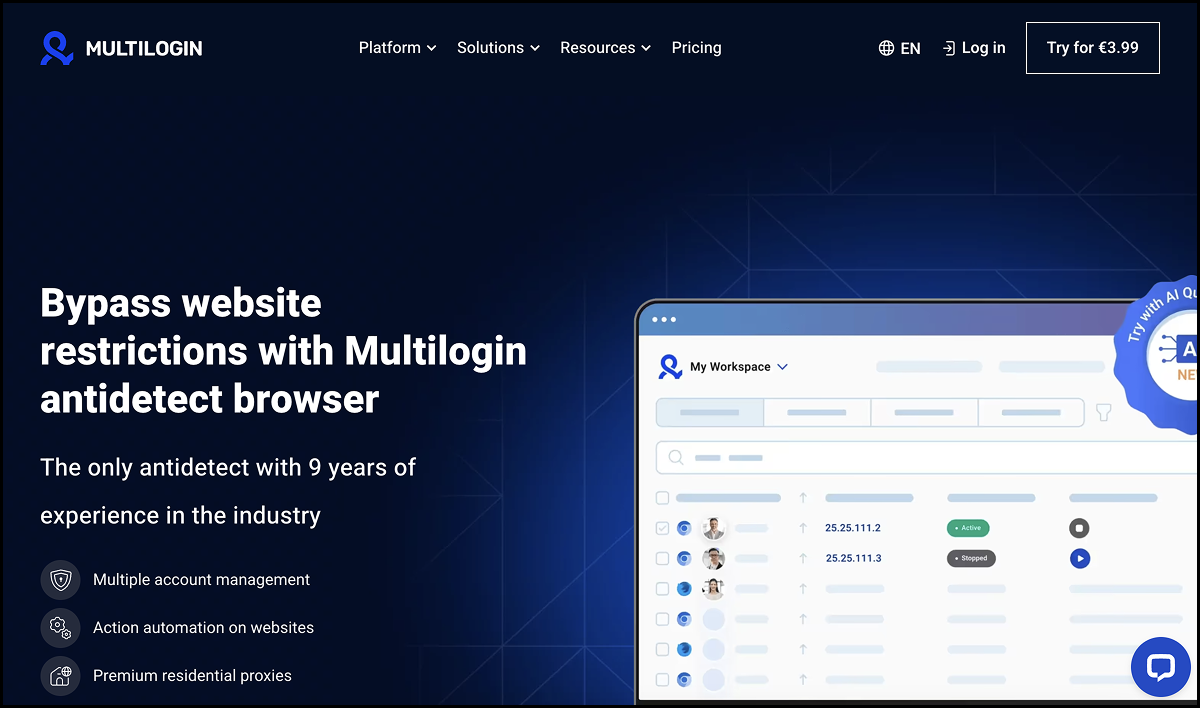
Step 1: Get the 3-Day Trial or Choose a Subscription Plan
Go to the Multilogin website and click on the "Try for €3.99" option if you want the paid trial. If you're ready for a full subscription, select the plan that suits you. Choose your payment method and complete the transaction. Once the payment is successful, you will be redirected to the Create Account page.
Step 2: Create Your Multilogin Account
On the Create Account page, enter your email, registration code(upon making the payment, this code will be auto-loaded), and password.
Confirm your password and accept the Terms of Service.
Click "Create Account" to create the account. Once your account is ready, you can log in and start using Multilogin.

Step 3: Log in and Download the Agent
Log in to your Multilogin account.
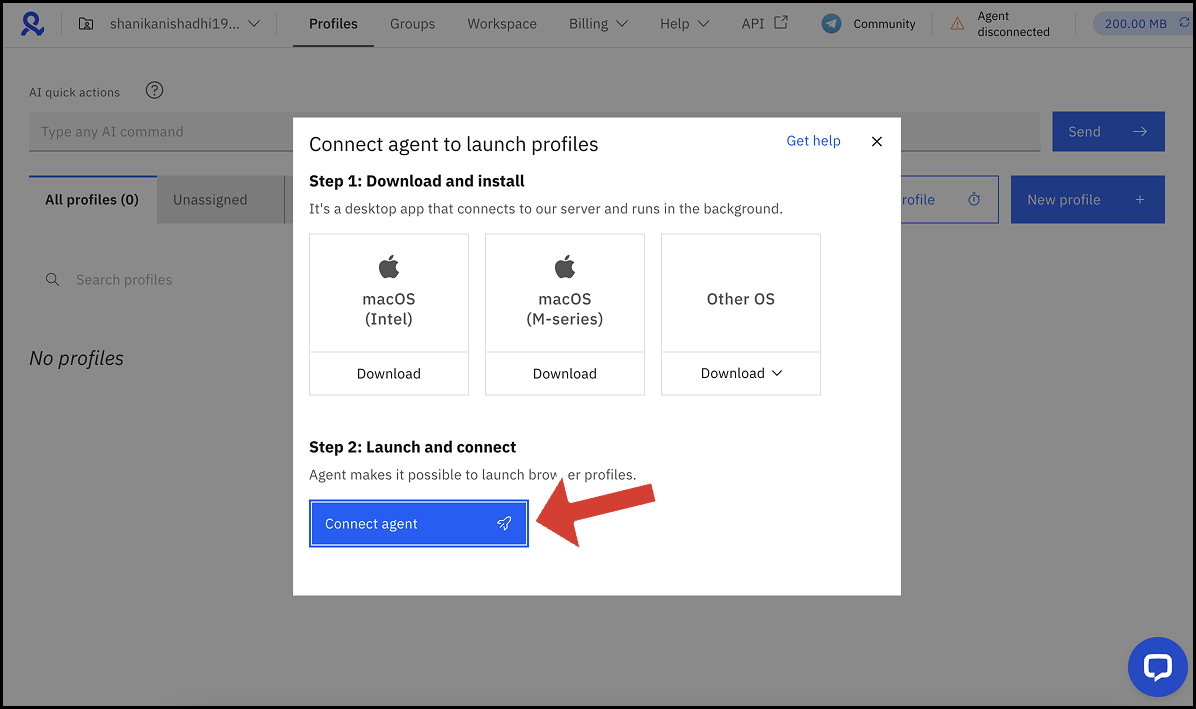
Click on "Agent disconnected" at the top right of the screen.

A pop-up window will appear with download options. Select the download button that matches your operating system (macOS Intel, macOS M-series, or Other OS).
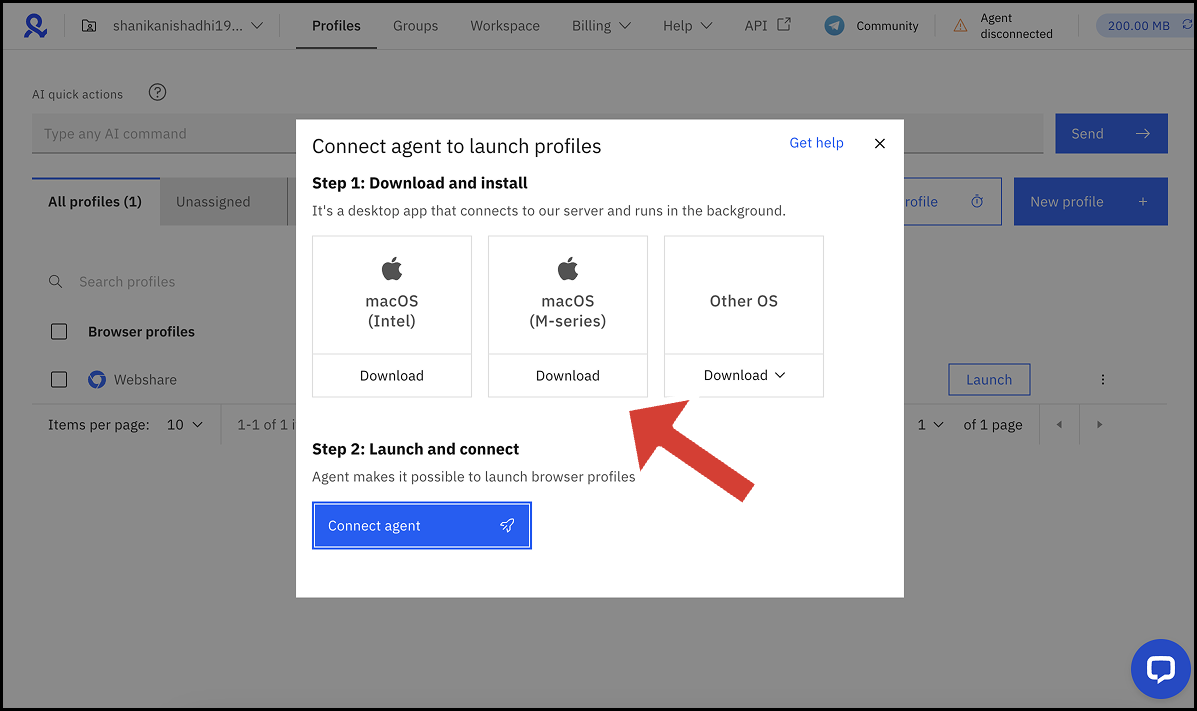
The .pkg file will start downloading if you're using macOS, while the .exe file will download for Windows.
Step 4: Install the Agent and run the Launcher
The Agent is a small desktop app that runs in the background to help Multilogin function smoothly. It sets up the necessary folder structure, downloads the Launcher if it's missing or outdated, and starts it.
Follow the below steps to download and install Agent.
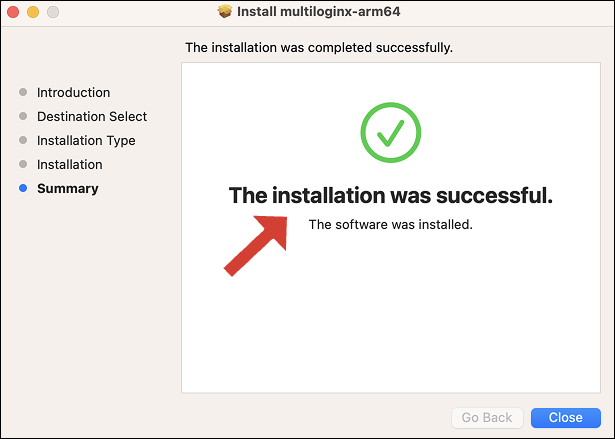
Locate the downloaded .pkg file/.exe file on your computer.
Click on “Continue” to start the installation process.

Follow the on-screen instructions until you see the success message confirming the installation.
Once the agent is installed, it automatically sets up and runs the Launcher.
The Launcher handles everything related to browser profiles. It finds and downloads browser cores when needed. It starts and stops profiles to keep them running smoothly. It also keeps profile data in check and syncs it with the cloud.
Step 5: Connect the Agent
Go back to the Multilogin home page.
Click on “Agent disconnected” and then click on "Connect agent" to establish a connection.
Once the setup is complete, you will see "Agent connected" at the top with a green tick mark next to it. You can now start using browser profiles.

If you face any issues during agent installation or while connecting the agent, visit Multilogin's troubleshooting guide to identify solutions.
Step 6: Create a New Browser Profile
A browser profile is a unique, isolated environment within Multilogin that allows users to manage multiple online identities without detection. Each profile operates with its own fingerprint, cookies, storage, and proxy settings.
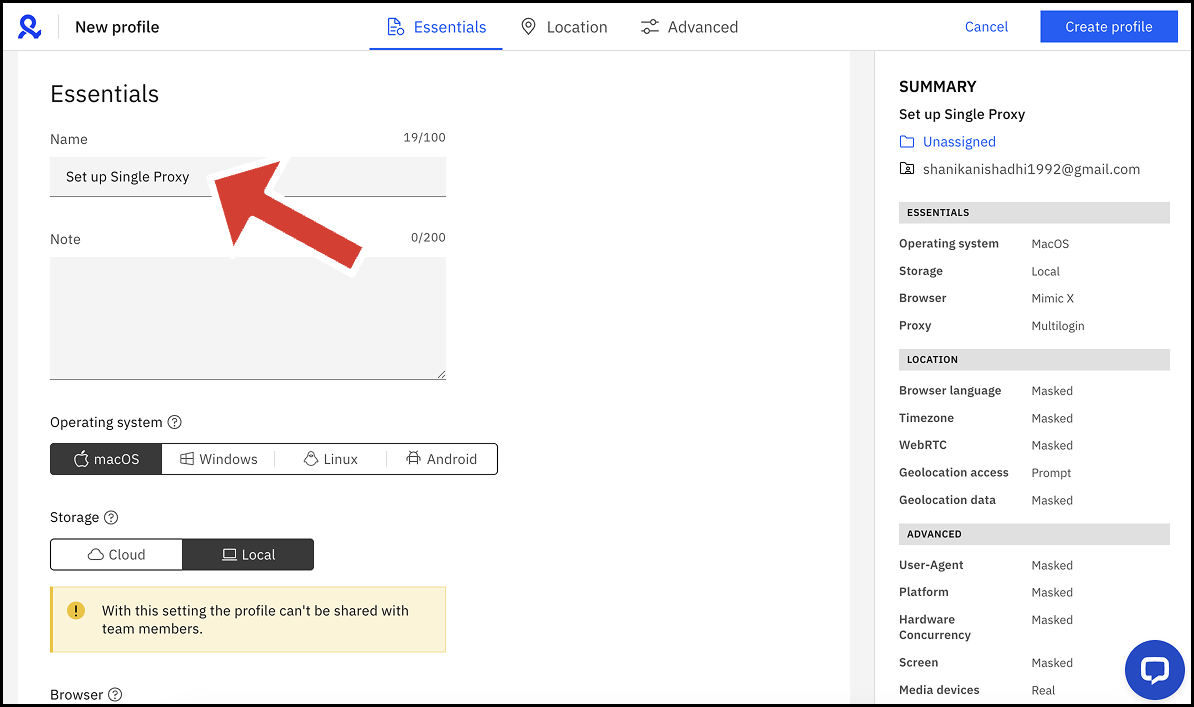
Click on "New profile" to add a new browser profile.

Enter a name for the profile.
Step 7: Add Proxy Details
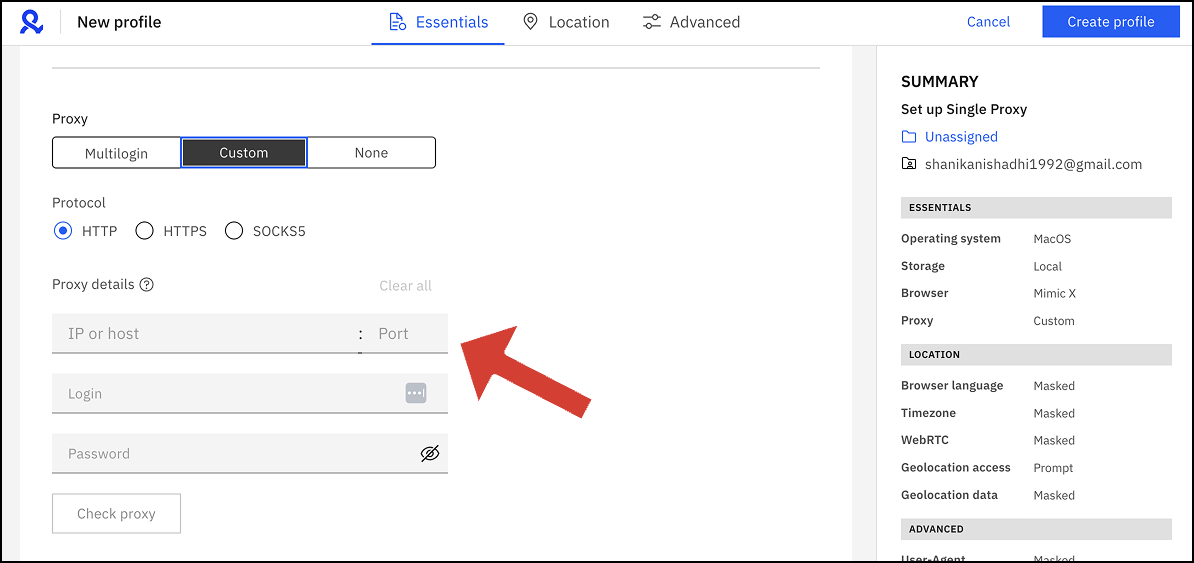
In the Profile Creation window, scroll down to the Proxy section.
If you are using proxies from a third party service like Webshare, select the "Custom" option as the proxy.
Here, you can configure three types of proxies: HTTP, HTTPS, and SOCKS5. These options help you to set up a custom proxy by entering the IP, port, login, and password.
Enter the proxy details (IP, port, login, and password) taken from Webshare.
Step 8: Test the Connection & Complete Profile Creation
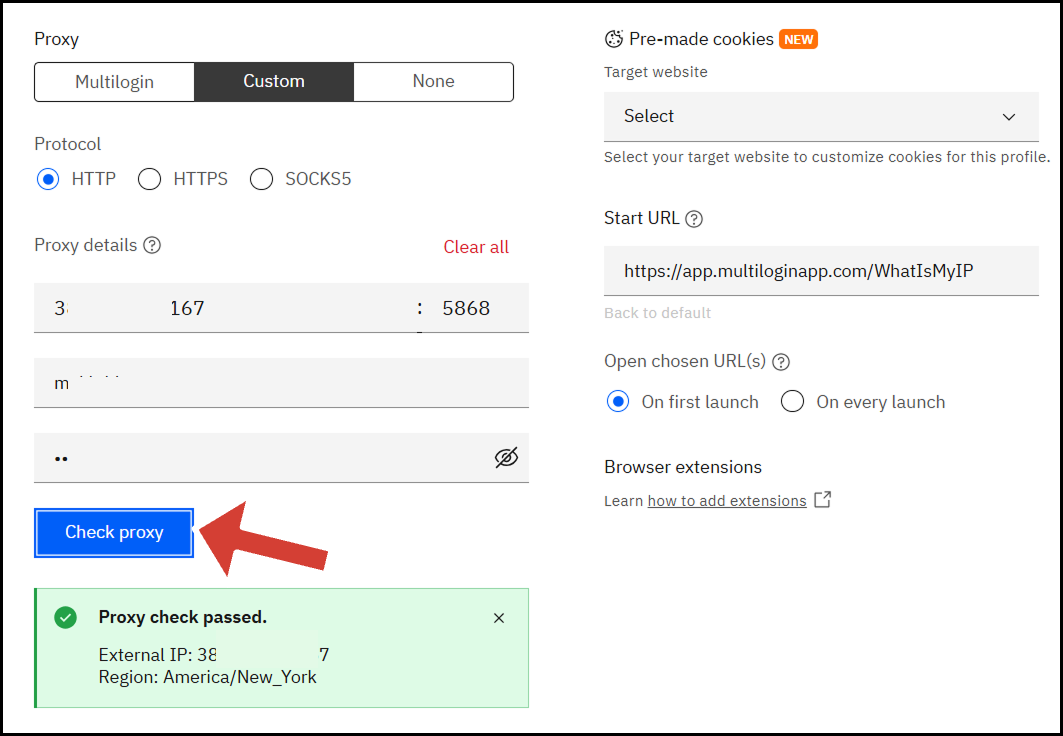
Once you have entered the details, you can test the proxy to make sure that it is functional.
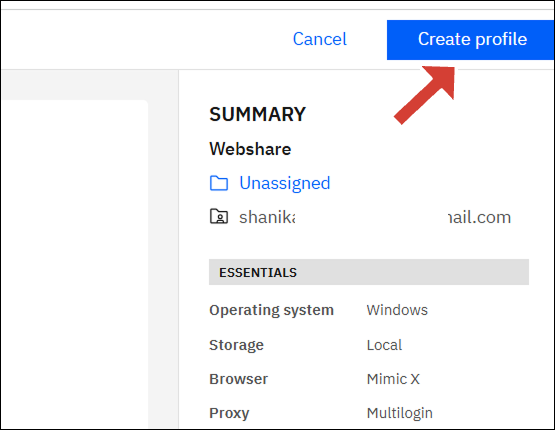
Click on the “Check proxy” button below the form. If your proxy is operational, it will be displayed in green that the “Proxy check passed”.
Once everything is set up correctly, click the "Create profile" button.
Step 9: Launch Profile
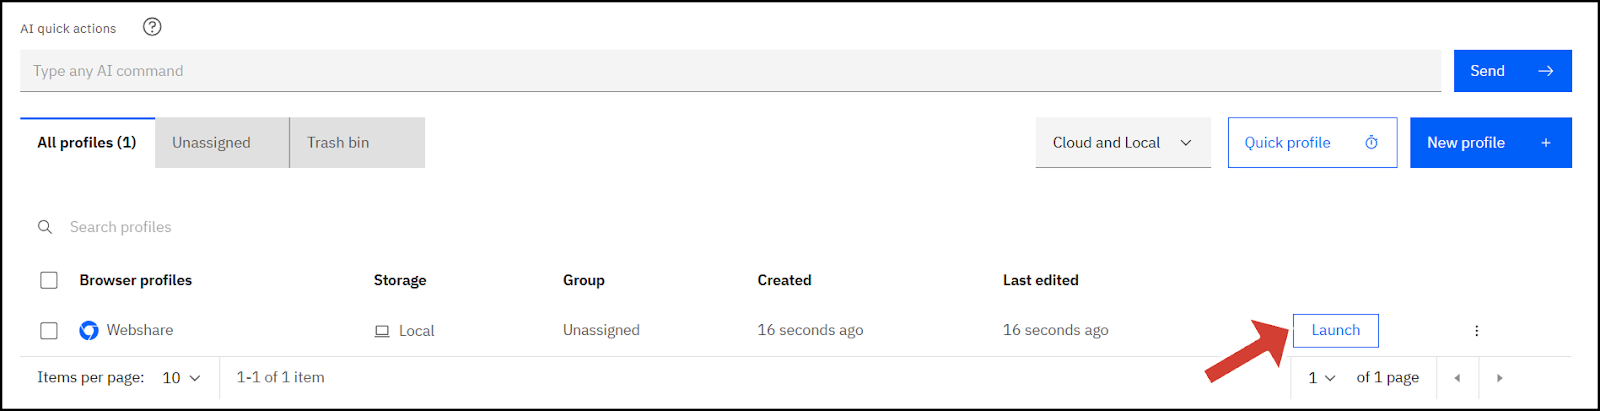
The created profile will be listed under All Profiles.
Next, click the "Launch" button next to it to start the browser.
A notification will appear, with a notification that the process may take about a minute for Multilogin to initialize.
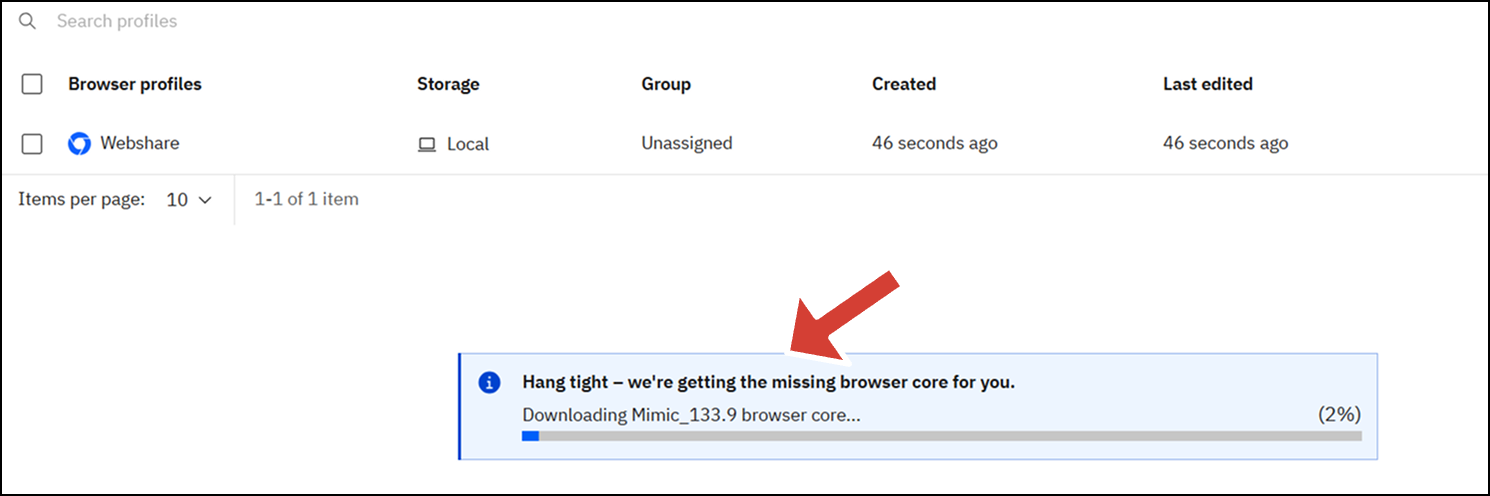
Once the setup is complete, the browser will start automatically.
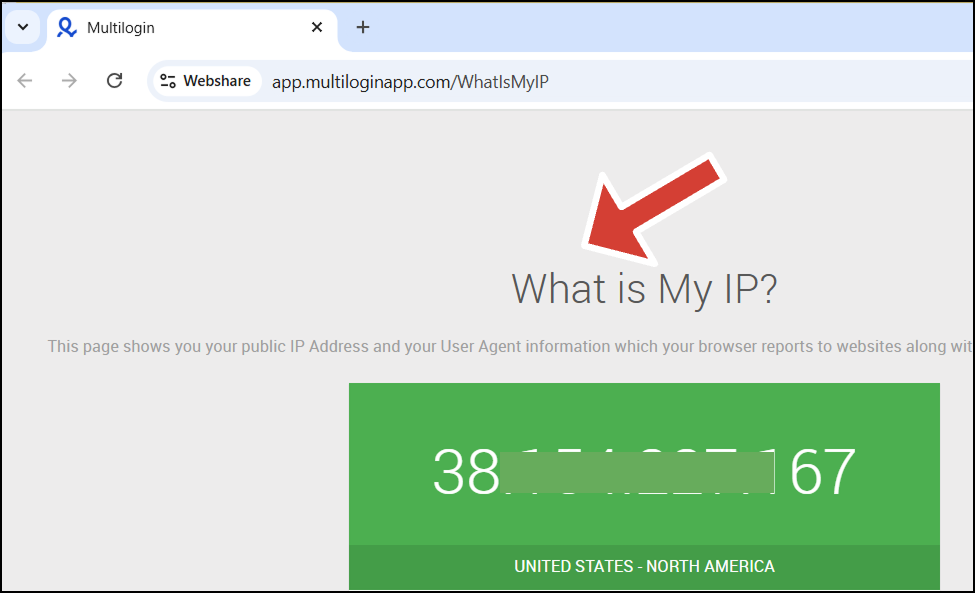
Step 10: Start Browsing
Now that you are connected to a proxy, you can browse the internet with confidence, free from concerns about privacy or security. With the added layer of security, you can surf the web anonymously, avoiding tracking and ensuring that your online activities stay private.
How do I set up batch proxies with Multilogin?
Multilogin does not have a direct option to configure batch proxies at once. However, you can achieve this by creating multiple browser profiles and assigning different proxy details to each.
Set up each profile with a unique proxy and save them in your Profiles list. When you need to use a specific proxy, simply launch the corresponding browser profile. This method helps you organize and manage multiple proxies with separate IP addresses for different tasks.
Conclusion
That wraps up our guide on configuring proxies in Multilogin. We hope this walkthrough makes the setup process simple and easy.
As a quick reminder, Webshare helps you to create a free account without requiring a credit card. You’ll also receive 10 premium proxies at no cost when using Multilogin’s features. Don’t miss out on this chance to enhance your browsing experience with secure and reliable proxies.


