


Integrating a proxy with ixBrowser helps you easily manage multiple accounts without facing blocks or annoying CAPTCHAs. With ixBrowser, you can configure either a single proxy or batch proxies. In a single proxy setup, you use one IP address for that session. In the batch proxy configuration, it switches between a pool of IPs, which makes it harder for websites to track your location or detect that you are managing multiple accounts. This is super helpful for activities like running social media accounts, online shopping, or gathering data from websites.
Using proxies also solves common problems like account bans and location restrictions. In this guide, you’ll learn two simple ways to set up proxies with ixBrowser. We’ll walk you through how to add a single proxy and how to set up multiple proxies at once.
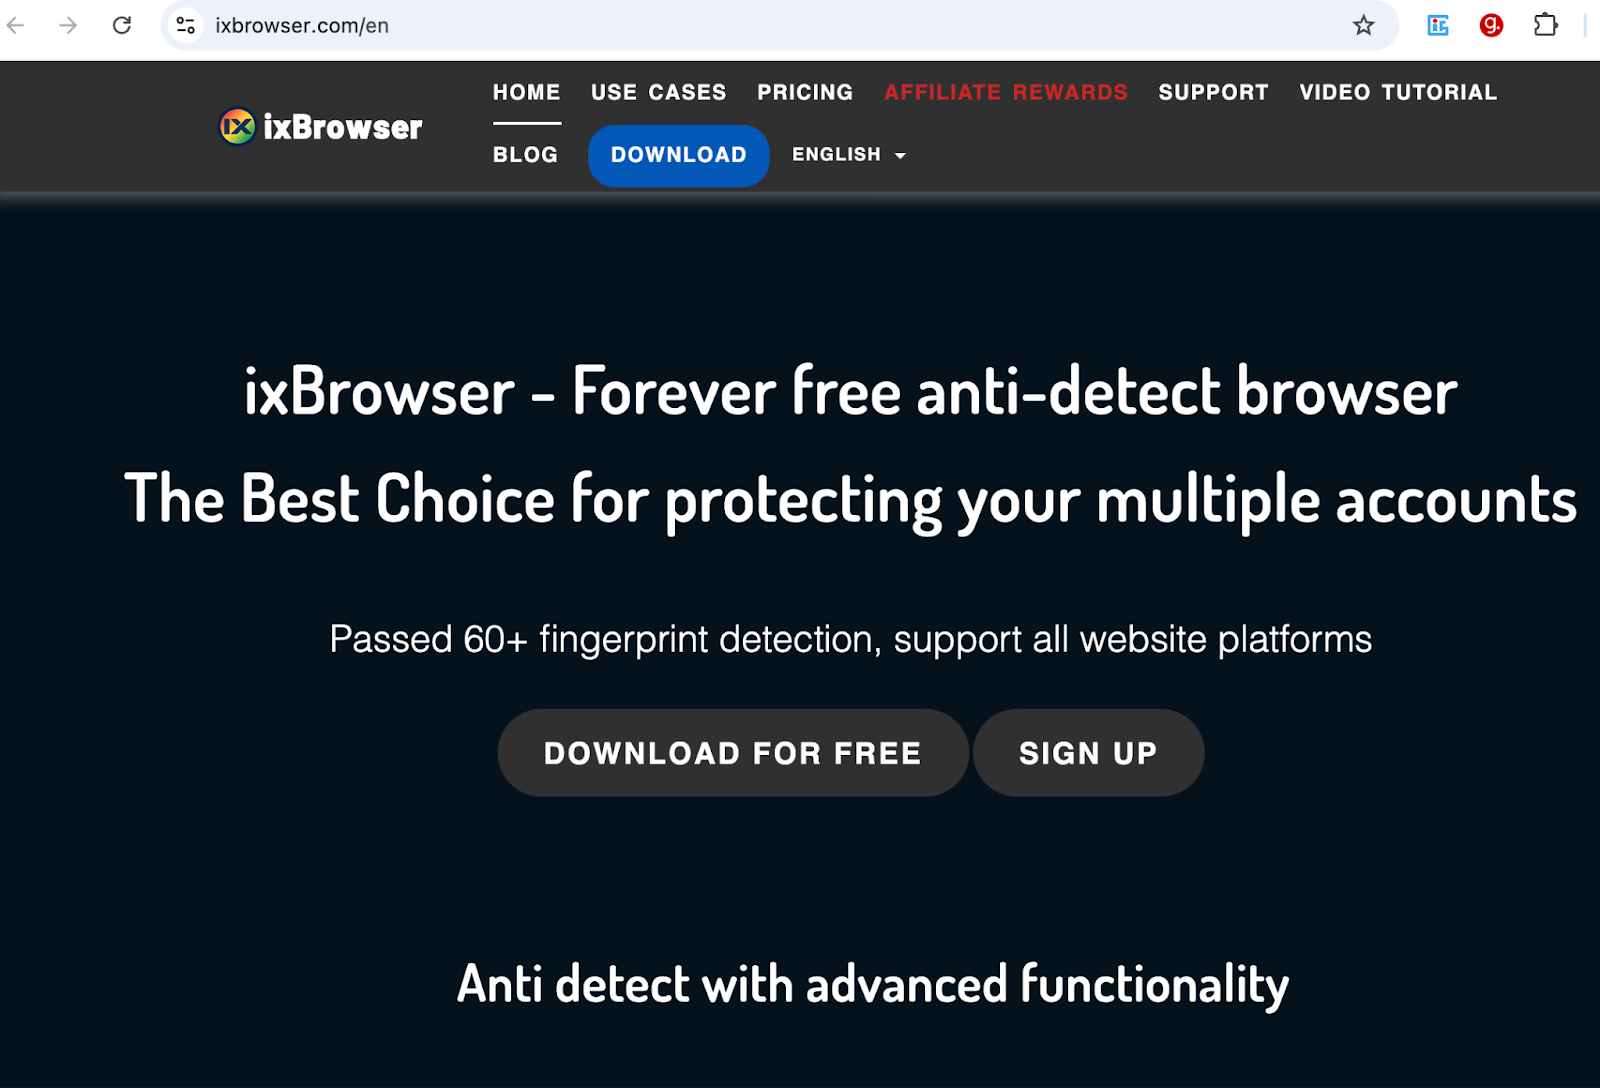
What is ixBrowser?
ixBrowser is a free anti-detect browser that helps you safely manage multiple online accounts without getting tracked or banned. It works by creating unique digital fingerprints for each profile. These digital fingerprints include details like your browser type, operating system, and other settings that websites use to identify devices. By customizing these details, ixBrowser makes it look like each account is coming from a different device.
This is especially useful for social media management, e-commerce, dropshipping, and traffic arbitrage or earning money from website visits. It customizes every detail to make each profile look unique, which helps avoid detection. It also securely stores your browser data in the cloud, so you can access your profiles from any device.
ixBrowser supports all Chrome extensions, so you can continue using the tools you’re already familiar with. You can also import and export cookies easily. Managing thousands of profiles at once is simple and efficient. Team collaboration is smooth, with options to assign different roles to team members. Most importantly, ixBrowser has been tested against over 60 different fingerprint detection tests and passed them all.
Before starting
Before we begin, it’s important to get some proxies. We’ll need these later in the tutorial. Webshare is a great option because it offers 10 free premium proxies to anyone who signs up. You don’t even need to provide your credit card information.

To get started, go to the Webshare website and create an account. Once you’re signed up, you’ll receive your free proxies. To see their details navigate to the "Proxy List" section on your dashboard. These proxies come with 1GB of bandwidth per month and you can choose from multiple countries.
If you need more proxies or bandwidth, you can also explore Webshare’s paid plans. But for now, the free plan is enough to get you started.
How to set up a single proxy in ixBrowser?
Setting up a proxy in ixBrowser is easy. Just follow these steps to get started.
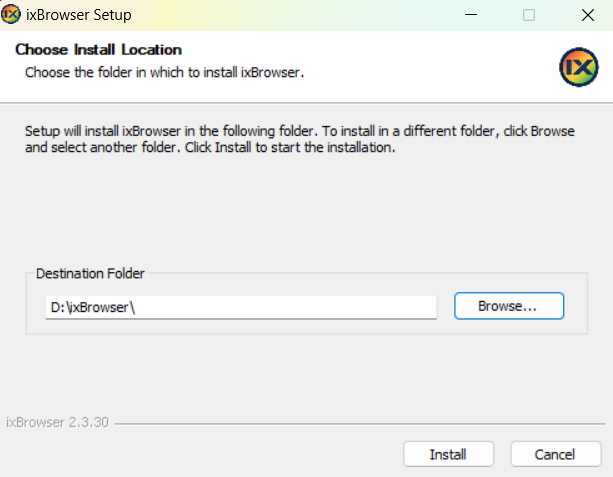
Step 1: Download and Install ixBrowser
Go to the ixBrowser website and click on the Download button. This will download the .exe installer to your computer.
Locate the downloaded installer and double-click on it. Then, choose your preferred installation path and click on the “Install” button to start the installation process.
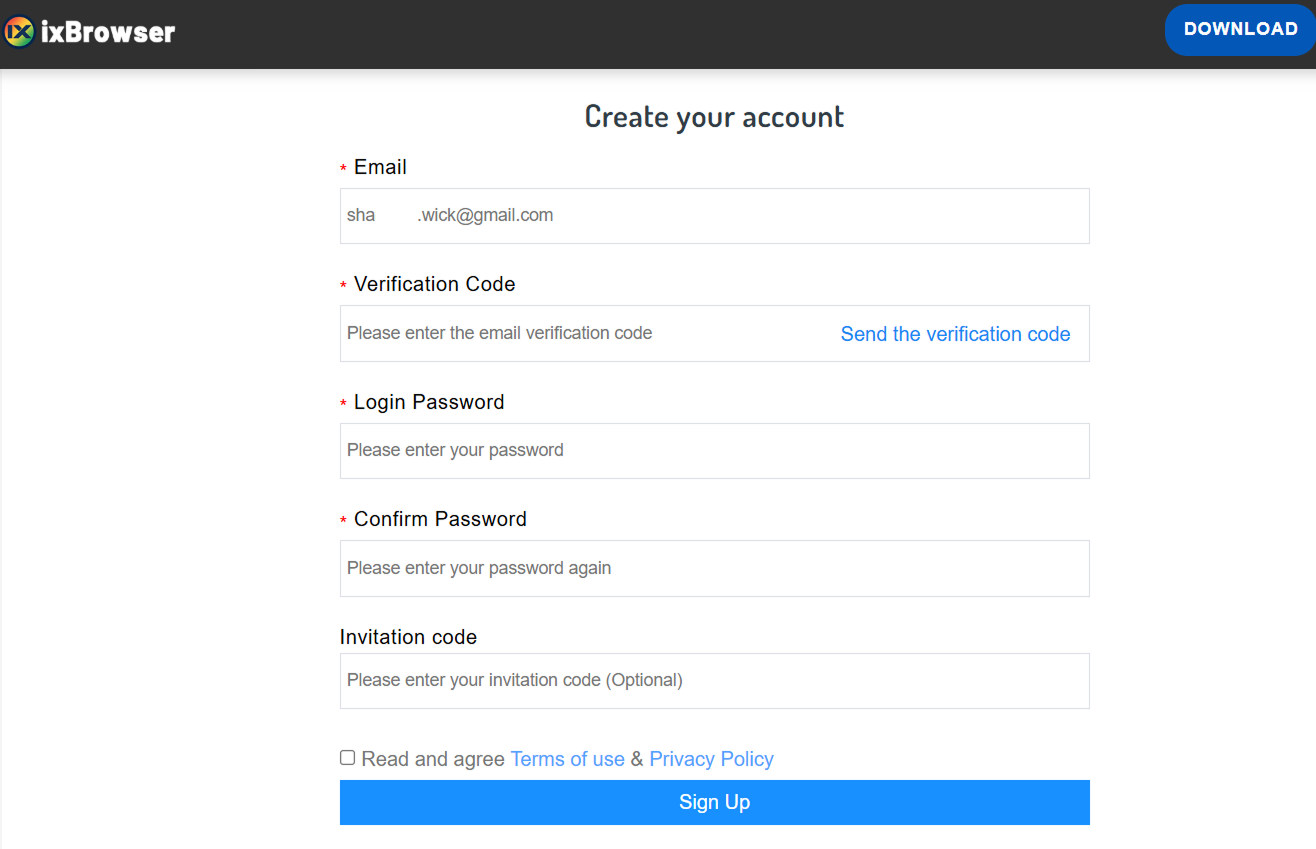
Step 2: Create Your Account
After installation, ixBrowser will direct you to the account creation page. There, enter the required details such as your email, username, and password, and click on Sign Up to complete the registration.
Step 3: Access Proxy Settings
Once you have successfully signed up, you will be taken to the ixBrowser home page.

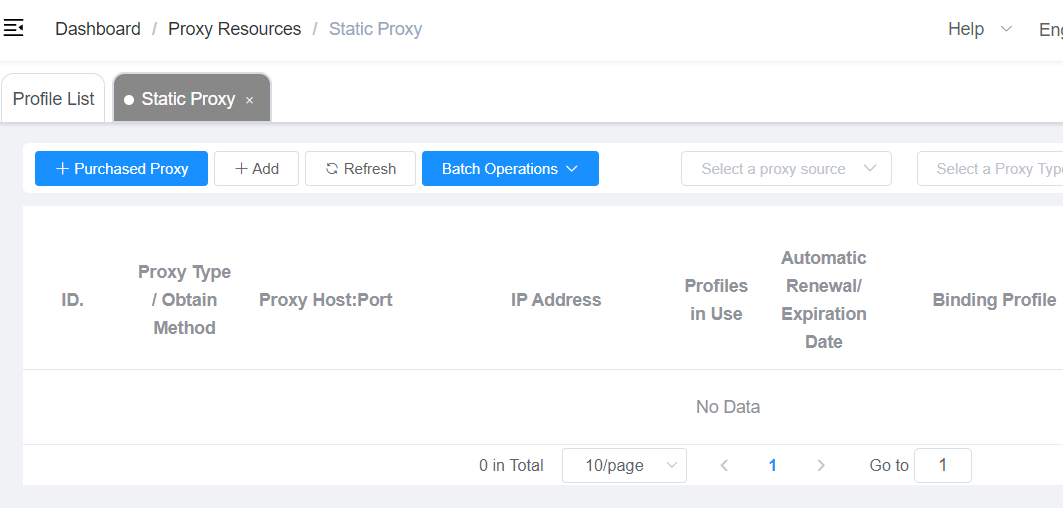
From the right navigation menu, select Proxy Resources. Then, click on Static Proxy to open the proxy setup screen.

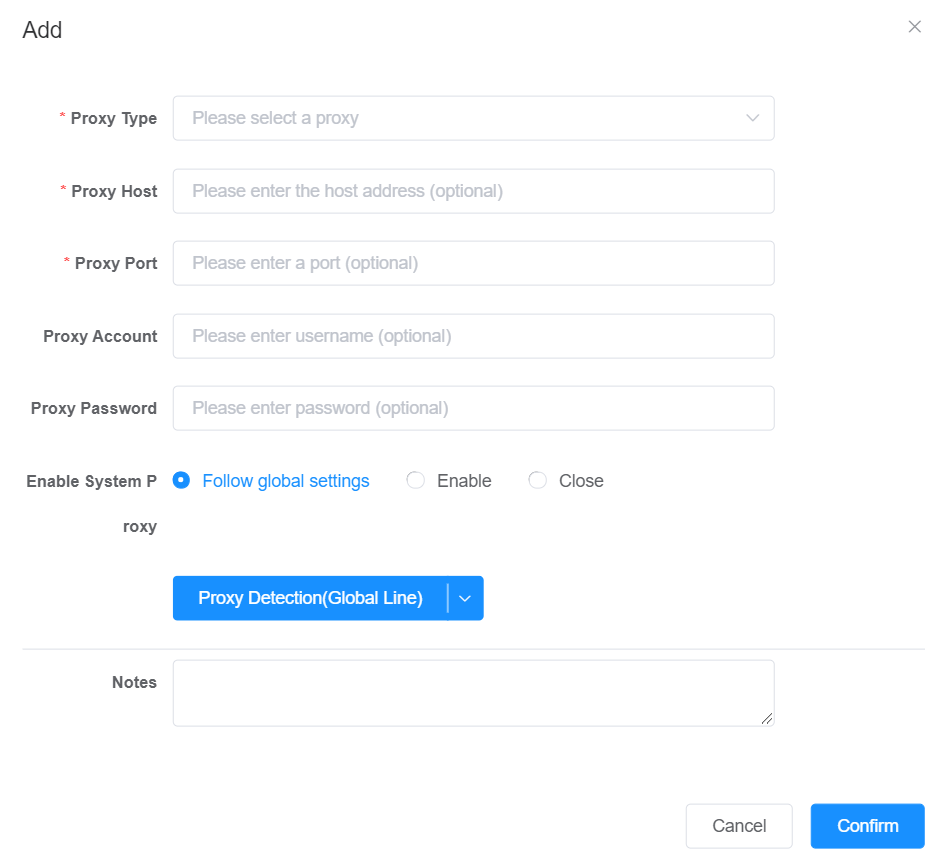
Step 4: Enter Proxy Details and Confirm
Fill in the required proxy details.
- Proxy Type - Select the type of proxy you are using.
- Proxy Host - Enter the host address of the proxy.
- Proxy Port - Provide the port number.
- Proxy Account and Password - If required, enter your username and password.
Once all details are filled in, click on Confirm to save the settings.
You have now successfully set up a single proxy in ixBrowser
How to set up batch proxies in ixBrower?
Setting up batch proxies in ixBrowser allows you to add multiple proxies at once. Follow these steps to set up batch proxies.
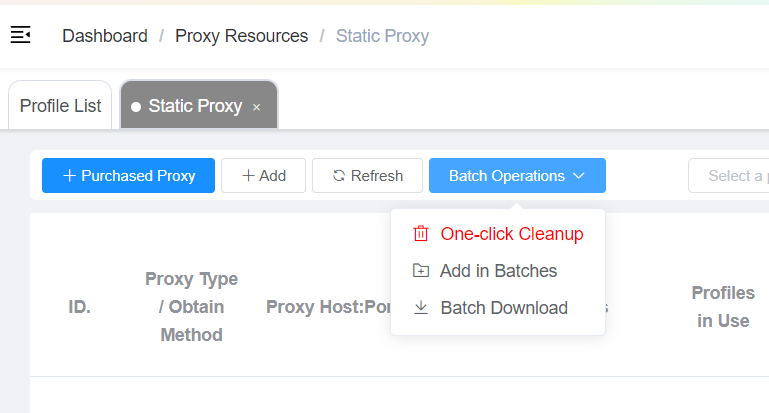
Step 1: Access Batch Proxy Settings
Go to the ixBrowser home page. There, from the right navigation menu, click on Proxy Resources and select Static Proxy to open the proxy management screen.
Expand the Batch Operations dropdown menu.
Click on “Add in Batches” to access the batch proxy setup screen.
Step 2: Enter Proxy Details in Batch
In the batch input field, enter your proxy details using the format below.
proxyip:port:username:password
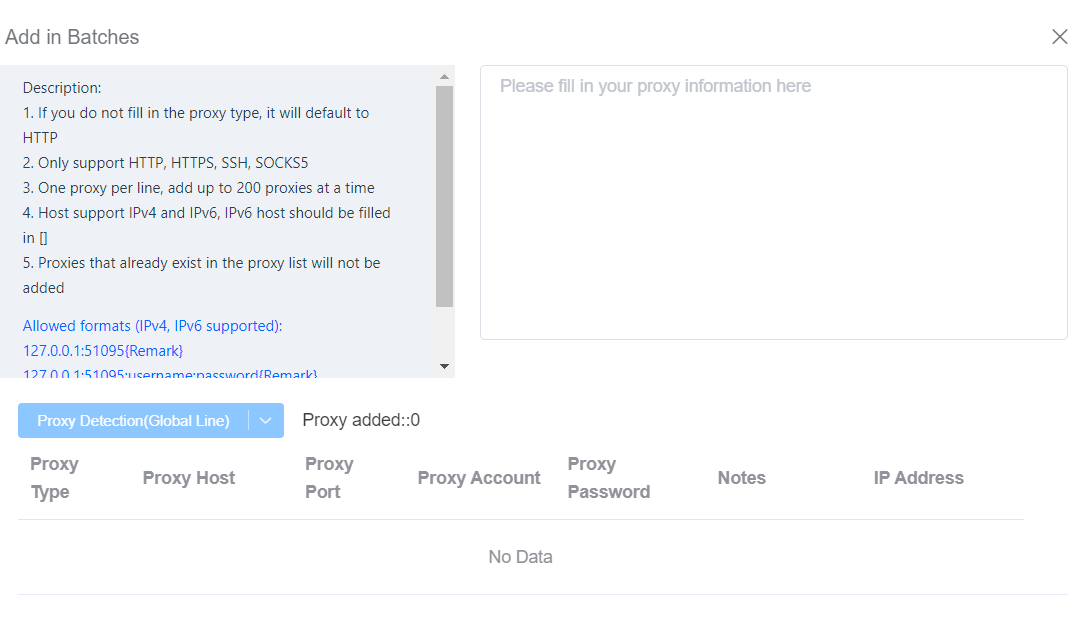
Each proxy should be on a new line. You can add up to 200 proxies at once.
The supported proxy types are HTTP, HTTPS, SSH, and SOCKS5.
If you don’t specify a proxy type, it will default to HTTP.
IPv4 and IPv6 are supported. If using IPv6, enclose the host in square brackets, for example.
[IPv6_address]:port:username:password
Step 3: Confirm and Review Proxies
After entering your proxy details, click on Confirm.
ixBrowser will automatically add the proxies and display them in a list as shown below.

You have now successfully set up batch proxies in ixBrowser.


