Get 10 Free Proxies For Lalicat
Maintaining one’s anonymity and security while browsing has become a global priority. Lalicat is an anti-detect browser that offers solutions for users looking for improved privacy and security. This tutorial will show you the process of integrating Webshare proxies with Lalicat. We will discuss two methods including setting up a single proxy and also configuring batch proxies. In this article, we’ll show you how to integrate proxies, which you can easily obtain from a reliable site like Webshare.
What is Lalicat?
Lalicat is one of the top five anti-detect browsers in the industry. It is widely known for its reliability and exceptional service over the past five years. The Lalicat Antidetect Browser Development Company is dedicated to delivering the best user experience while supporting nine languages including English, Russian, German, and more.
Lalicat's advanced technology allows users to manage multiple accounts anonymously without the risk of bans or flags on platforms such as Amazon, Facebook, and Instagram. With the use of virtual fingerprint technology, Lalicat simulates different hardware configurations and browser fingerprints. Through this process, they can provide isolated cookies and storage for each profile. These features make Lalicat one of the best choices for e-commerce, social media marketing, web scraping, and privacy protection.
Before starting
To begin integrating proxies with Lalicat, you can simply obtain some proxies from Webshare. Webshare makes your job easier by offering 10 free proxies without requiring a credit card. Just sign up on their website, and you'll instantly receive access to these free proxy IP addresses.

Integrating these proxies into Lalicat will allow you to manage multiple browsing profiles securely and anonymously. Make sure to set up your Webshare account and have your proxies ready before proceeding with the configuration in Lalicat.
How to set up a single proxy in Lalicat?
Follow the steps shown below to integrate your first proxy with Lalicat.
1. Download Lalicat

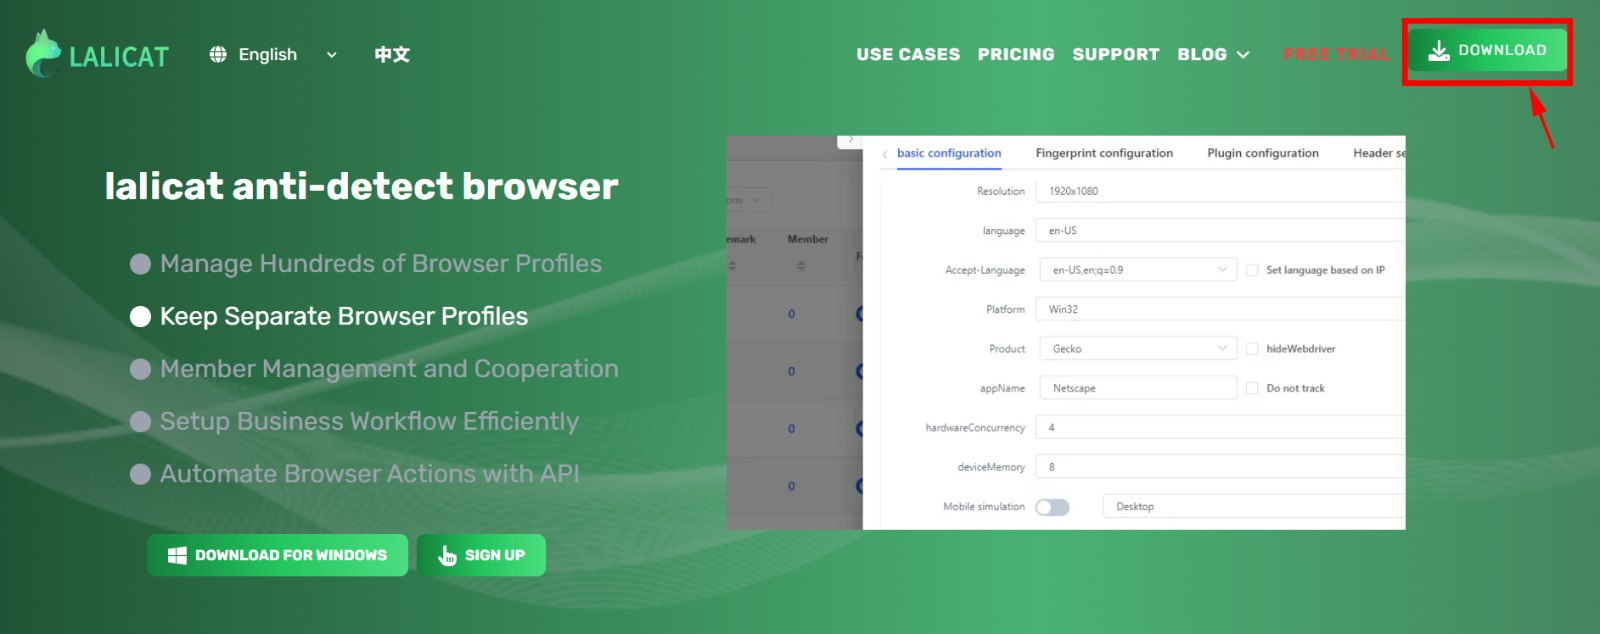
So the first step is quite simple. All you have to do is go to Lalicat’s website, click on the “download” button and download the setup onto your computer. Then using this setup, go on to install the Lalicat anti-detect browser.
2. Create an Account

To proceed with using Lalicat, you have to create a Lalicat account. You will have to enter your email address and a password that you prefer. Afterwards, you are required to identify the numbers on an image to prove you are not a robot. If everything was entered successfully, then you will be directed to the homepage of Lalicat.
3. Get a Subscription
You need to have a subscription or a free trial to use Lalicat’s services. To obtain a free trial you have to contact their support team via email at support@lalicat.com. The alternative is purchasing a subscription. There are many packages depending on how many people are going to use the software.
4. Create a Browser Profile

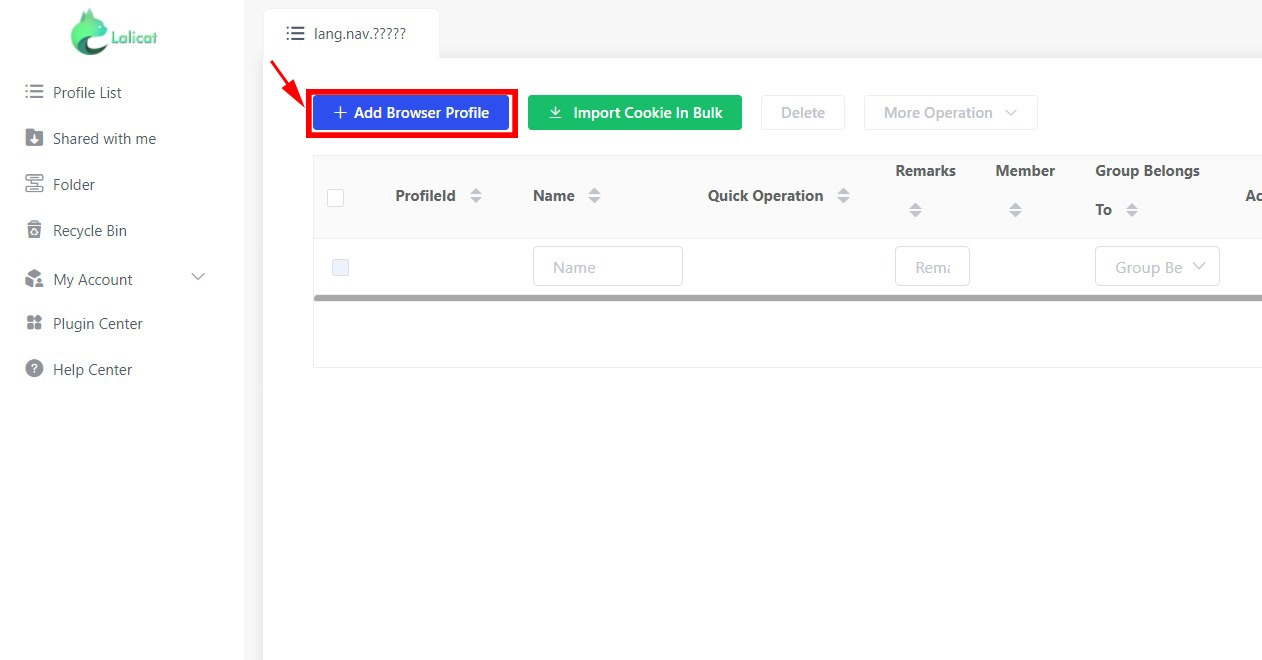
Read this part carefully since it is quite important. Click on “Add Browser profile” to reveal a form from the right side of your screen.
5. Fill out proxy settings
Here there are many options for you to select and configure. You can now either add a static or rotating proxy to Lalicat.

Static proxies provide stability and dependability by using the same IP address for every connection, but they run the risk of being banned if the IP is reported. Rotating proxies can be less dependable for maintaining a steady connection but can improve secrecy and prevent bans by routinely changing the IP address. Therefore, after weighing your needs, choose the one you like.
Static IP address configuration
If you select to add a static IP address, you have to select a couple of options regarding the proxy that you are about to integrate. When configuring your proxy, please include the following details.
- Platform: Specify where you will be using the proxy.
- Proxy Name: Give your proxy a name for easy identification.
- Remarks: Any additional notes or comments about the proxy.
- Operating System: Indicate the operating system you are using.
- Proxy Settings: Provide the specific settings for the proxy configuration.
Since we are dealing with web traffic, we have to pick HTTP under proxy settings. Once you've selected HTTP as the proxy type, you'll need to enter the key details, including the IP address, port number, username, and password.
You can obtain these details from the proxy list page in Wenshare. Just clicking on the required information in Webshare is enough to copy it onto your clipboard.
Eg: Name: proxy1, IP: 49.123.241.122, Port:4220, Username: username, password:password

Rotating IP address configuration
You must visit Webshare's Rotating Proxy Endpoint page to obtain the required information if you are adding a rotating IP address configuration. There is only one key distinction between this approach and configuring a static IP address. It is required to use the domain name specified on the Rotating Proxy Endpoint page.
Eg: Name: proxy2, IP: p.websharing.io, Port:90, Username: username:rotate, password:password
Your IP address will now vary regularly and give you increased security.
6. Test the connection

Once you have entered the correct data, you can opt to check the proxy that you have entered. If the proxy details are valid, Lalicat will display the IP and the country and the country of the proxy. Now all you have to do is save the browser file that you have created and launch the browser.
How to set up a batch proxy list in Lalicat
Batch proxy integration allows for the management of multiple proxies simultaneously. This increases efficiency by automating several tasks while increasing anonymity and distributing network load. This method is perfect for large-scale operations. It reduces the need for manual switching and minimizes the risk of being blocked.
1. Setup a proxy list
Open up the notepad on your computer. Afterwards, you have to list the information of your proxies in the following format.
Proxy type: IP address: Port: Username: Password: Tags
You can choose to leave out tags, usernames or passwords if they are not available. After entering all the information, you will have a list like the one below.
203.0.113.10:8080:userA:passA
198.51.100.15:3128:userB:passB
172.16.254.5:8081:userC:passC
192.0.2.20:9090:userD:passD
Next, just save it as a text file.
2. Create a browser profile
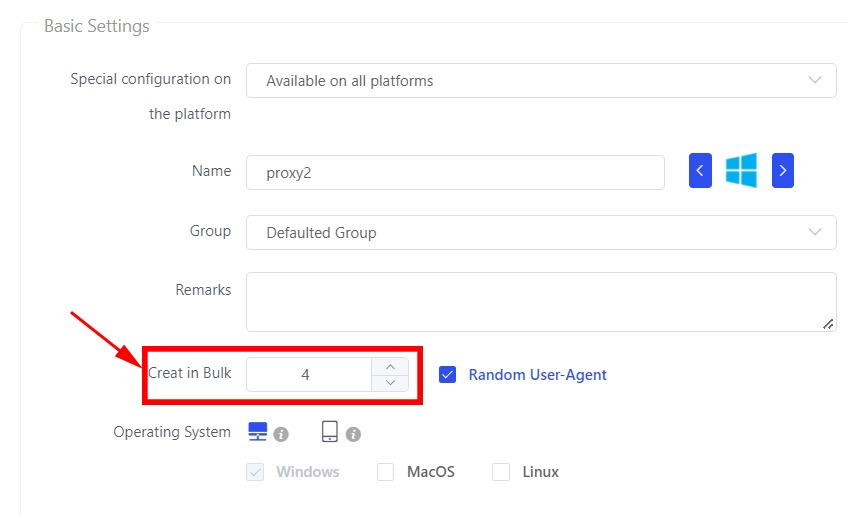
The first part of importing batch proxies is quite similar to that of simple proxies. You have to create a browser file like before and select the options you like. But remember to go to the “Create in Bulk” field and change the number from 1 to the number of proxies that you want to import.

Select the proxy settings as HTTP and save the profile without providing the key details of the proxies. You will now see that profiles have been added to your profile list.

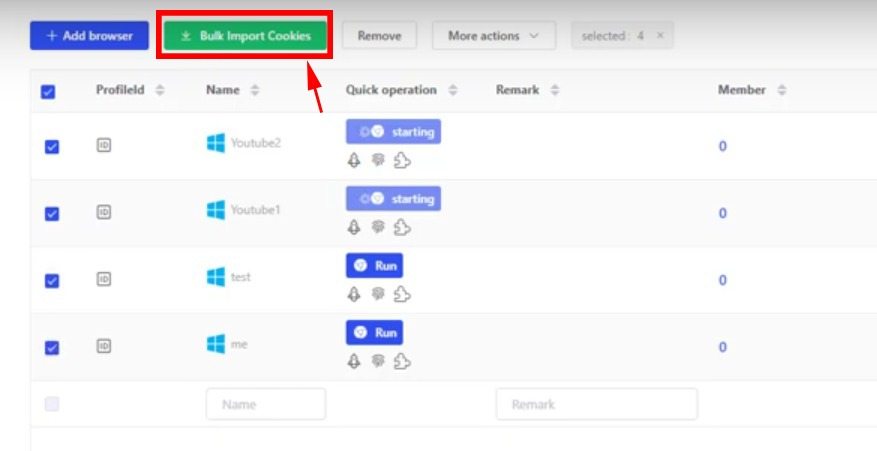
To import the proxies in bulk, all you have to do is select the profiles that you want to add proxies to and click on the “Bulk Import Cookies” button.

Now browse your computer and select the text file you created earlier. Congratulations, now the proxies have been successfully added to the profiles that you created.
Conclusion
This concludes our guide on setting up proxies with Lalicat. If you have followed the entire article carefully, you must have a pretty good understanding of how you can browse securely and efficiently using proxies.
While many proxy websites don't offer free access, Webshare provides 10 free proxies without requiring any credit card information. Therefore consider registering for a free Webshare account and integrating the free proxies with Lalicat.


