With the increasing risks of cyberattacks, it helps to know what methods you can use to maintain your security and privacy online. This guide explains how you can achieve online anonymity via integrating Nstbrowser with proxies obtained from Webshare. Nstbrowser is a headless browser that you can run and manage to monitor all types of automation scripts for data scraping.
We will explain two methods; single proxy integraWith the increasing risks of cyberattacks, it helps to know what methods you can use to maintain your security and privacy online. This guide explains how you can achieve online anonymity via integrating Nstbrowser with proxies obtained from Webshare. Nstbrowser is a headless browser that you can run and manage to monitor all types of automation scripts for data scraping.
We will explain two methods; single proxy integration and setting up a batch proxy list. It takes less than 5 minutes to set up everything and elevate your experience of working online. At the end of this tutorial, you will have a better understanding of how to switch among different proxies online to remain anonymous.
What is Nstbrowser?
Nstbrowser is a cloud-based fingerprint browser that you can use to efficiently manage and operate thousands of accounts simultaneously. The browser generates authentic fingerprints to maintain privacy and prevent user tracking. The best part is that it comes with an Enterprise-grade security, which means the browser keeps your browsing habits secure and anonymous in the background while you’re online.
Before Starting
To integrate Nstbrowser, you can use free proxies provided by Webshare. You get 10 free proxies without a credit card. To receive your 10 free proxies, head over to Webshare website, and sign up.
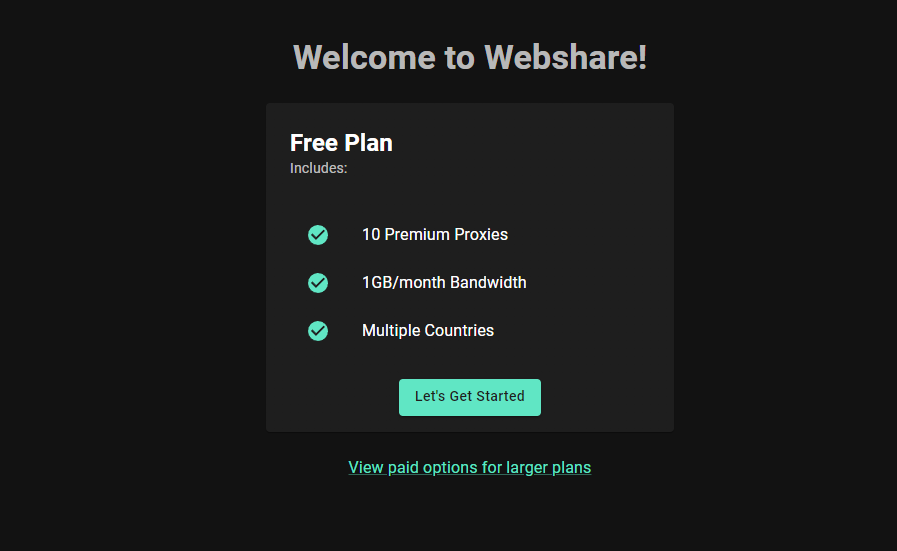
Integration of Nstbrowser with Webshare is like a match made in heaven. Webshare takes pride in solidifying our partnerships with numerous service providers, one of which is Nstbrowser. It is time to stop the prying eyes from spying on you. Sign up with Webshare and get started with proxy integration today!
How to Set up a Single Proxy in Nstbrowser?
To set up a single proxy in Nstbrowser, follow the steps below:
Download Nstbrowser
Download Nstbrowser from this link. Visit their official website and click the Download for Free link.
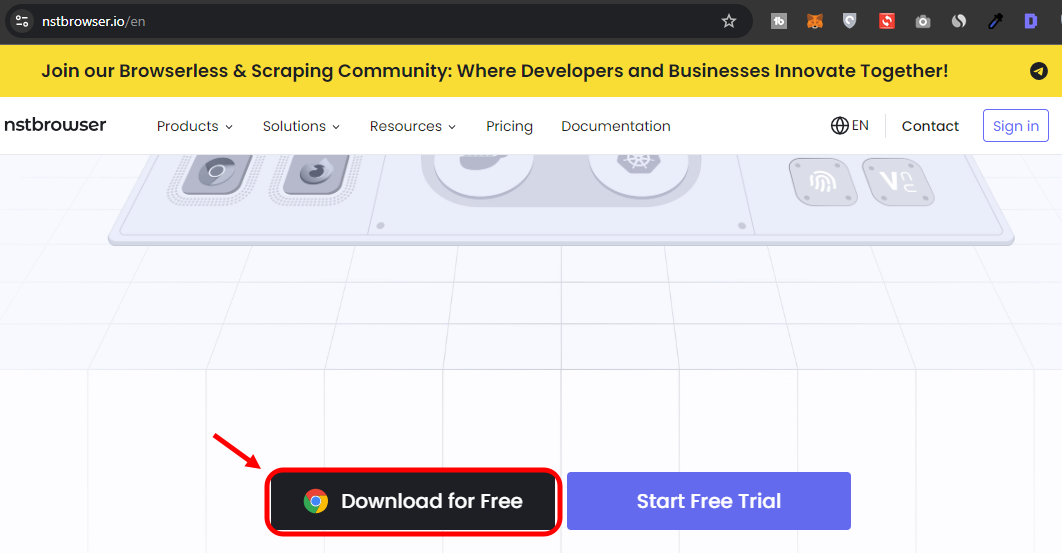
On the next page, download the browser based on your OS. Nstbrowser supports Windows and MacOS (Apple Silicon and Intel versions). Depending on your OS, download the respective version by clicking the Download for Free button.

Once downloaded, install the application and run the browser. Executing it for the first time, you will see this window. You need to sign in to access. You can do so via Google, Facebook or Github. Login via Google.
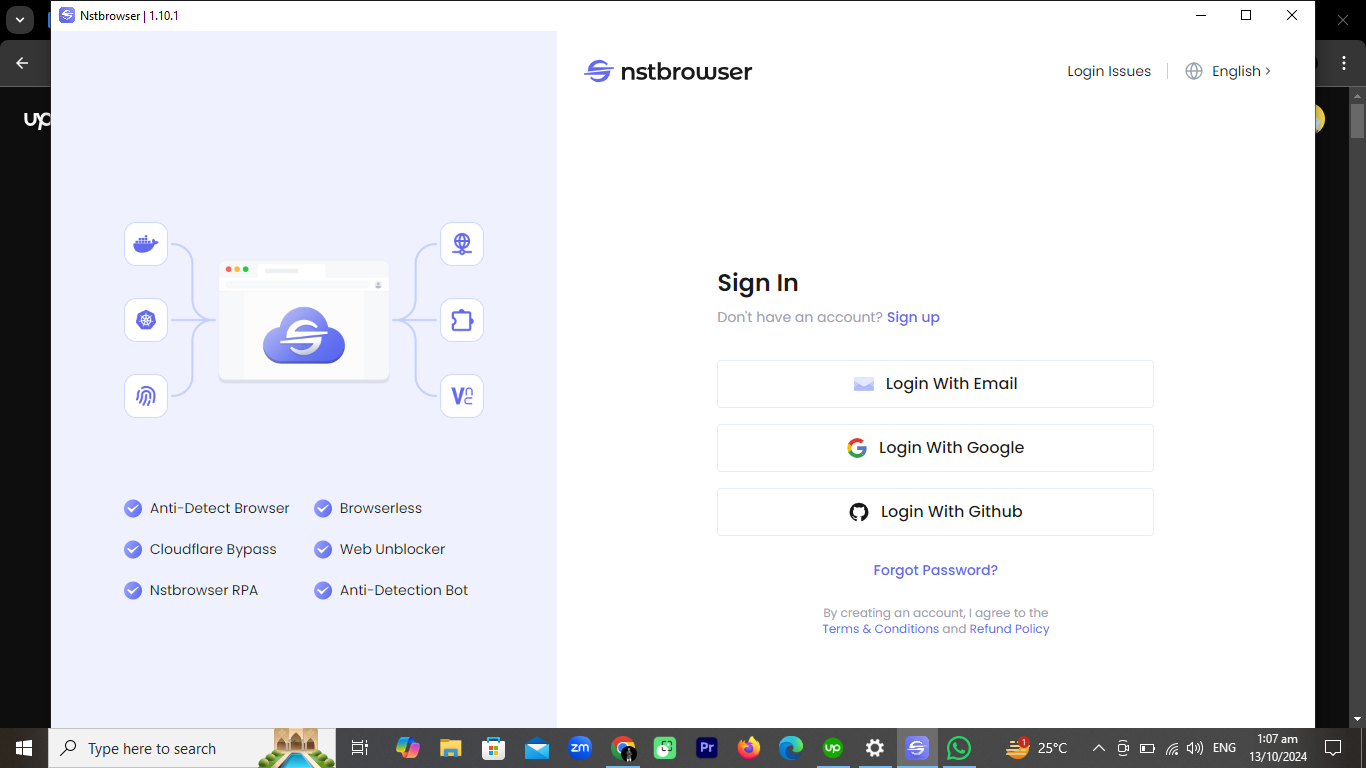
Once you are signed in, you will see the following screen. Click Back to Nstbrowser desktop or Back to Nstbrowser web. You will be redirected to the Nstbrowser where you can see these options. Click on proxies. Head over to this link and select any one of the 10 free proxies from your account when you sign up at Webshare.

2. Go to Nstbrowser Control - Static IP Address Configuration
Once you have launched the Nstbrowser, it is time to add and integrate proxies. To do this, select any one of the 10 free proxies you received in the previous part. Now copy and paste this in Nstbrowser. Head over to Proxies, then Proxy Configuration. Here, add in the details.
3. Test proxy
Once the proxy is added, always click Check proxy to confirm and verify that the proxy is working. This is an important step as it ensures that only a proxy is added to the list.
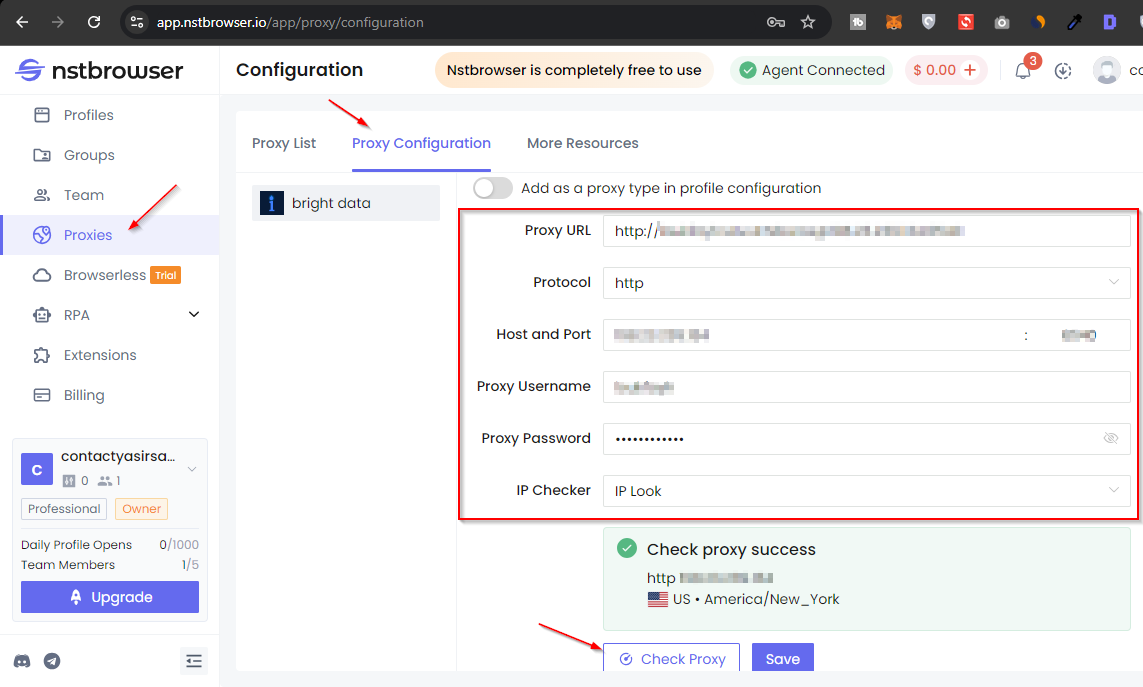
Now click Save to add this proxy.
(Optional): Rotating IP Address Configuration
Nstbrowser supports static and rotating proxies. Webshare provides both of these proxy types that you can access from your account. You can use the steps mentioned above to add in the rotating IP address. Click this link to access your proxy list for rotating IP addresses. You need to copy and paste the details from this page, back to the Nstbrowser settings.
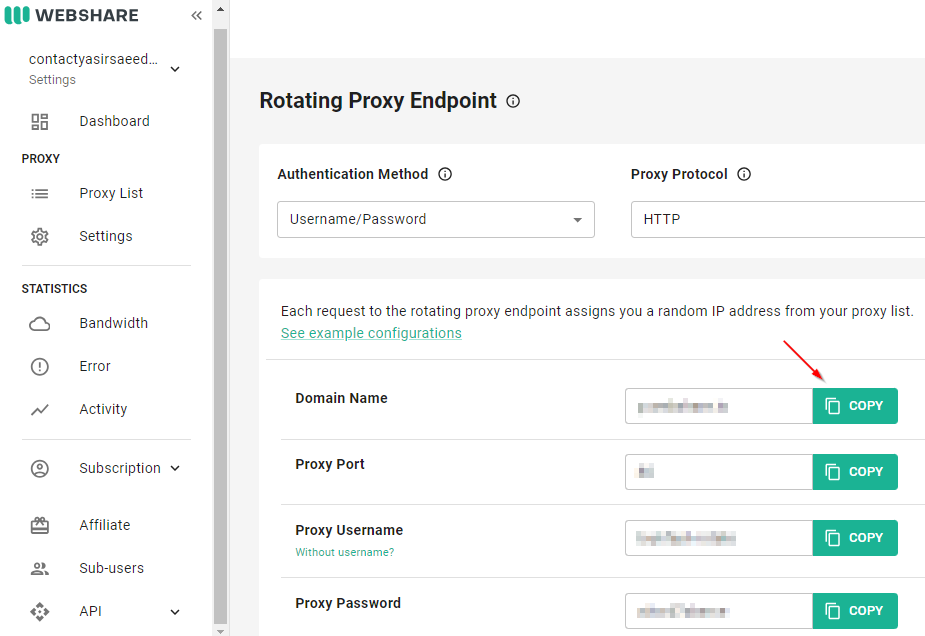
However, when adding a rotating proxy, make sure to check the Add as a proxy type in profile configuration under the bright data (Rotating Proxy) field. Click Check proxy and when it is verified, hit Save.
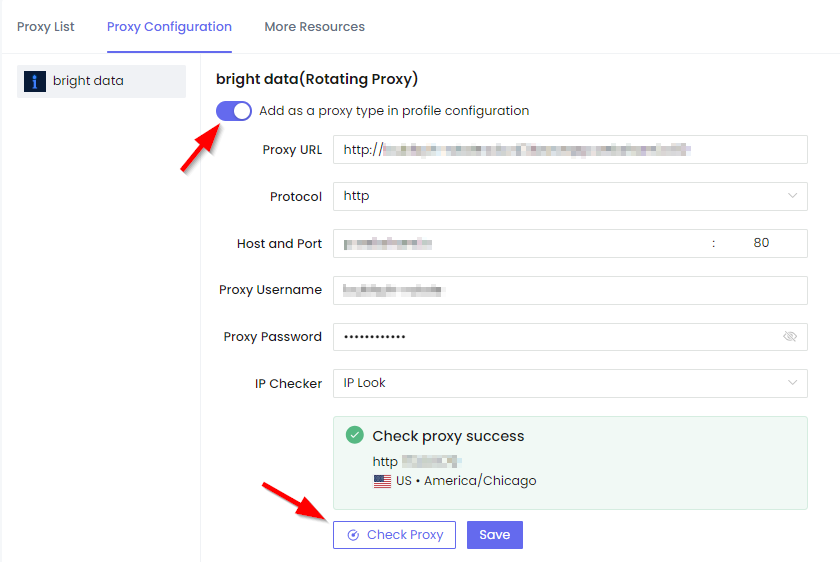
To start browsing using the proxy that you just saved in Nstbrowser, it is important to create a new profile and select the custom proxy so that you can start browsing the internet anonymously. To do so, head over to Proxies, then click Create Group and in the next popup window, specify the name of the group and click OK.
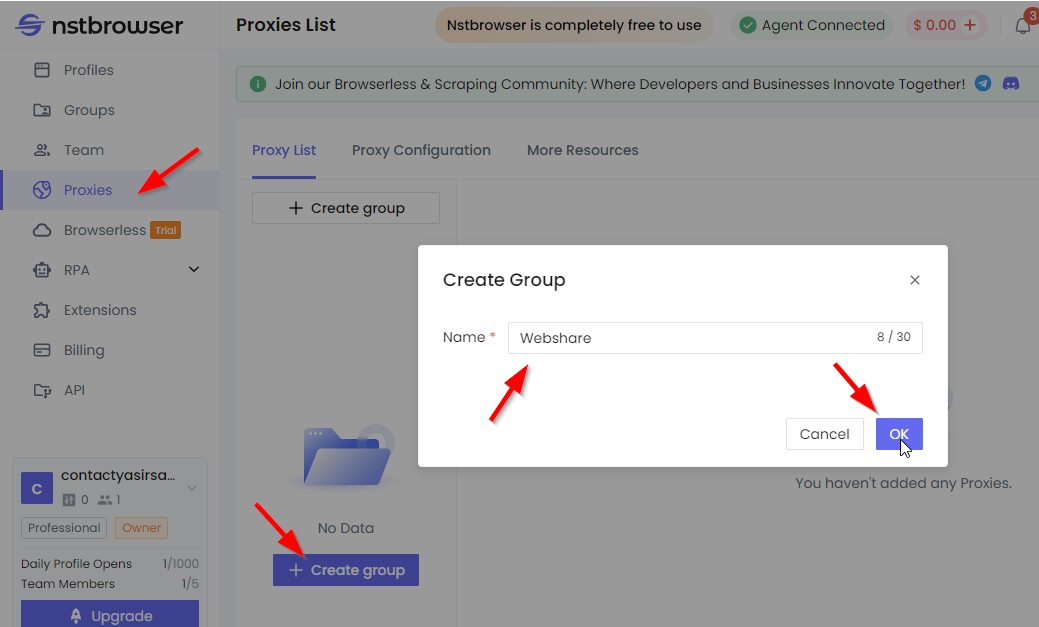
In the next step, you need to click on Proxy Configuration, and copy/paste the Proxy URL, which you already added in the previous step.
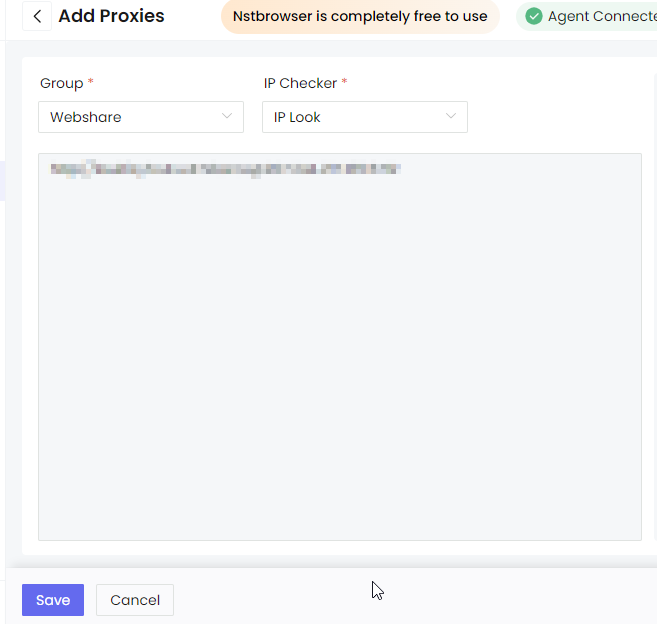
Now head back to Proxy List, click on Add Proxies.
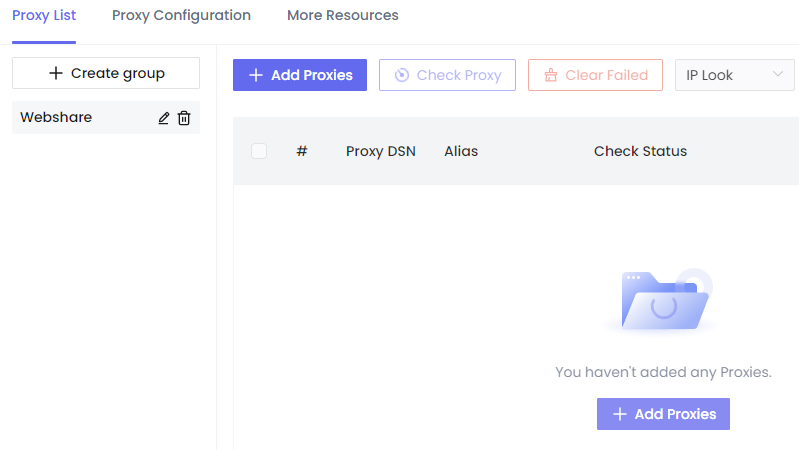
You will now paste the proxy URL as a line and then click the Save button to add the proxy in the group.
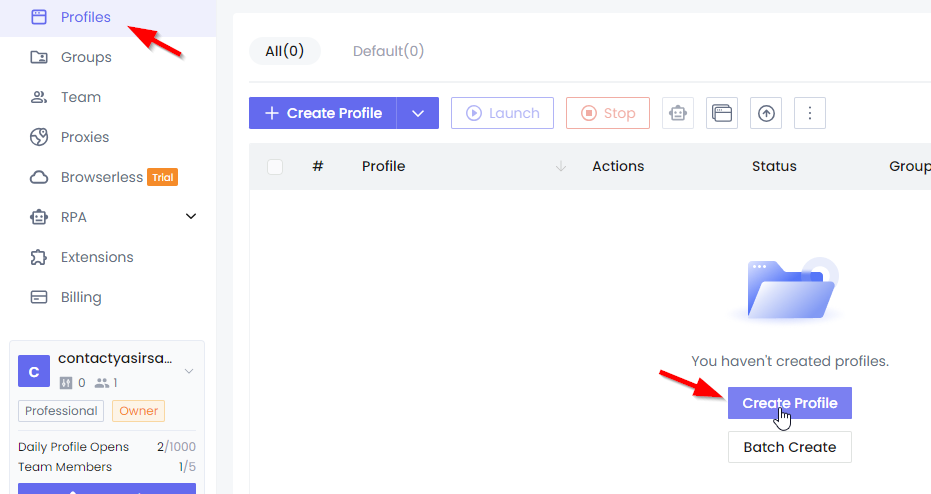
Now you need to head back to Profiles and then click Create Profile.
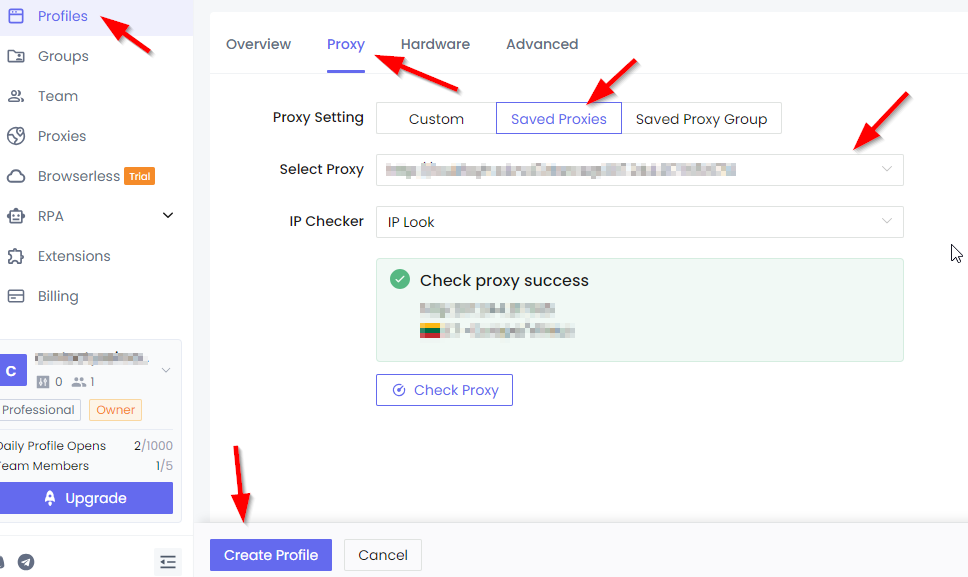
In this step, you need to create a new profile with the proxy settings you saved earlier in the group. To do this, click Proxy in the settings, then go to Saved Proxies. From the Select Proxy dropdown option, select the proxy that you added in the group. It is always in the best interest to check the proxy before confirming the action. Once it verifies the proxy status, click Create Profile.
You will now see the profile added. Click the Play button, which will allow you to run the proxy as a new Google Chrome browser opens up in Nstbrowser.

You can confirm manually by going to IPInfo to check the IP address of your system and verify that it indeed is the same proxy address that you saved.
How to set up a batch proxy list in Nstbrowser?
Setting up a batch proxy can help you by saving your precious time and energy on projects requiring various types of IP addresses. Here’s a quick rundown on how you can set up a batch proxy list:
1. Create a proxy list
To create a proxy list, you will need to enter the details in a CSV file. But to generate one, it is important to download the template file in which you just need to cut and paste proxy details for a successful batch import. To download the sample file, head over to Profile, then click the drop-down arrow, and then Batch import.
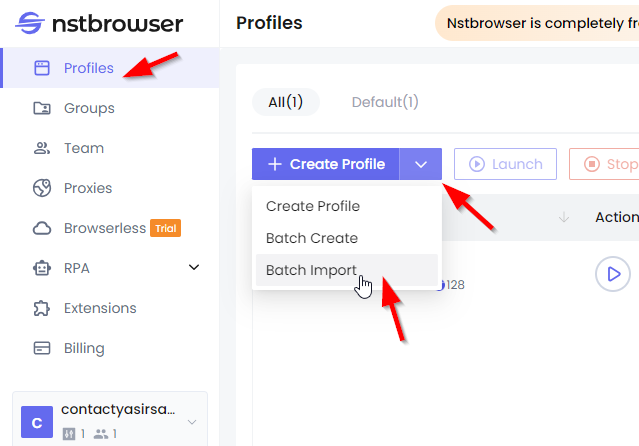
Now click the Download template link.

You can find the template file like this:
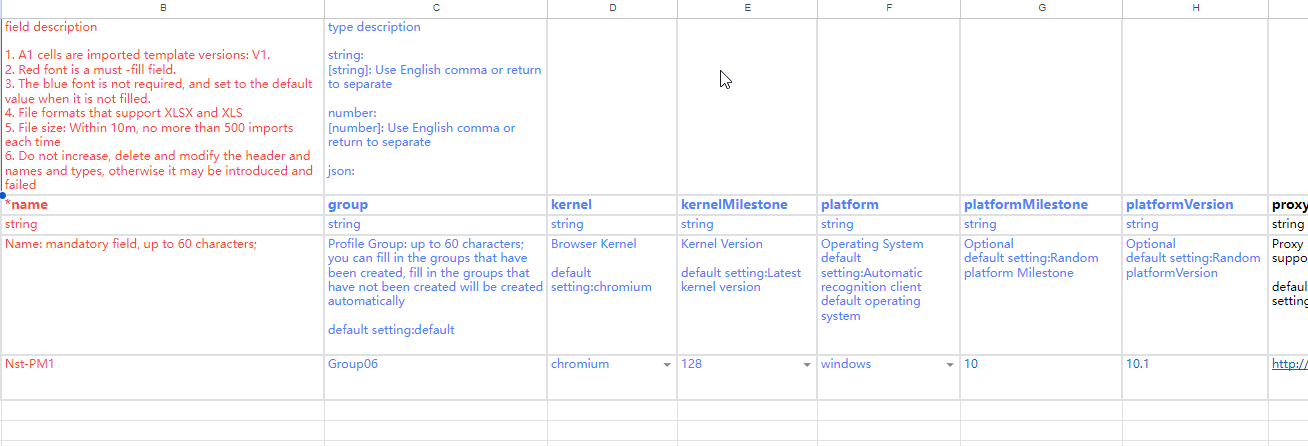
Once you make the changes and add in proxies to the template, which you can find in your account's proxy list, save it as an Excel file and reupload it as follows. Now click Save.
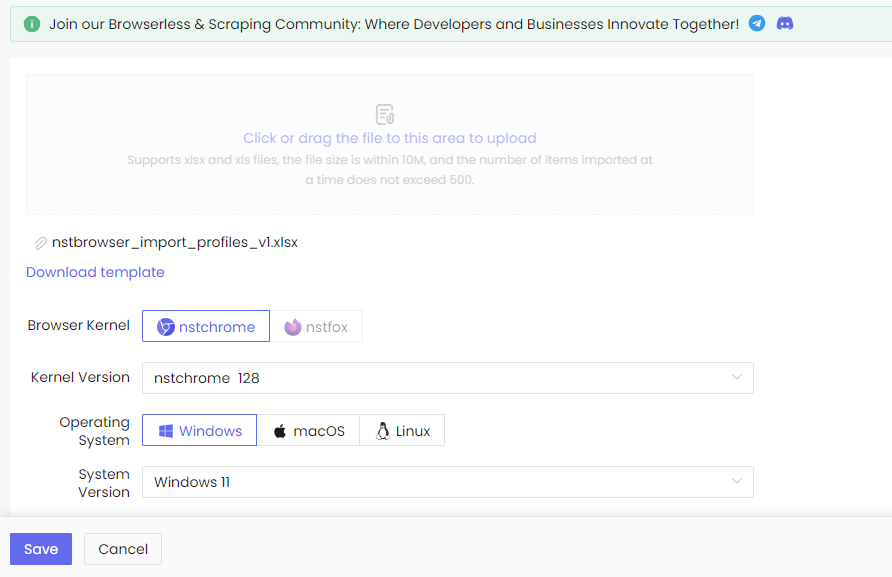
You can also test your proxies by clicking the Play icon. And that is pretty much about it on setting up proxies in Nstbrowser.
To get access to 10 free proxies, you can sign up to Webshare without any credit card and enjoy the benefits of online privacy.


