Get 10 Free Proxies For SwitchyOmega
Maintaining privacy and accessing restricted content online is more important than ever. One remarkable tool for controlling your website traffic via proxy servers is the SwitchyOmega browser extension. In this article, we shall demonstrate how to set up a proxy server using SwitchyOmega. Furthermore, we will cover how to get proxies from Webshare so that you can have a reliable pool to work with.
Note: SwitchyOmega has been recently disabled, you can download Proxy SwitchyOmega 3 (ZeroOmega) as a popular alternative. Webshare also has a dedicated proxy extension for easy connection and automated proxy setup.
What is SwitchyOmega?
SwitchyOmega is a browser extension designed to simplify and smoothen the process of switching between multiple proxy configurations. Rather than having to adjust the proxy settings of the browser each time, there is a need to switch servers, SwitchyOmega lets the user create unique proxy profiles that can be switched with a few clicks. This is useful for people who often have to bypass geo-fencing or want to enhance their privacy while browsing the web.
The extension offers advanced features like Auto Switch, which automatically selects the appropriate proxy for specific websites based on predefined rules, and supports HTTP/HTTPS proxy authentication for secure browsing. Its simple interface makes proxy management easy, even for beginners, and allows for migration from older tools like SwitchySharp. Open-source and free from ads or malware, SwitchyOmega is a powerful tool that improves browsing by making proxy switching faster, more secure, and more convenient, all within a single extension.
Before starting

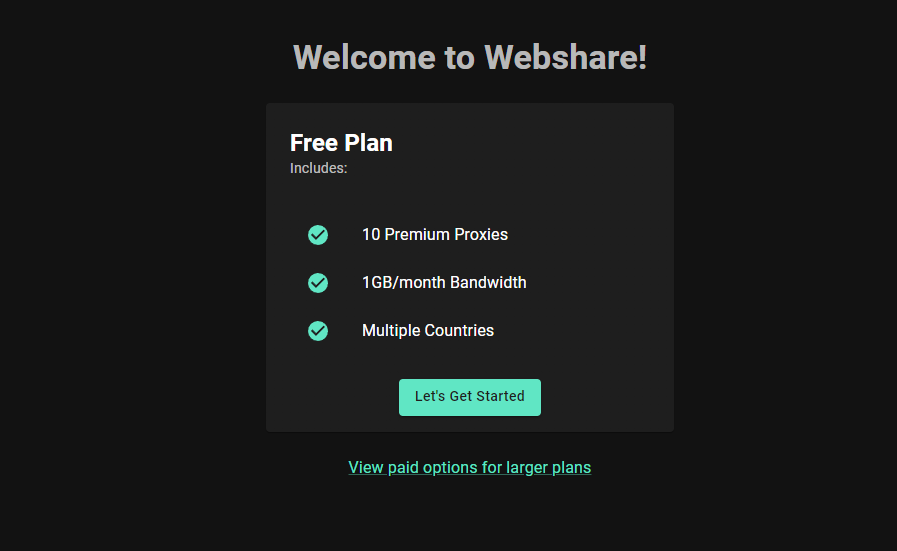
This article is about teaching you how to integrate proxies with SwitchOmega, but first, we need to get our hands on some proxies. You don’t have to look around for proxy services as Webshare is willing to give you 10 free proxies upon registration. The best part is that you don’t have to enter your credit card information whatsoever. All you have to do is go to the Webshare website and create an account. Right after creating an account click on the “Proxy List” tab to view the details regarding your free proxies.
How to configure a proxy on SwitchyOmega?
We are now about to start the tutorial. Follow the steps carefully to set up the proxy servers successfully.
1. Install the SwitchyOmega extension
Both Google Chrome and Firefox have extensions for SwitchyOmega. You can add the extension for your favorite choice of web browser.

Once you have installed SwitchyOmega, it will appear under the extensions of your browser.

When you click on the SwitchyOmega icon, you will get a few options. Select the “options” button.

Now you will be taken to the SwitchyOmega dashboard.

2. Create a New Profile
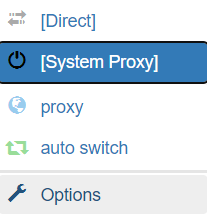
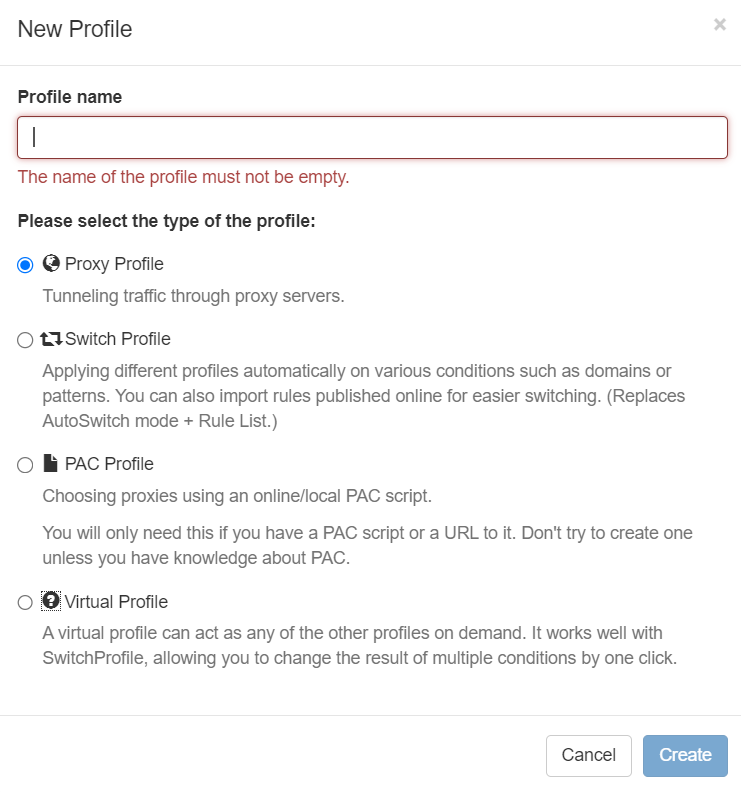
On the left-hand side of the dashboard, you can see some options under “profiles”, such as proxy, auto switch and New profile. Select the “New Profile” option. You will be required to provide a profile name. Enter a suitable name to identify the proxy that you are about to add.

Now, you are asked to select the type of profile you want to create. Select “Proxy Profile” since we are only adding a single proxy. Since we have filled all the fields, we can click on the “Create” button.
3. Configure Proxy Server
This part of the tutorial is very important. Therefore, read this section carefully. Once you created the profile, you will see that the profile you created has appeared on your main menu.
Under this profile, there are many fields for you to fill.

Start by selecting the protocol as HTTP. Now you have to go to the proxy list page in the Webshare account that you have created. On this page, you can see there are different proxies for different locations in the world. Consider the city and the country and select a proxy that you prefer. Now, you can fill in the IP address and the port of the server by looking at the information given by Webshare.
Eg: Name: proxy1, IP: 49.123.241.122, Port:4220

4. Authenticate the Proxy
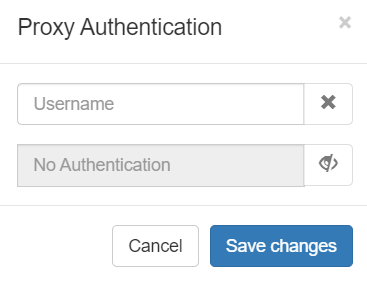
Right alongside the proxy details, there is a padlock icon. Click on that icon to authenticate the proxy that we want to integrate. There are 2 input areas for your username and credentials. Obtain this information from the Webshare site and fill it in as well.

Eg: Username: username, password: password. Here's where this data is located:

However, if you want to remove all the configuration information you added, you can select the “Discard Changes” option.
Start browsing
Now, all that’s remaining to do is to surf the internet. You can use the proxy servers by adding a new tab, selecting SwitchyOmega from your extensions, and then clicking on the proxy profile that you want to use. It’s that simple. Now you can browse the net with all the advantages and benefits that come with using a proxy server.
That's a wrap on configuring proxies with SwitchyOmega! We hope this guide has simplified the process for you and made your browsing experience smoother and more secure.
Here’s a quick tip before you start playing with proxy servers. You can sign up for a Webshare account without having to use a credit card! You are then given access to 10 premium proxies completely for free. With the help of these free proxies, you can browse anonymously, get around geo-restrictions, or just have a faster connection in general.
Don't miss out on this incredible opportunity. So go ahead, take the plunge! Sign up today and explore the benefits of using premium proxies. Happy browsing!


