


Streaming content online is a great way to stay entertained without needing to invest too much time. Sadly, it’s pretty common to get restricted or blocked from your favorite streaming platforms. Sometimes, the ban is justified, but other times, you might get restricted due to a false flag. Either way, you can get back to streaming your favorite content by using a proxy.
A proxy will ensure that your browsing session remains private and unrestricted. If this solution sounds appealing, then stick around.
Before starting: Get free proxies for Streaming
Getting a proxy can be as simple as finding a service that offers a list of viable addresses you can use. If you see yourself using these proxies for something else, you can subscribe to a service. However, if you’d like a proxy for this exercise, consider signing up for Webshare.
When you create an account on Webshare, you can get up to ten free proxies. Leverage this offer while it lasts—no credit card required!
Easiest method: Streaming proxy for Chrome
Using a proxy for streaming can be fairly straightforward, depending on the platform. The easiest way to do this would be to use a proxy on Chrome. If you’d like to find out how to do it, then pay attention to the section below.
Step 1: Setup the Proxy
Working with Webshare’s proxies for this solution makes the process possible in a few steps. You could either search for Webshare in the Chrome web store or go to the extension page from the Webshare website.
If you're on the right page, the Add Extension for Free button should be apparent. It’s in the bottom left corner, right under the Webshare Chrome Extension header. Hover over this button and click it.

If you do this right, your current webpage will either redirect or open a separate tab to the Webshare Proxy Extension page in the Chrome web store. If you get hit with an error, close your browser, restart your internet connection, and try again.
However, once the page is showing as it should, you’ll notice a blue Get button at the top right-hand side of the screen.

Once you click the Get button, you’ll trigger the extension installation process. Thankfully, it is fully integrated into your Chrome browser, and you won’t need to open a different window. You should notice a small widget outlining the Webshare extension requirements.
Once you’ve read through, go ahead and click the Add Extension button, highlighted in grey.

Your browser will need the Webshare extension file before it can install the plugin. Fortunately, clicking the Add Extension button will trigger the download, which should only take a few seconds. From here, it’s hands-free.
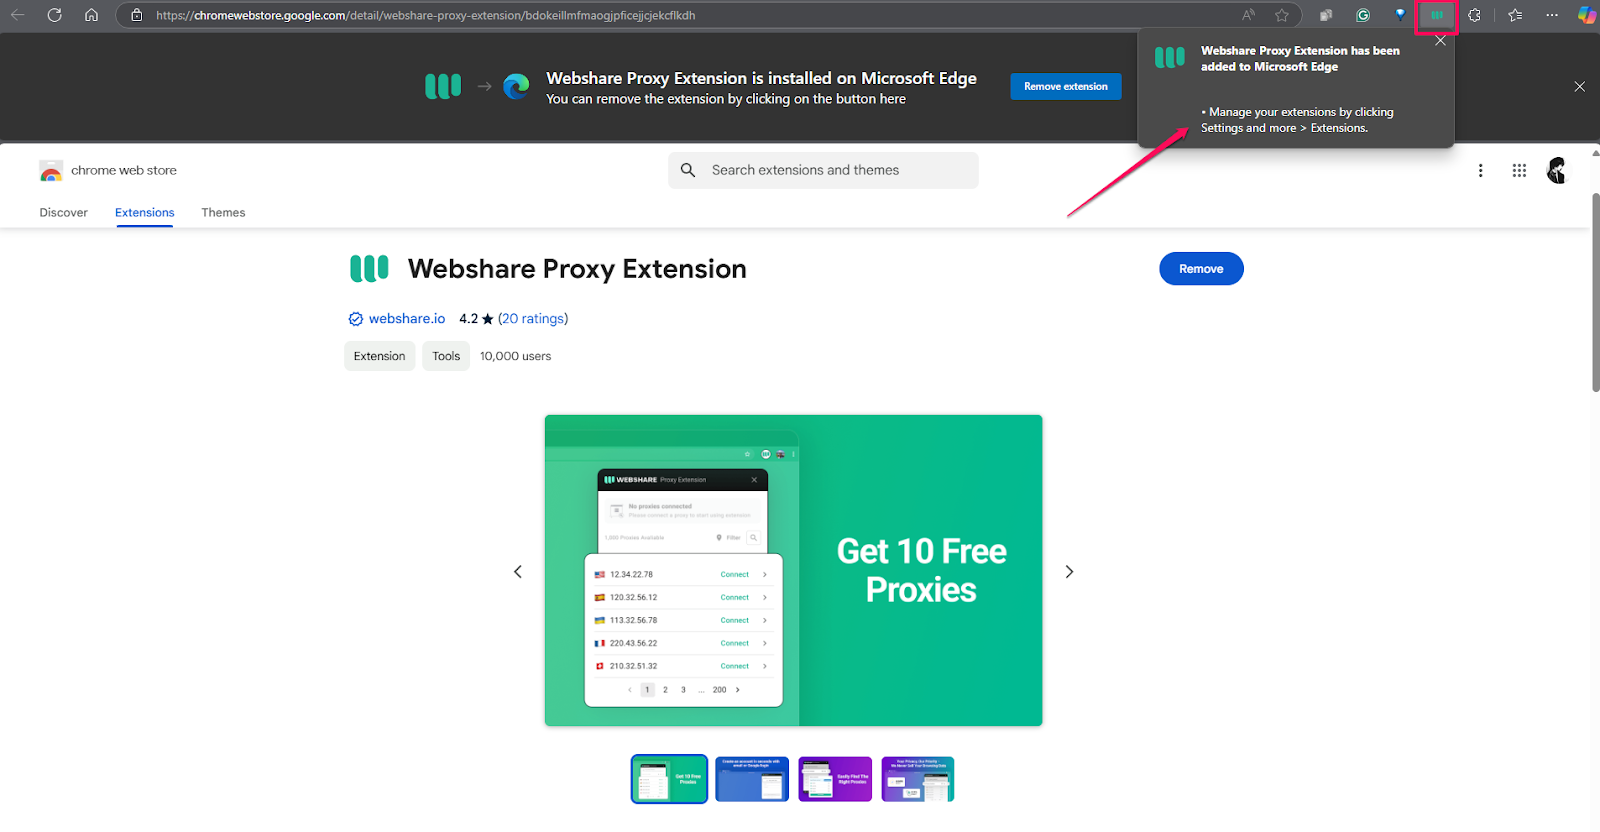
You should have the Webshare extension fully installed within a few seconds. You’ll know the installation was successful when you get a small confirmation window at the top right of your screen.
Step 2: Connect to Proxy
With all the preliminary steps out of the way, you’re all set to start streaming with a proxy safeguarding your session. Next, you just need to pick one to connect to.
The 10 free proxies offered by Webshare are immediately available from the Webshare proxy extension. You can open the drop-down menu by clicking the Webshare logo on the right corner of the address bar.
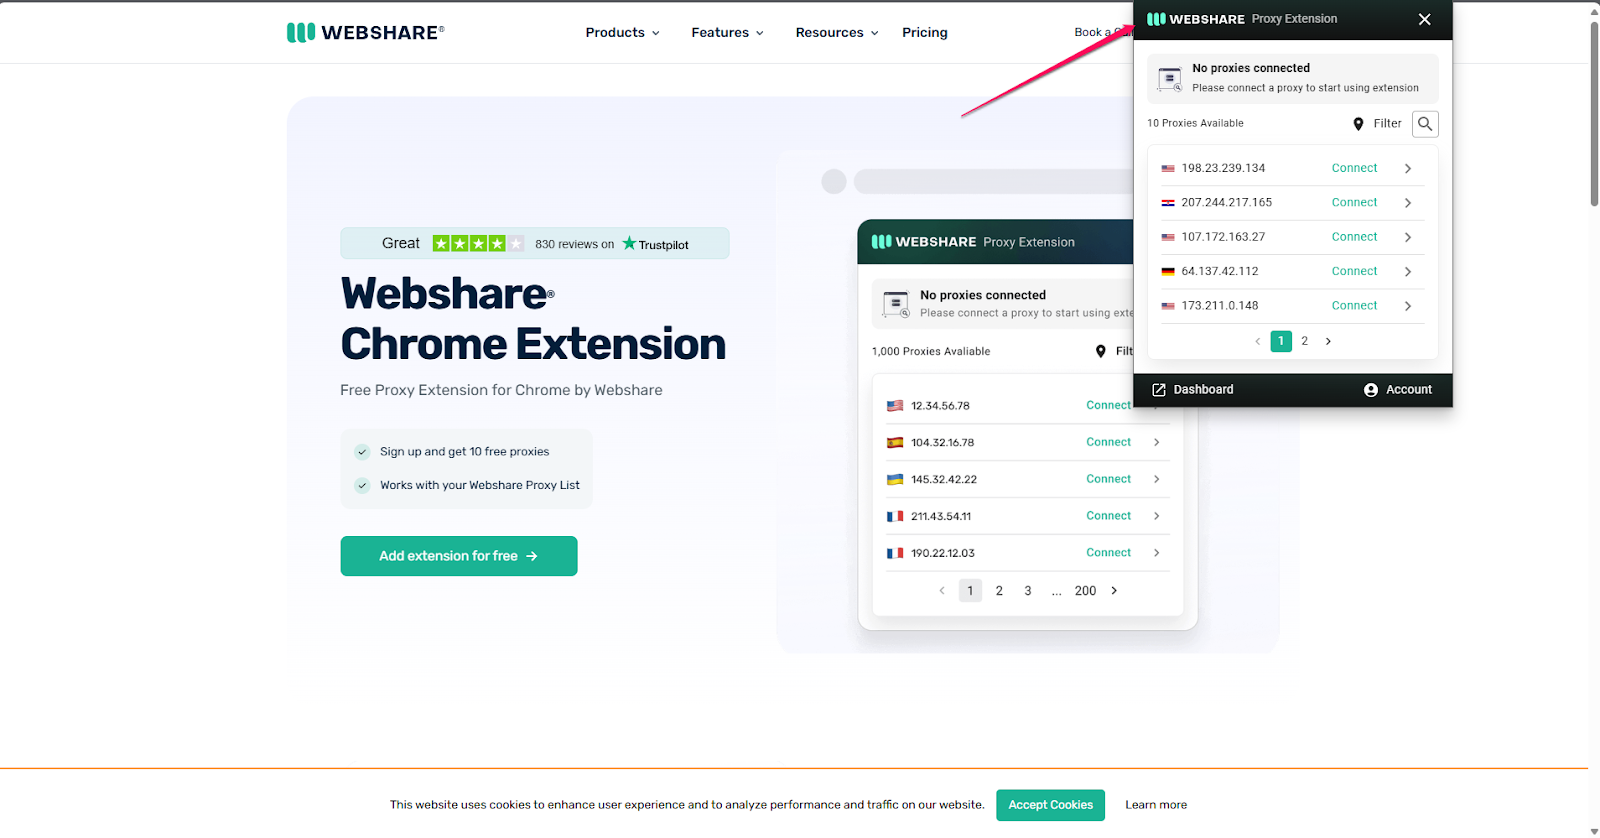
The convenience of this list greatly depends on the regional variety. You should be able to find a proxy that is close to you, no matter where you live.
Thankfully, any listed addresses should work fine for streaming, but you can take this a step further. Consider choosing a proxy close to your physical location. After selecting a proxy, click the Connect button to activate the session protection Webshare offers.
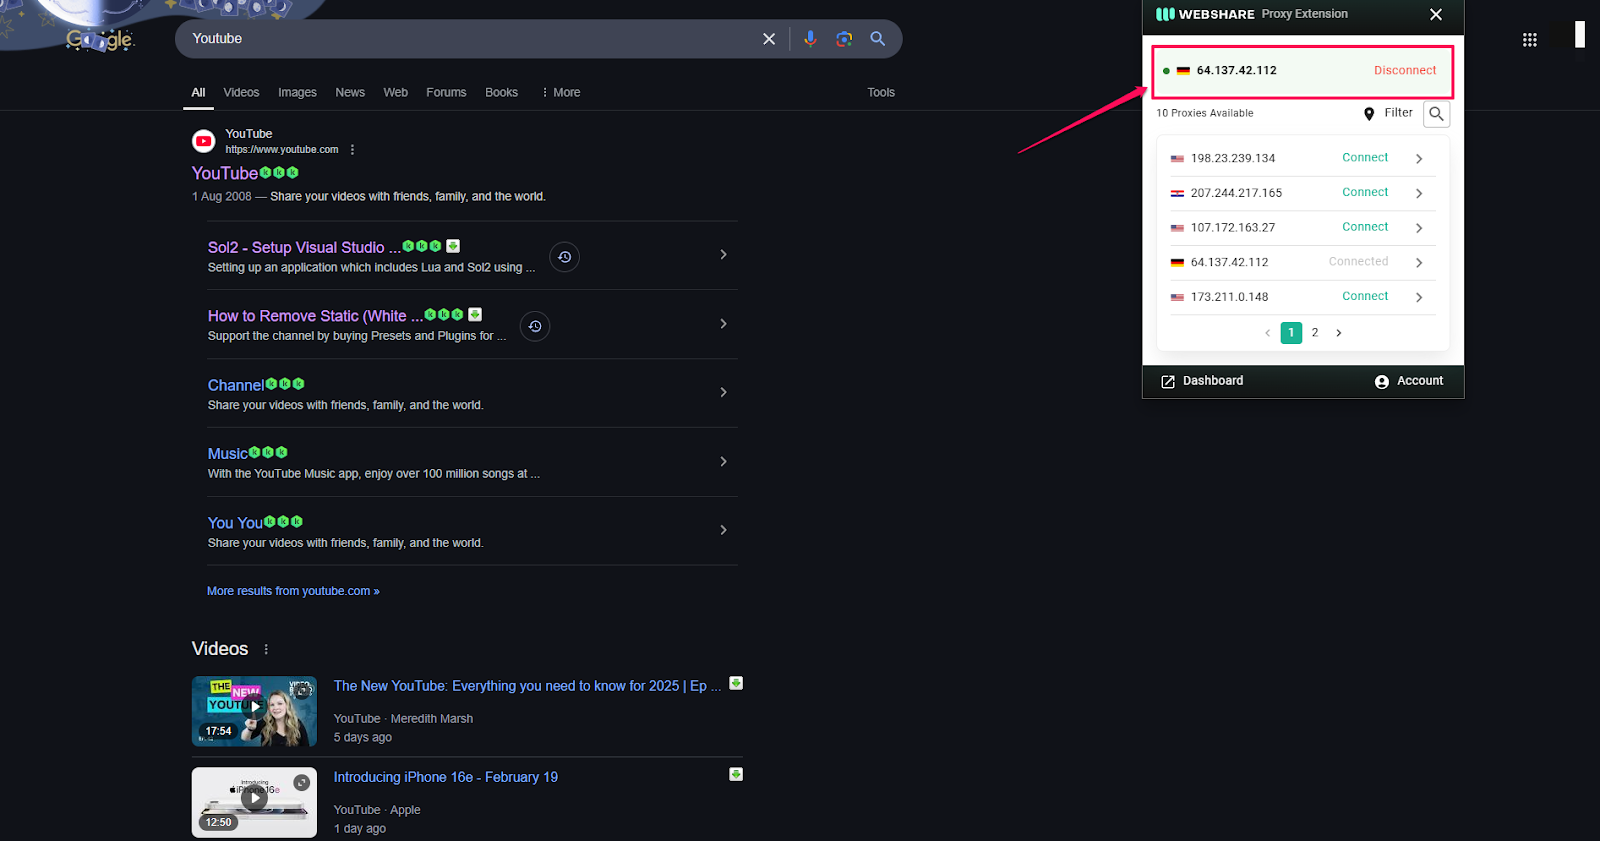
With a strong internet connection, your proxy will set up and have you secure with the click of a button. Hover over the Connect icon next to your chosen address. You’ll know the connection was successful when the address shows above the list with a green blip beside it.
Step 3: Go to Streaming Website
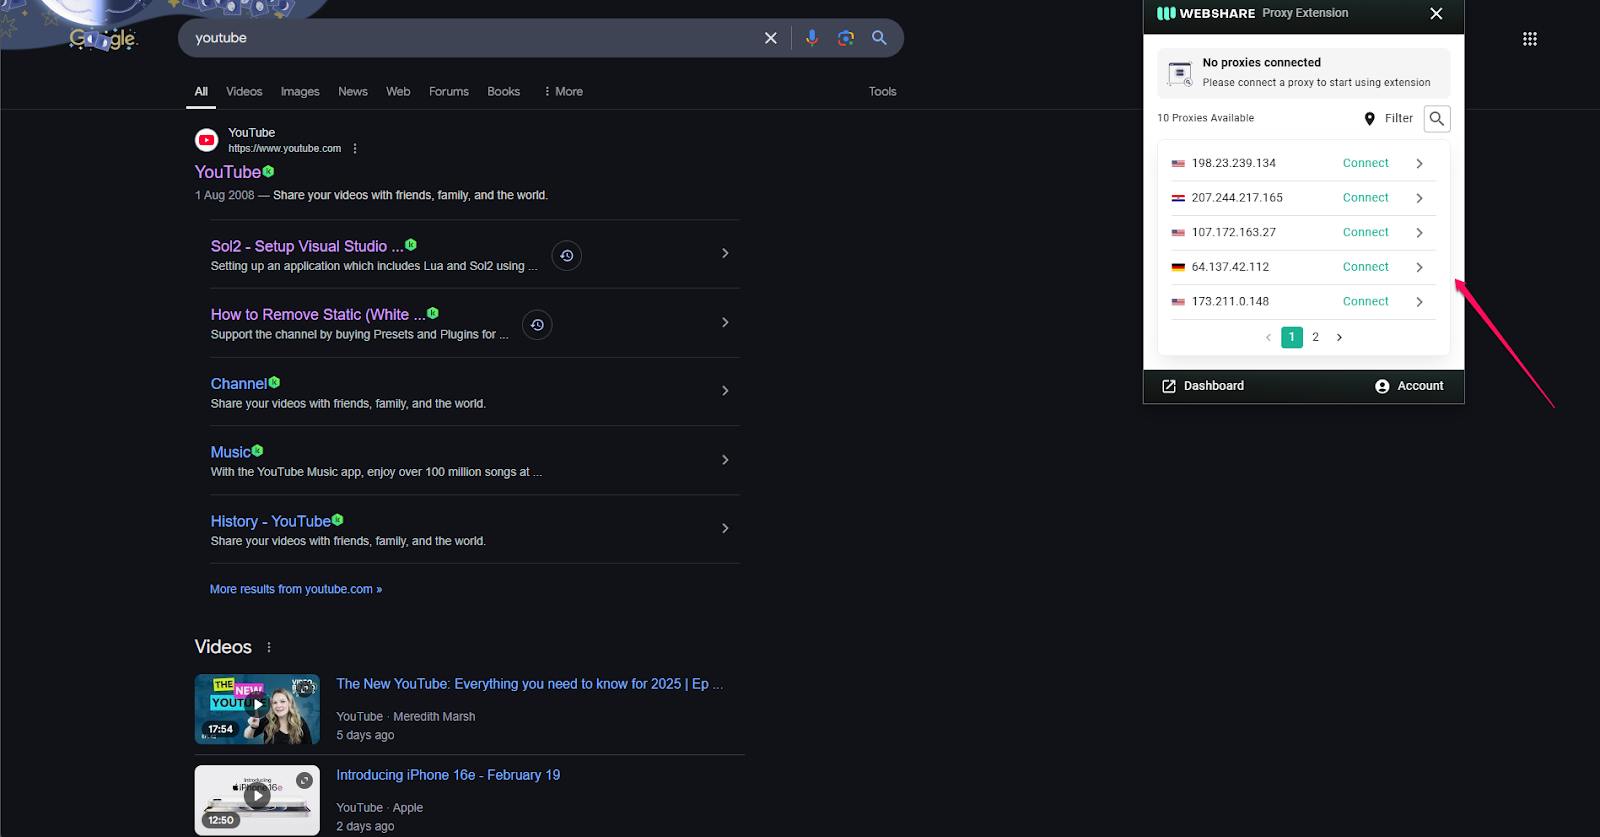
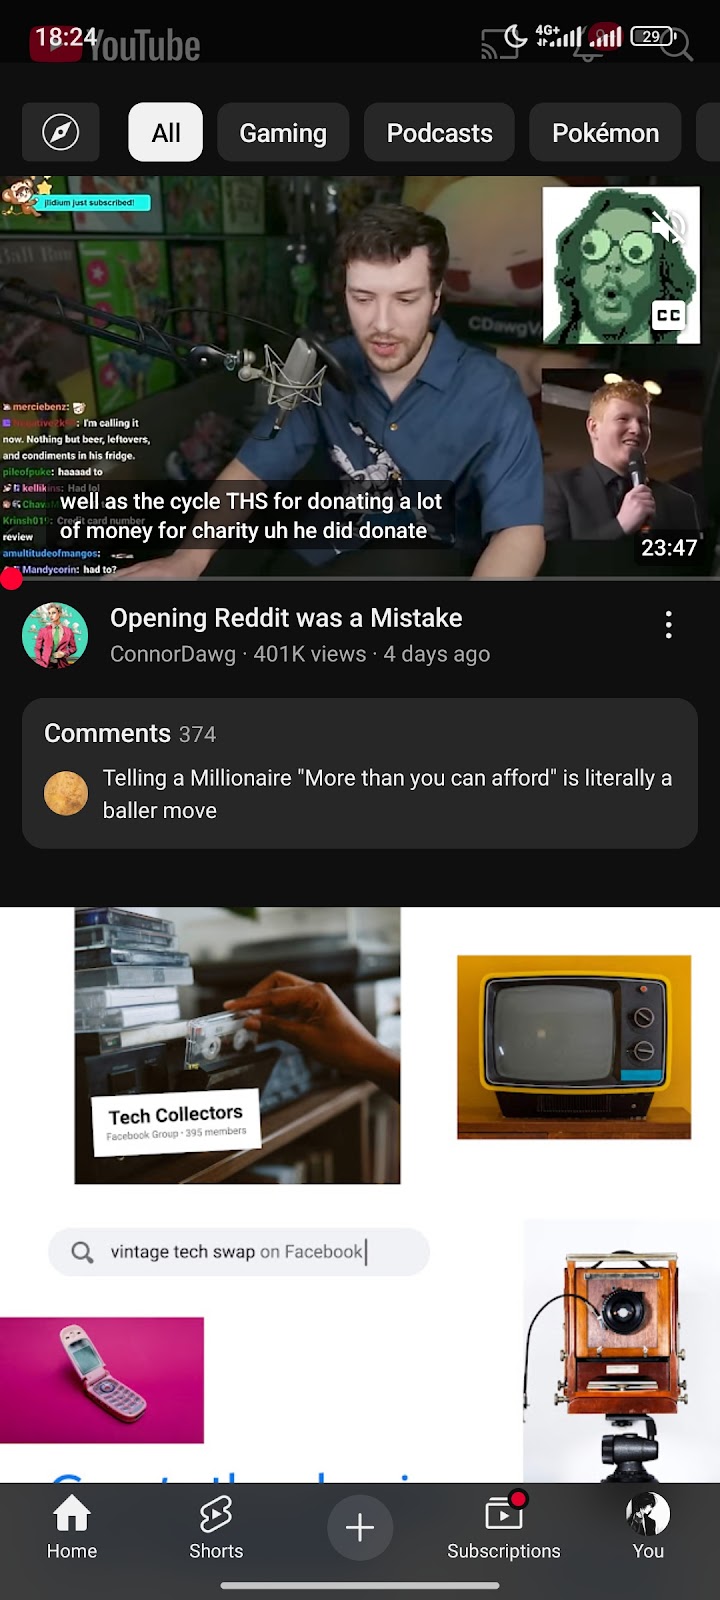
Remember the steps for connecting to a proxy because they will be important moving forward. First, disconnect and ensure you are logged out from your usual YouTube account. Once you’ve confirmed this, navigate to the YouTube page by searching for it on a platform like Google or typing the web address in directly.
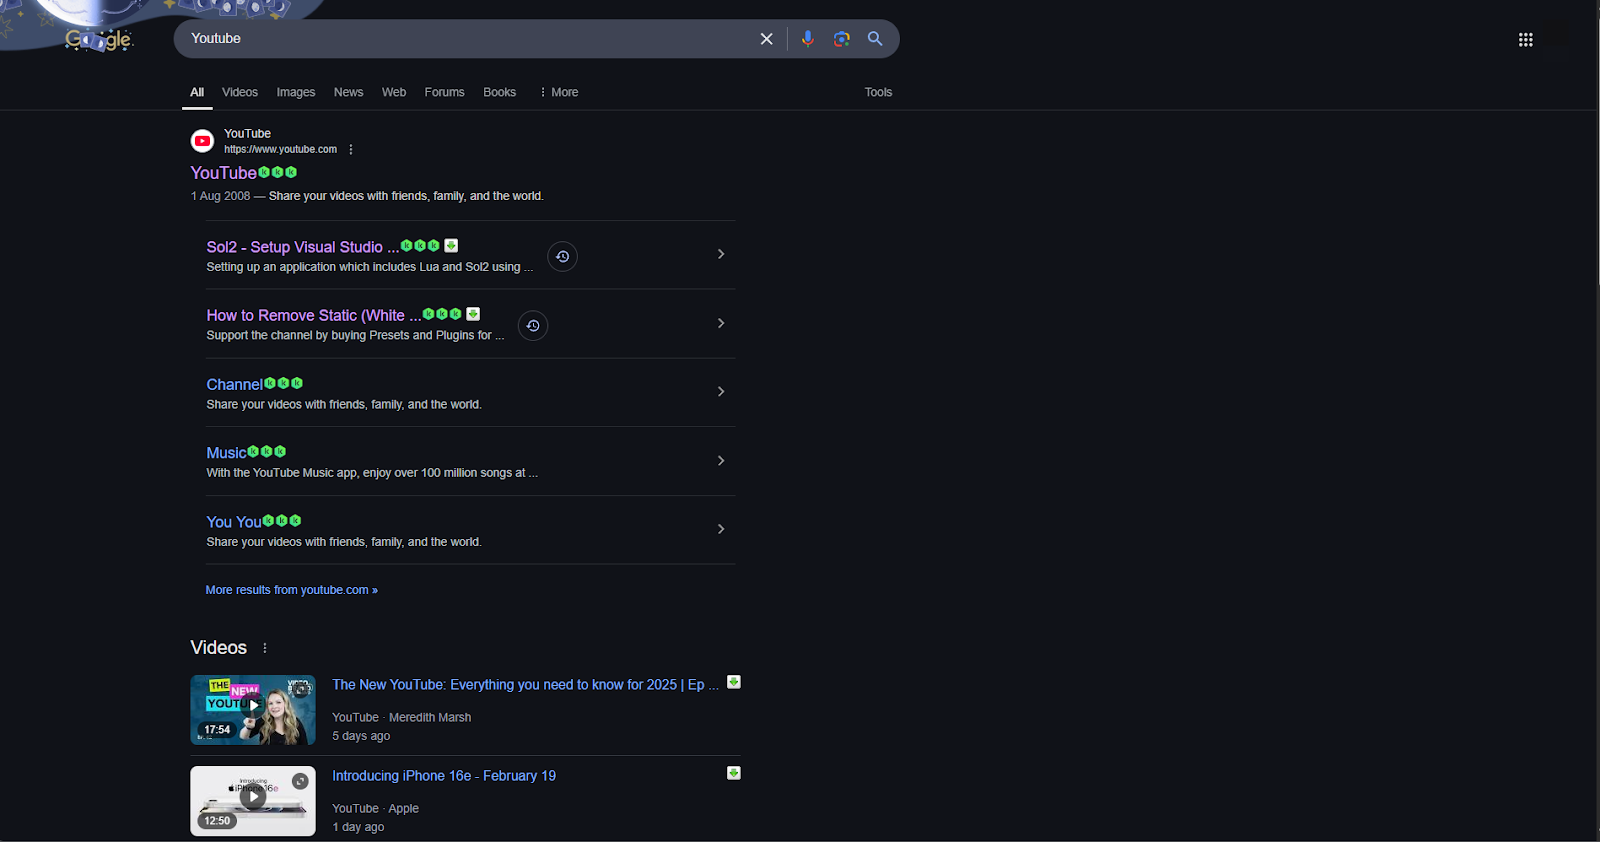
Open the Webshare proxy extension drop-down again and reconnect to your chosen proxy. You should now be able to access YouTube or whatever streaming platform you use without getting flagged.
You could also create a new account or continue browsing the platform while remaining anonymous.

Streaming Proxy for Windows
If you’d like to stream your favorite shows using a proxy but work directly from Windows, then you can. Here are the steps you need to follow to use your Webshare proxies with Windows.
Step 1: Secure Your Proxy Details
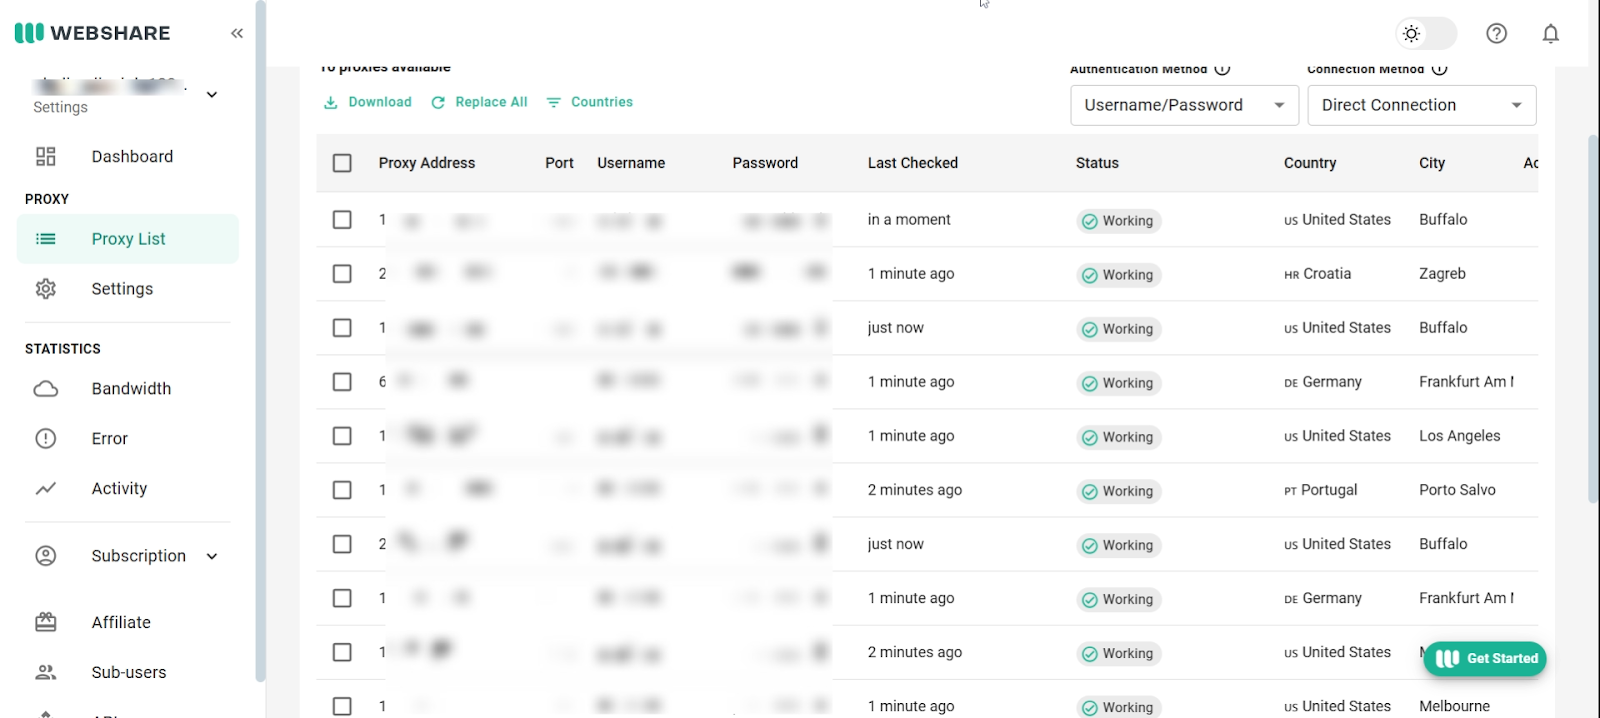
Using a proxy on Windows requires a few extra steps but is well worth it. You’ll need information related to the free proxies you’ve gotten, and you can retrieve this by navigating to the Webshare dashboard. You can copy all the information required for what comes next.
Step 2: Manually Connect to Proxy
You could choose to save this information on a notepad, or just go directly to your Windows settings. Search for Proxy in the settings window and it should bring you where you can enter this information.
Under the Manual proxy setup tab, you’ll notice a Setup button. Select it, and a window will pop-up in which you can enter all the pertinent information gathered from the Webshare dashboard.
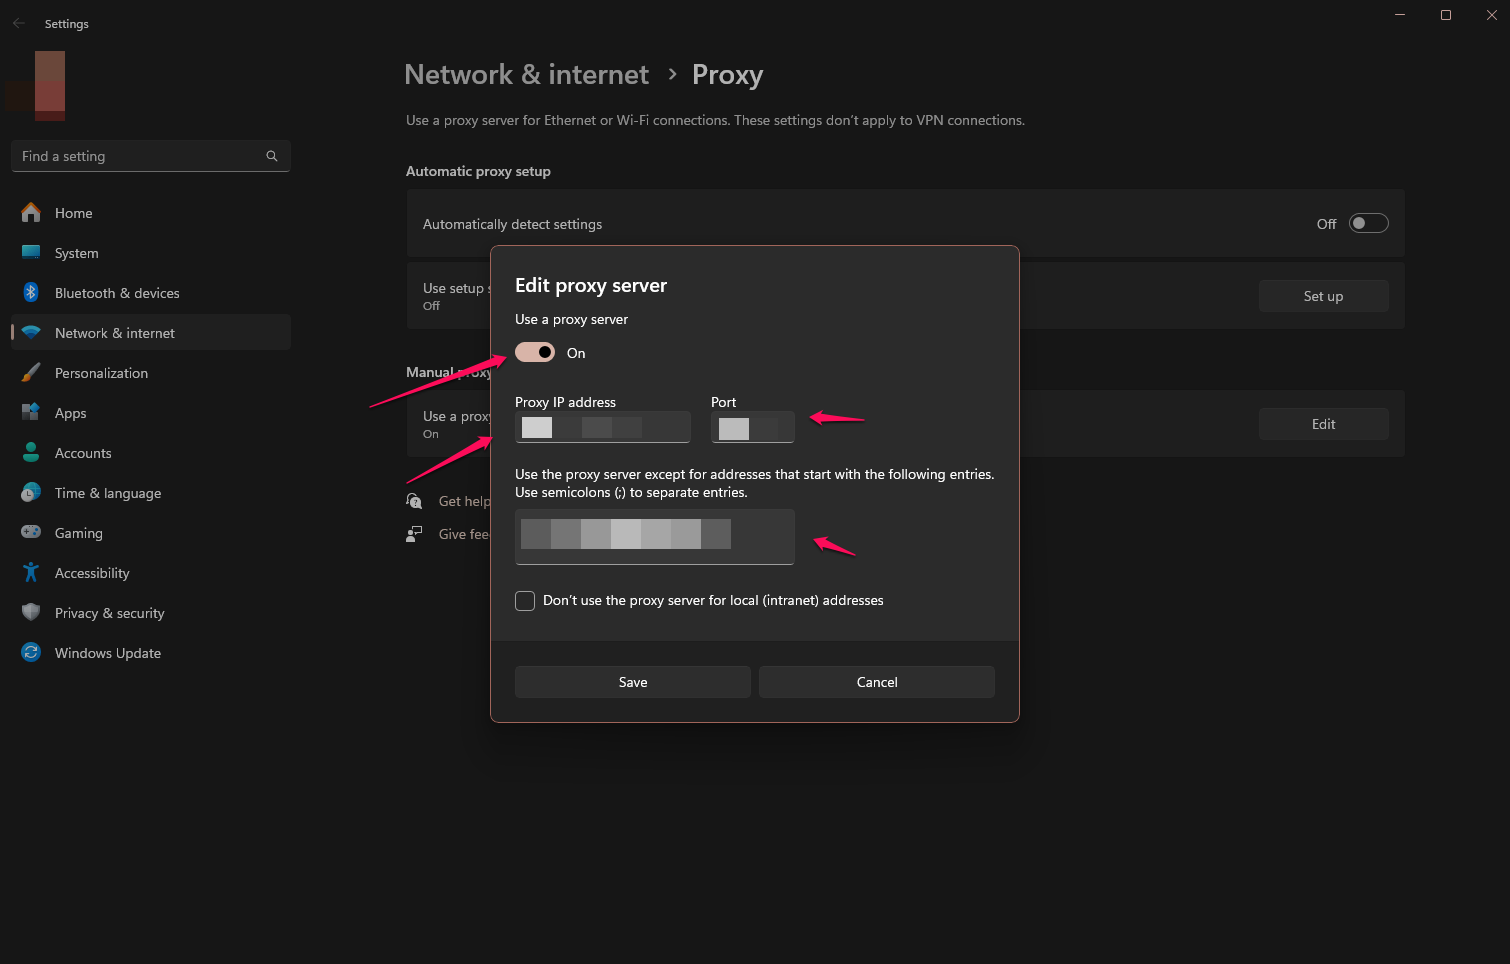
Once you’ve confirmed the information, hit the Save button so the connection can be confirmed, allowing you to use your choice streaming platform.
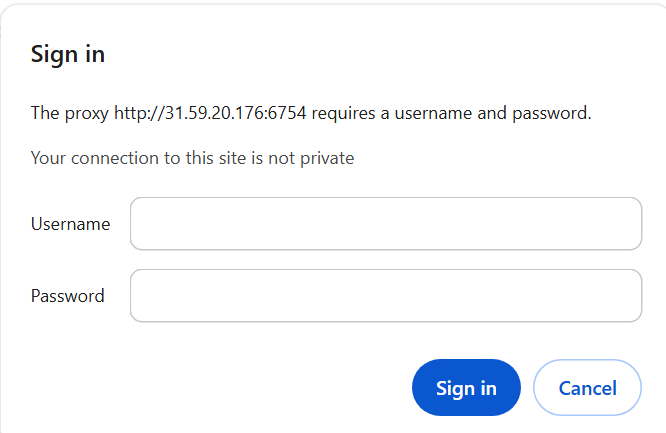
Once you open your streaming platform on your browser, you will be prompted to enter the proxy server's username and password. Make sure to not use your Webshare account's email and password - as that's a different thing, you need to use the specific proxy server's username and password.
Streaming Proxy for Android
The settings menu could look different depending on your Android device, but most of them allow you to conveniently connect to a proxy like this:
Step 1: Head Over To Your Wi-Fi Settings
Go into your phone settings and look for your grouped connection settings. It should have everything related to calls, data, and networking.
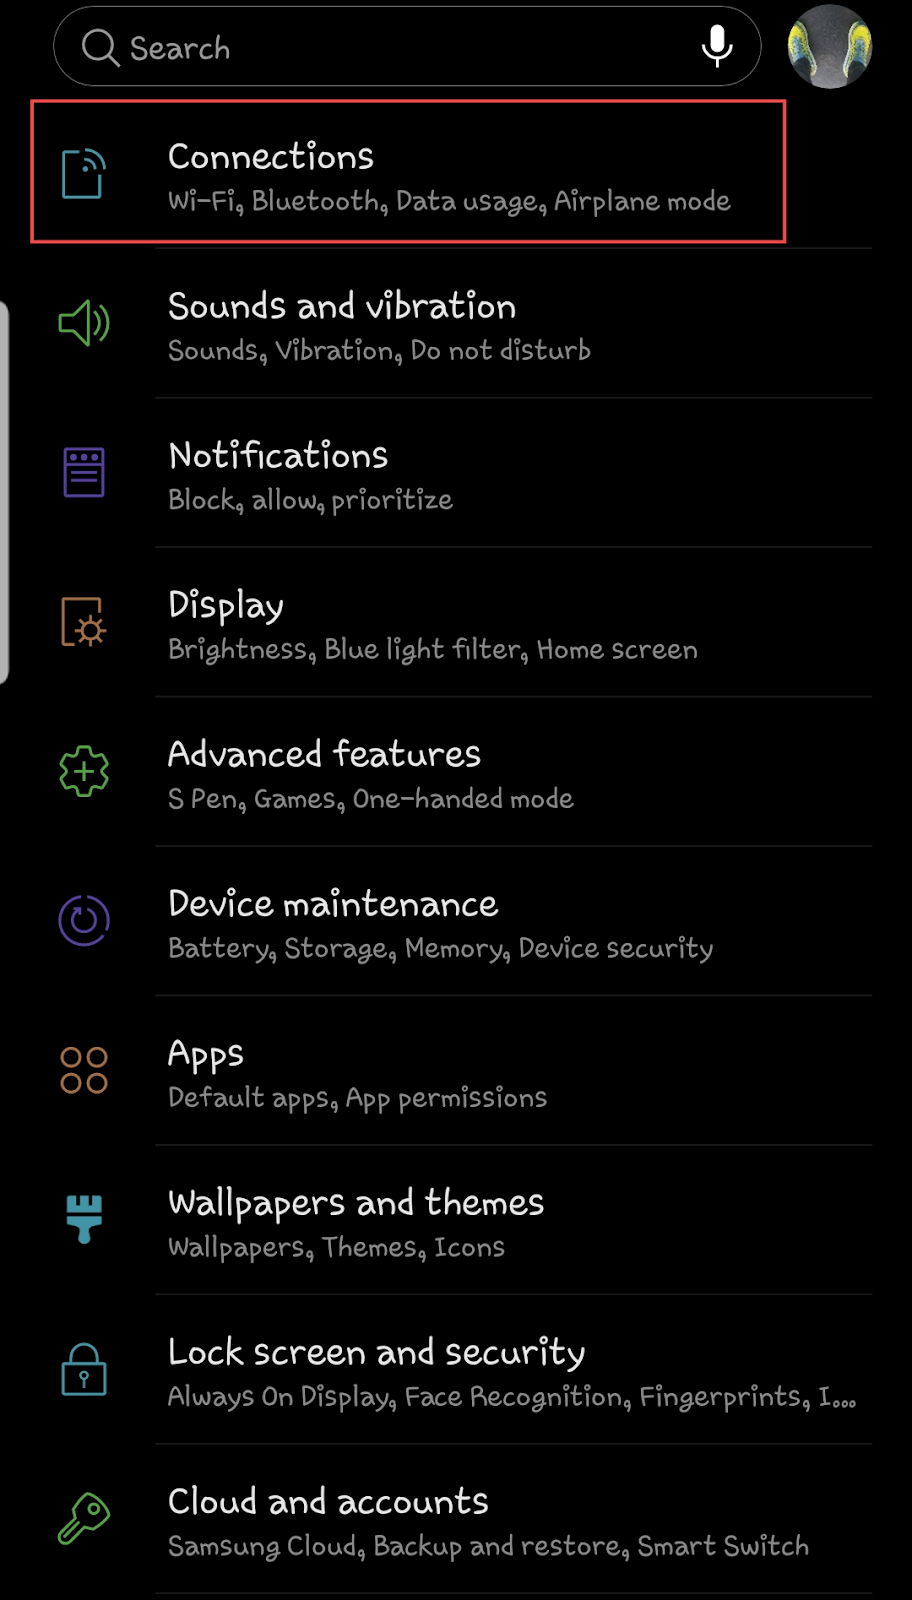
Then, look for the advanced connection settings (appears as “more network settings” on some devices)

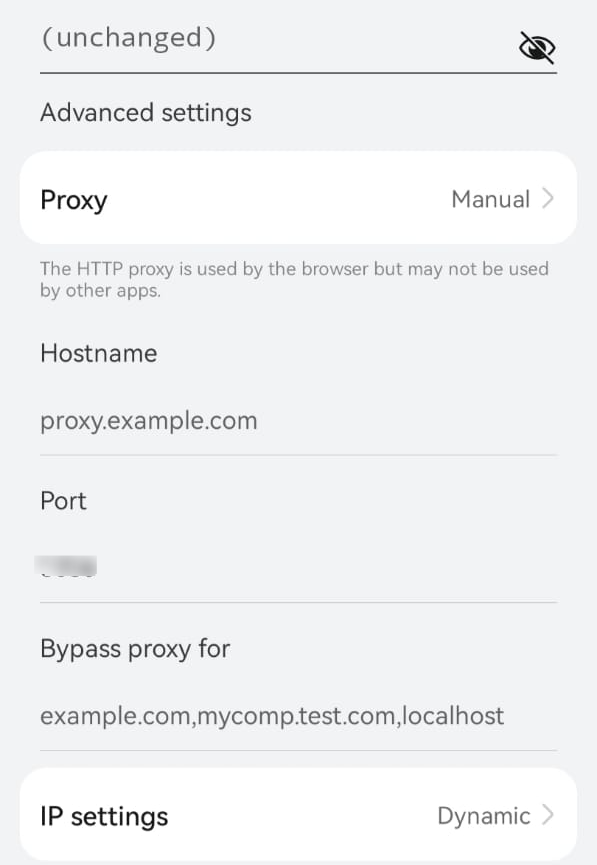
Step 2: Configure Your Proxy
Finding the proxy option shouldn’t be a problem. Depending on your device, it might also be tagged as either Proxy or Private DNS. Once you see this, you should be able to select between None, Manual, or Auto. Go ahead and choose Manual.

From here, the process is similar to the Windows setup. You should notice fields that take the information you’ve gathered from the Webshare dashboard. Confirm them and enter.
Step 3: Verify Your Proxy
Entering this information isn’t the only means of verification. Once you’ve confirmed these details, you will be prompted to enter a username and a password, to ensure that you are permitted to connect to the server.
This information is also on the Webshare dashboard, and you’ll be able to stream on your favorite platforms as usual once you confirm your access.
How to Test a Streaming Proxy
You can test your streaming proxy by connecting to your preferred IP on the proxy list and then navigating to the streaming platform you were blocked on. If the proxy works, then you should have access without issues.
How to Turn Off a Streaming Proxy
Connecting to a proxy is convenient in many different scenarios. You might want to use it for something else and go right ahead. However, disconnecting is also convenient once you’re done doing what’s needed.
You can use your usual accounts if they’re working again by following the steps below.
For Chrome
All functionality for the Webshare Chrome extension is contained within the widget that pops up when you select the Webshare icon. If you used the Chrome solution to connect to a proxy, you know how to find the widget. Beside the IP you selected, you should notice a red Disconnect button. Select it, and your proxy connection will be severed.
For Windows
Both the Manual and Automatic methods of using proxies in Windows have a button indicating use. If you turn off either of these buttons, you’ll stop using the proxy service you connected to.
What is the Best Proxy to Use With Streaming?
Static residential proxy is the best, since it gives proxy user a residential IP address, creating the highest layer of protection and anonymity for the user.
The Bottom Line: Enjoy Streaming with Webshare
The community guidelines on some of your favorite streaming platforms can feel very restrictive sometimes, especially when you get banned. Thankfully, if you use a proxy, you don’t need to stop following your favorite creators.
Take full advantage of the processes explained above, and you’ll be able to regain some control over how you enjoy your favorite content.


