

Get 10 Free Proxies For TeamViewer
TeamViewer is a remote access and control software that helps you connect to computers or mobile devices from anywhere. It is useful to work remotely and manage systems across different platforms. TeamViewer is free for personal use and works on most computers and mobile devices.
Using a TeamViewer proxy can improve your experience as it provides privacy and faster connections. It helps to hide your real IP address and show only the proxy server’s IP. This keeps your online activity private and safe from security threats. A TeamViewer proxy can also improve connection speed as it has the capability to choose a proxy server closer to the remote device’s location. This reduces latency and makes remote sessions smoother.
Therefore, in this article, you will learn how to set up a TeamViewer proxy, test if it works, and choose the best type of proxy.
Before starting
Before you configure a proxy with TeamViewer, you need to get some proxies. One easy way to do this is through Webshare. It offers 10 free premium proxies to anyone who signs up. You don’t need to provide any credit card details to create an account.
Next, let us see how to get started.
Visit the Webshare website and create an account. With the registration you will receive the details of your free proxies. These proxies come with 1GB of bandwidth per month and provide connections from multiple countries.

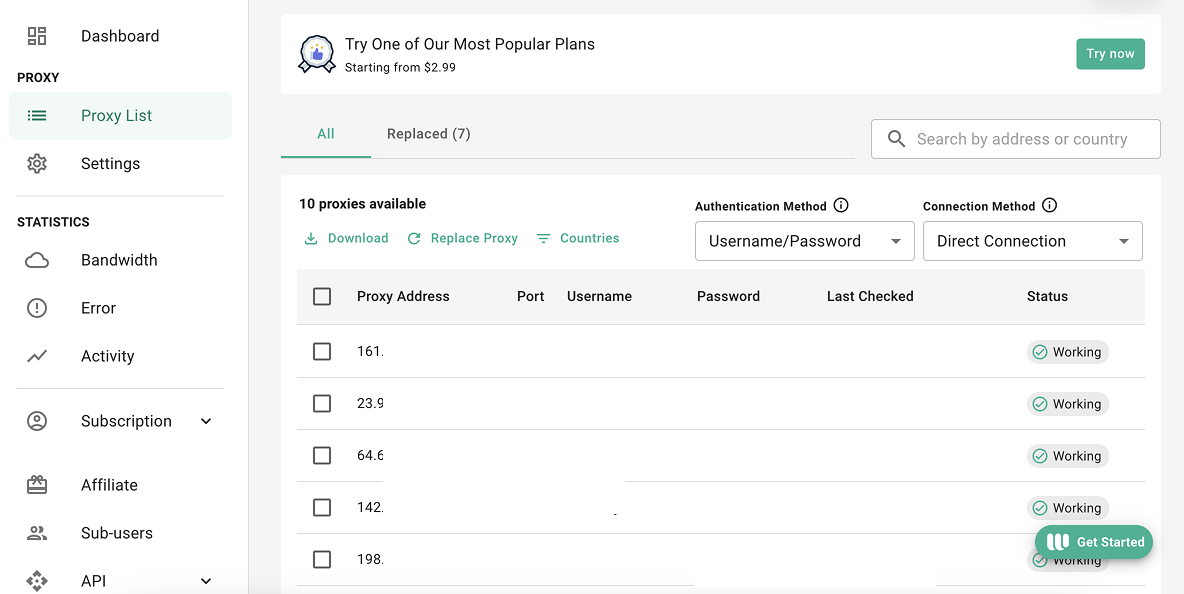
To obtain your proxy details, select the "Proxy List" option from the left-hand navigation menu on the Webshare website. This will take you to the proxy list view, where you can access the details of your free proxies.
Easiest method: TeamViewer proxy for Chrome
Using the Webshare Proxy Extension for the Chrome browser is one of the easiest ways to set up a TeamViewer proxy. When using the extension, you don’t need to manually configure the proxy details. The extension handles all the settings automatically and helps you to switch your location within a few seconds.
Step 2: Install Webshare Chrome extension
Click on the "Add to Chrome" button next to the Webshare extension.
A confirmation popup will be shown to allow access to change your privacy-related settings and install the extension. To proceed, click “Add extension".

Step 3: Log in to the extension
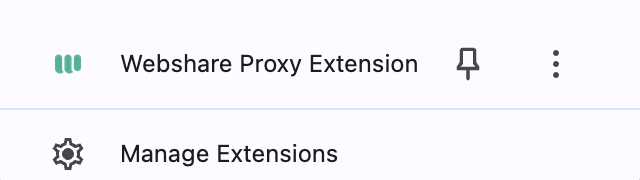
Once installed, the Webshare icon will appear in your Chrome extension toolbar. Next, click on the icon to access the extension. If you are already signed into your Webshare account on Chrome, you will be automatically signed in. Otherwise, enter your Webshare credentials to log in.
Step 4: Select the preferred proxy
The extension will display a list of available proxy servers from your Webshare account. Browse through the proxy list and select the proxy that you need.

Step 5: Activate and use the proxy
Click on "Connect" to see your preferred proxy in action.
Your Chrome browser will then use the selected TeamViewer proxy to use TeamViewer.
TeamViewer proxy for Windows instructions
To use a proxy with TeamViewer on your Windows computer, you have to set it up in the Windows system settings.
Step 1: Access Windows machine’s proxy server settings
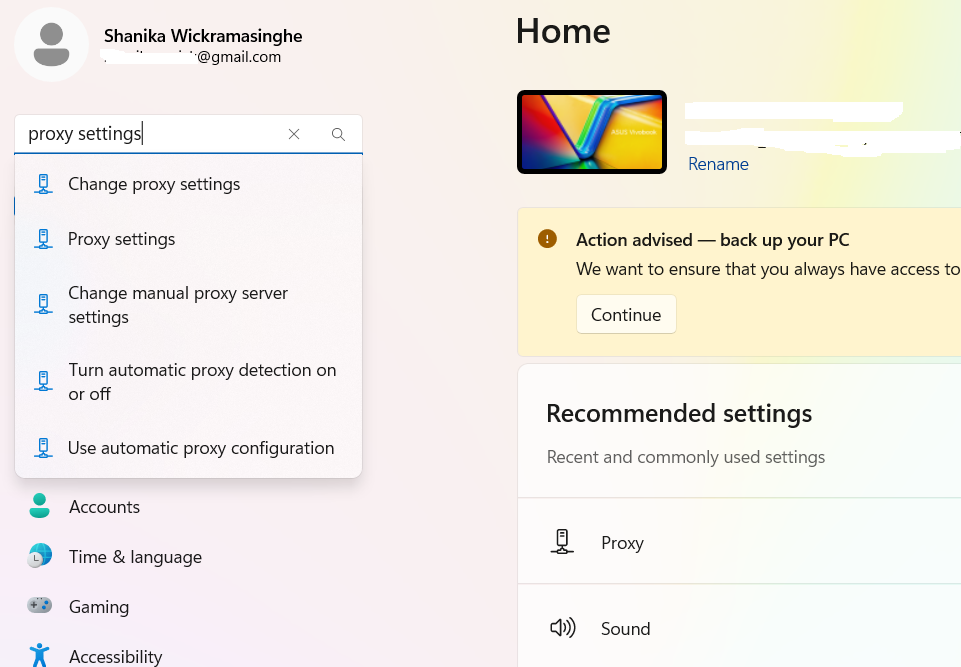
Click on the "Start Menu" and type "Proxy Settings" in the search bar. Select the "Proxy Settings" option from the search results. This will open the Windows proxy configuration window.
Step 2: Choose Manual Proxy
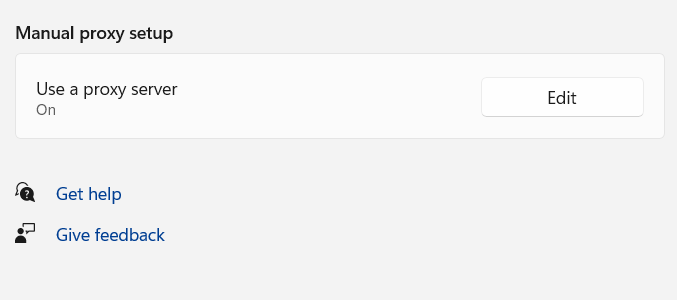
In the Proxy Settings, you will see two sections.
- Automatic Setup - Windows tries to configure the proxy automatically.
- Manual Setup - This option helps you to manually add the proxy details.
Select "Use a proxy server" under the Manual Proxy Setup section.
Step 3: Enter the proxy details
Input the proxy server's IP and port provided by the proxy provider.
Fill out the “Excemptions” field to exclude certain websites from using the proxy.
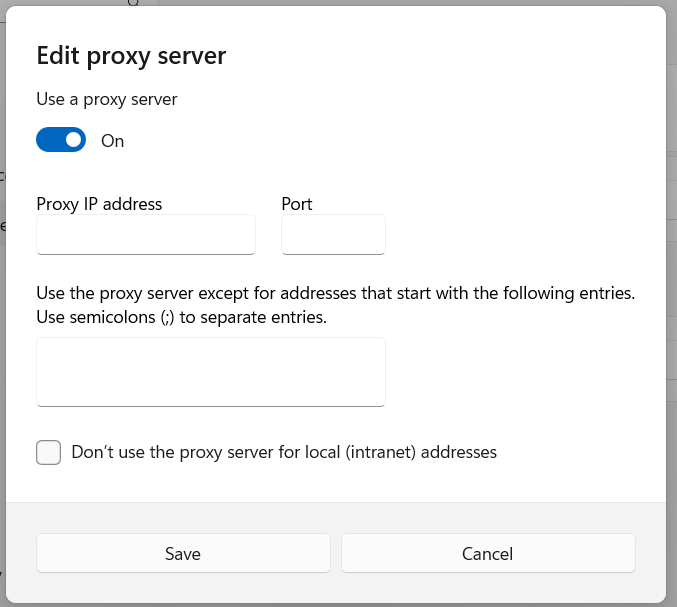
Step 4: Save the settings
Click on "Save" to apply the settings. The changes will take effect immediately.
With this method, you can easily set up a TeamViewer proxy on Windows.
TeamViewer proxy for Android instructions
To set up a TeamViewer proxy on your Android, you need to follow these steps. The process may vary depending on whether you are using a Wi-Fi network or mobile data.
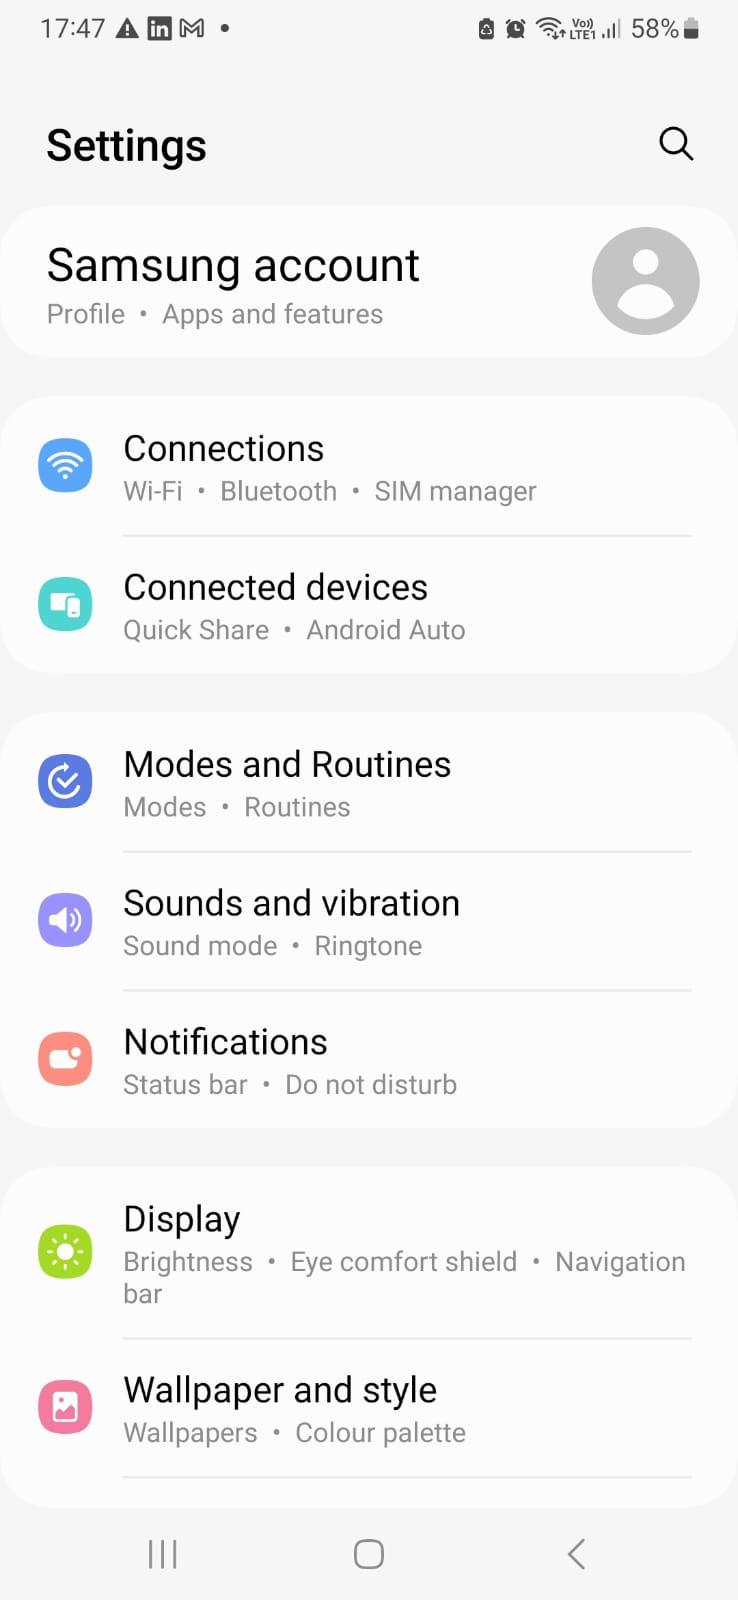
Step 1: Access Wi-Fi Settings
In the Settings application on your Android, select "Connections".
Step 2: Select the Wi-Fi Network
Find the Wi-Fi network you want to use with the TeamViewer proxy. Press and hold the network name and then tap "Settings".

Step 3: Access Proxy Configuration
Tap on "View more" to access additional network settings.
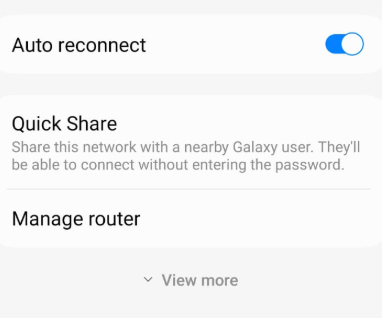
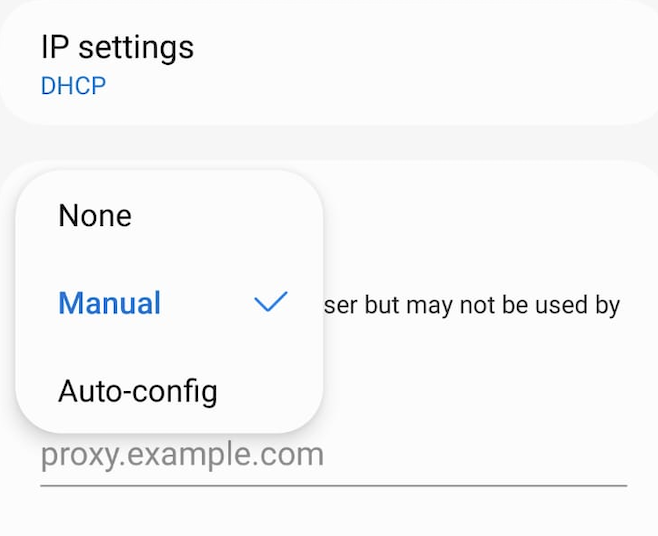
Select "Proxy" to see the available choices.
- None - No proxy will be used.
- Manual - Manually enter the proxy details.
- Proxy Auto-Config - Automatically detects the proxy settings.

Step 4: Enter Proxy Details
Choose "Manual" to configure the TeamViewer proxy manually.
Enter the proxy address and port you obtained. If there are any websites that you want to access without the proxy, you can list them in the "Bypass proxy for" section by separating them with commas.

Step 5: Review Settings and Save
Review the proxy information you have entered to see whether they are correct. Tap on "Save" to save the proxy settings.
Step 6: Use TeamViewer with Proxy
Your device will now use the configured TeamViewer proxy when you are connected to this Wi-Fi. This helps you to use TeamViewer with a different IP address.
How to test TeamViewer proxy?
After setting up a TeamViewer proxy, it’s always good to verify whether it is working fine. Here are three effective methods to test the TeamViewer proxy.
- Connect to TeamViewer using the configured proxy. Then, visit an IP checker website like whatismyipaddress.com. Verify that the displayed IP address matches the proxy server’s location instead of your actual location.
- Use a network monitoring tool such as Wireshark to analyze the network traffic while connected to TeamViewer. Check if the outgoing and incoming traffic is routed through the proxy IP address.
- Download and install a tool like PingPlotter. Then, start a remote session in TeamViewer with the configured proxy. Enter the IP address of the remote computer in PingPlotter and check the graph to monitor latency and packet loss. If the connection remains stable without frequent spikes, it confirms that the TeamViewer proxy is working fine.
How to turn off TeamViewer proxy?
If you want to disable the TeamViewer proxy, follow these steps depending on your device.
1. For Chrome - Click on the Webshare Proxy Extension in the Chrome toolbar and select "Disconnect".
2. For Windows - Open "Proxy Settings" from the Start Menu. Disable "Automatically detect settings" & "Use a proxy server" located under the section “Manual Proxy Setup”.
3 . For Android (Wi-Fi) - Go to "Settings" and select "Wi-Fi". Tap on the configured Wi-Fi network. Then choose "Settings" and set "Proxy" to "None".
What is the best proxy to use with TeamViewer?
A static residential proxy is the way to go if you’re planning to use a proxy with TeamViewer for personal remote access. It keeps your connection stable and secure with a consistent IP address.
If you’re looking to handle more complex tasks like manage multiple connections or automate processes, then a data center proxy is a better choice. It provides faster speeds and higher bandwidth for more professional use.


