


What’s more frustrating than being unable to access Tumblr when you need it the most? Maybe you are trying to catch up on your favorite blogs, queue up posts for your followers, or just scroll through some quality memes, only to find that Tumblr is blocked, slow, or even restricted by your country.
No one wants to deal with this situation, but fortunately, there’s a way around it. Using a proxy can help you bypass these restrictions, keep your browsing private, and access Tumblr without limitations.
But how do you set it up, and which proxy service is right for the job? Read on to learn everything you should know about using a proxy with Tumblr and how to get started!
Before Starting: Get Free Proxies for Tumblr
Your proxy’s effectiveness is essential in getting past geo-blocks and enhancing your online privacy. Among the top choices, Webshare stands out due to its seamless setup and broad compatibility across browser and operating systems.
Additionally, new users are instantly provided with 10 free proxies upon registration, and you don’t even need to enter any credit card info to claim them.
Setting up is a breeze; simply head to the Webshare website, sign up, and immediately receive your proxy details. Once that is in place, you are expected to configure the proxy on your device for a smooth Tumblr experience. Let’s walk through how to do this with Chrome, Windows, and Android.
Easiest Method: Tumblr Proxy for Chrome
The most straightforward way to access Tumblr on Chrome via a proxy is by using a browser extension. We highly recommend the Webshare Chrome extension, which makes it easy to set up proxy settings in your browser. Here is how to set it up:
Step 1: Install the Webshare Chrome Extension
Head over to the Chrome Web Store and search for the Webshare extension. Click Add to Chrome and confirm installation by selecting Add Extension.

Alternatively, you can add the Webshare extension by heading to the Webshare Dashboard and clicking Add Extension for Free under the Install Chrome Extension section.
The browser extension is perfect for accessing Tumblr’s web version, but if you prefer using the app, you must set up a system-wide proxy. We’ll go over how to do this later in this guide.
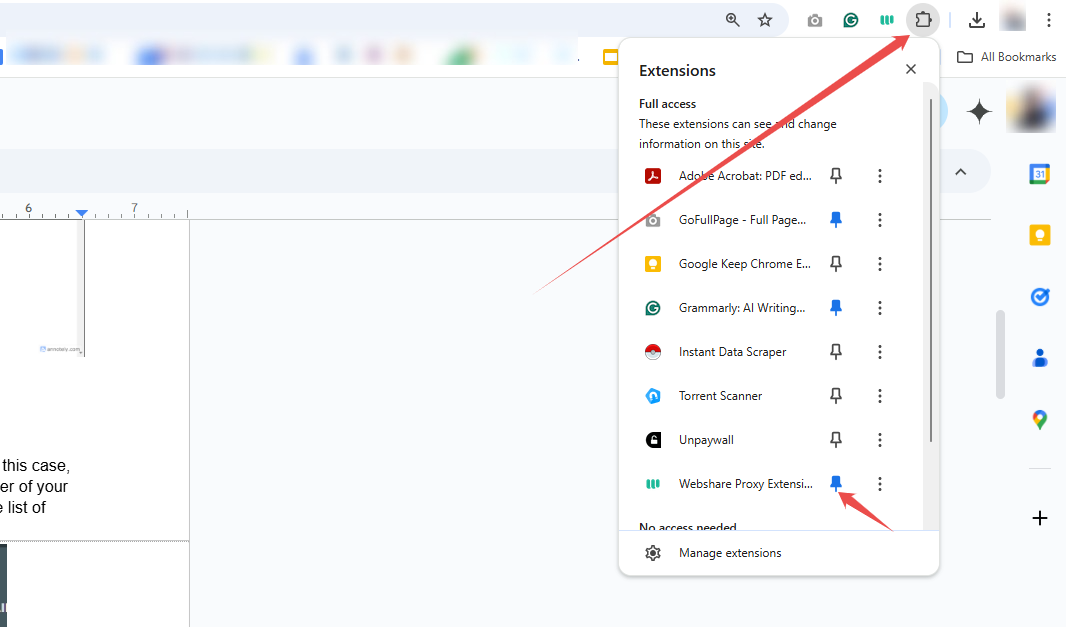
Step 2: Pin and Access the Webshare Extension
You might notice that the Webshare extension does not automatically appear in your browser’s toolbar after installation. Pinning it ensures quick access whenever you need it. To do this, click on the puzzle-shaped extensions icon in the top-right corner of Chrome. Scroll through the list to find Webshare, then click the pin icon to keep it visible on your toolbar.
Once pinned, click on the Webshare logo to continue. If you already have an account, simply log in with your credentials. New users can register by selecting Create Account, signing up with an email and password or opting for a quicker setup by linking a Google account.
Step 3: Connect to a Proxy in Webshare
Upon logging in, you might notice a message stating, No proxies connected. This means you haven’t selected one yet; there’s nothing to stress over.
Establish a connection by browsing the available proxies and clicking the Connect button next to the one that suits you. Notably, each proxy displays a country flag, making it easy to refine your choices if you need a region-specific proxy to access Tumblr.

You can also navigate to the Dashboard for a full list of available proxies and select the best based on your preferences.
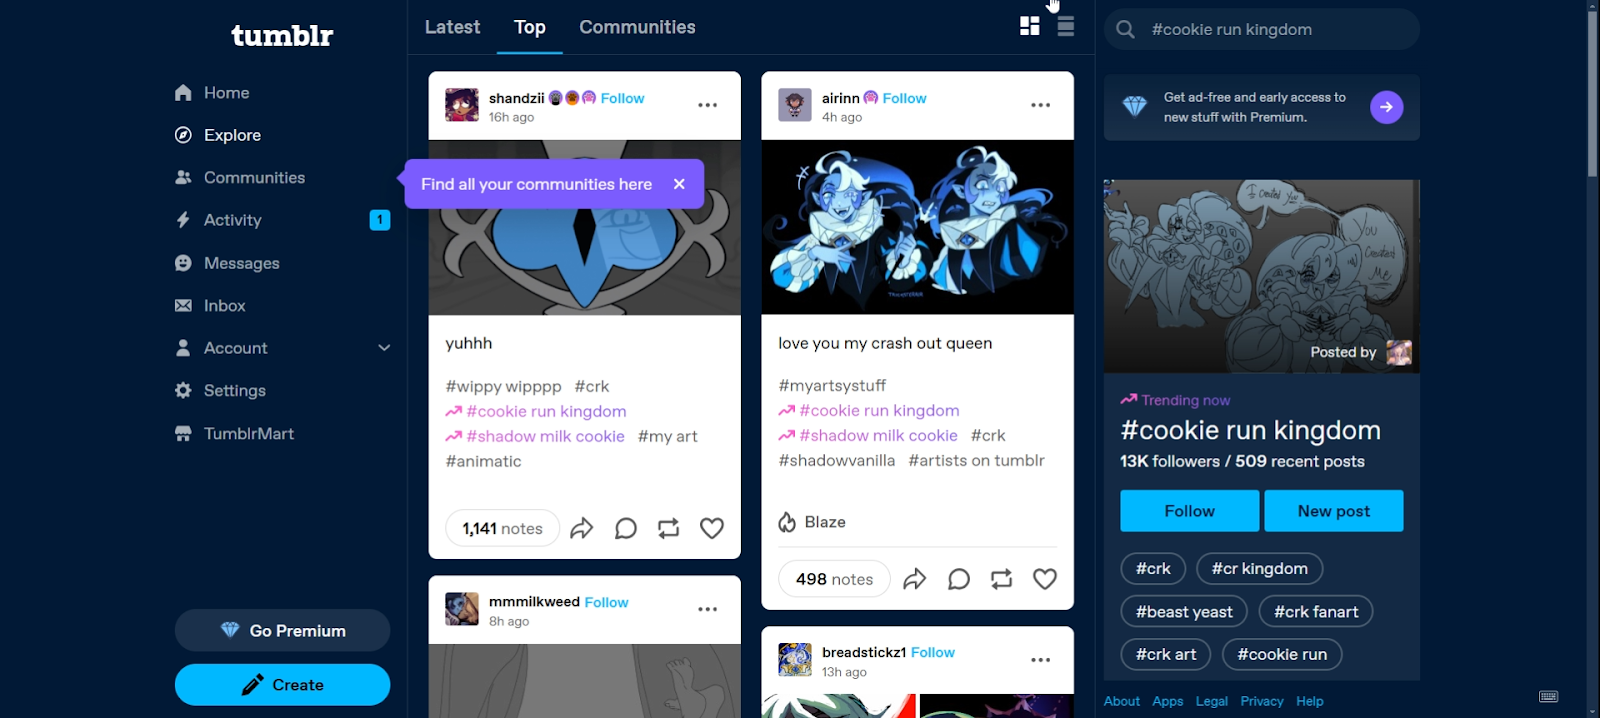
Step 4: Access Tumblr With a Proxy
Once connected, simply log into Tumblr as usual. Your internet traffic will now be routed through the chosen proxy, letting you scroll through your feed, reblog posts, and engage with content without restrictions.
Tumblr Proxy for Windows
If you want your proxy to work across all browsers and platforms on your Windows PC, consider setting up a system-wide proxy. Here is how to pull it off:
Step 1: Open Windows Proxy Settings
Press your Windows Key and type Proxy Settings into the search bar. Select Open to access your system’s network configuration page. Here, you will find options for both automatic and manual proxy setups.
Step 2: Configure Webshare Proxy Manually
To fully control your connection, turn off “Automatically detect settings.” Next, scroll to the Manual Proxy Setup section and click Set up. This will prompt you to enter your Webshare proxy details, including proxy IP address, port number, username, and password.

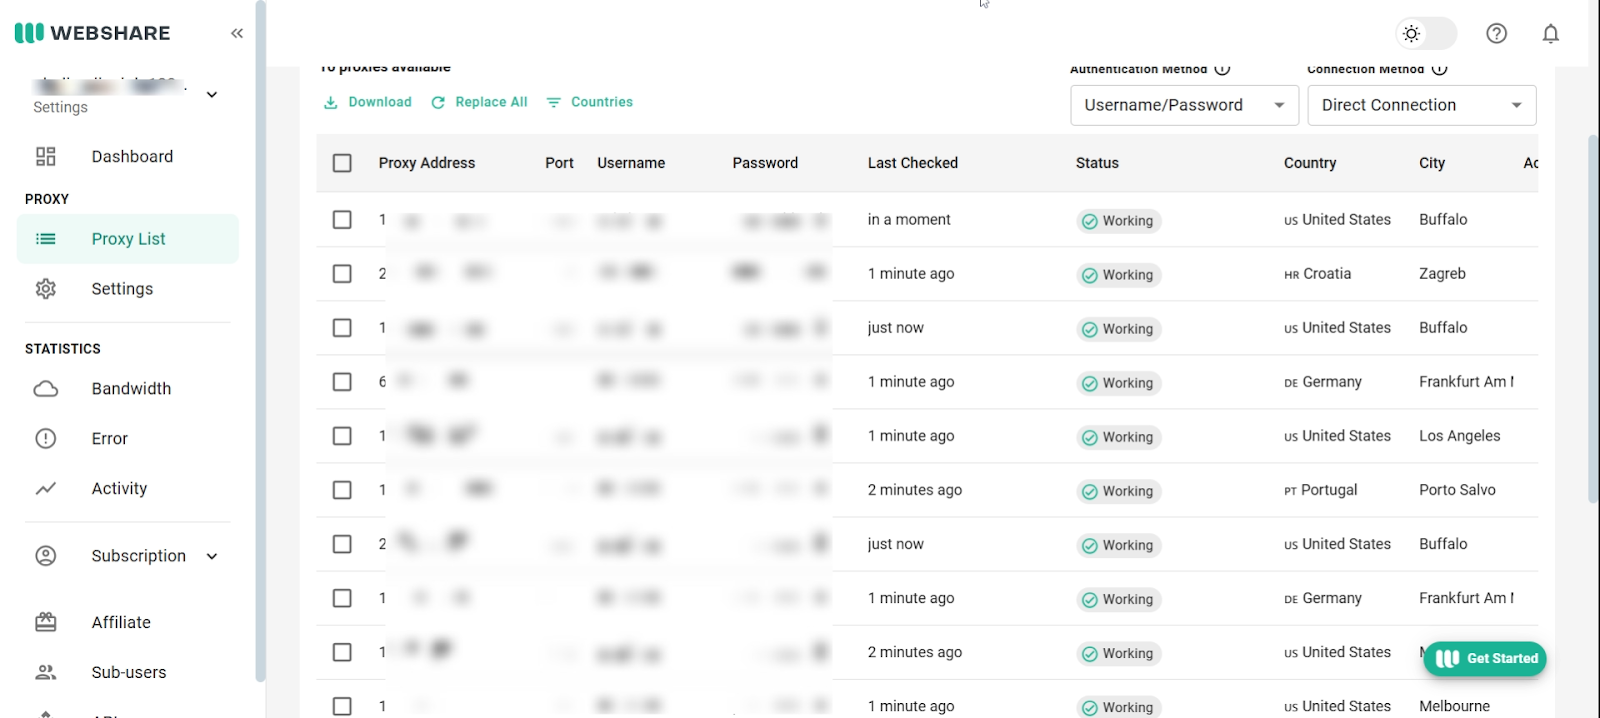
At this point, revisit your Webshare dashboard and navigate to your list of available proxies to retrieve the details needed for your configuration.
Select a proxy that best fits your needs, then return to Windows proxy settings and enter the necessary details carefully. Double-check for accuracy before saving the configuration. Once done, click Save to apply the changes.
Now, all internet traffic on your system will be routed through the selected proxy.

Step 3: Verify Your Proxy Connection
You can confirm a successful connection in two ways. First, test your connection directly with Tumblr. To do this, try loading location-based content, posting images, or browsing different regions. If everything functions smoothly, your proxy is active.
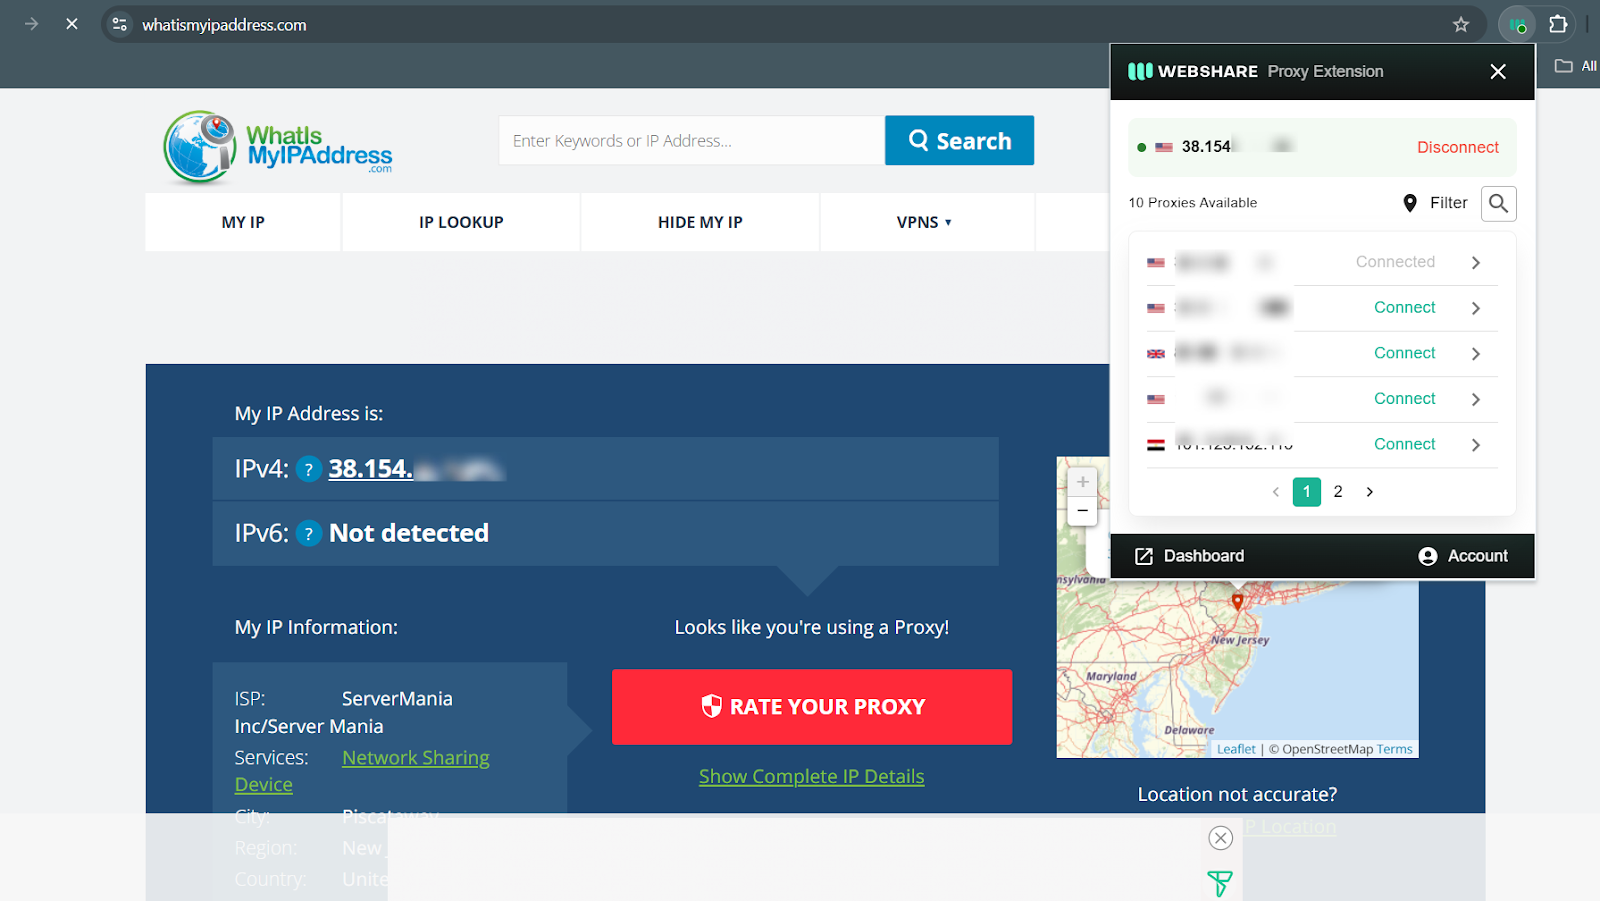
The second way is by checking your IP address. Simply open a browser and search “What is my IP address?” If the displayed IP matches the one assigned by your selected Webshare proxy, your setup is successful.
Tumblr Proxy for Android Instruction
While Android devices may have varying interfaces, the process of setting up a proxy remains relatively consistent across most models. Here’s how you can do it:
Step 1: Access Your Wi-Fi Settings
Open the Settings app on your device and navigate to the Wi-Fi section. Connect to your preferred network, then select Advanced Settings.

This will display extra options, including Proxy, IP settings, and Privacy.
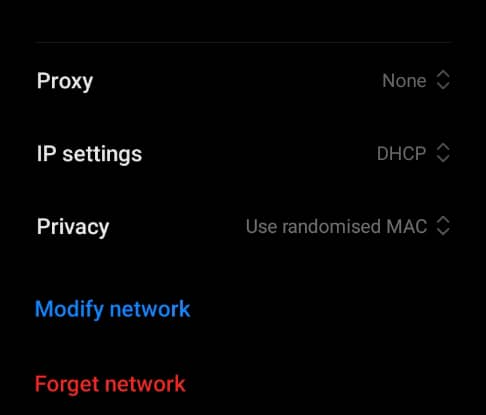
Step 2: Configure the Proxy Manually
In the Advanced Settings menu, locate the Proxy option. Tap the drop-down menu and choose Manual from the available options.
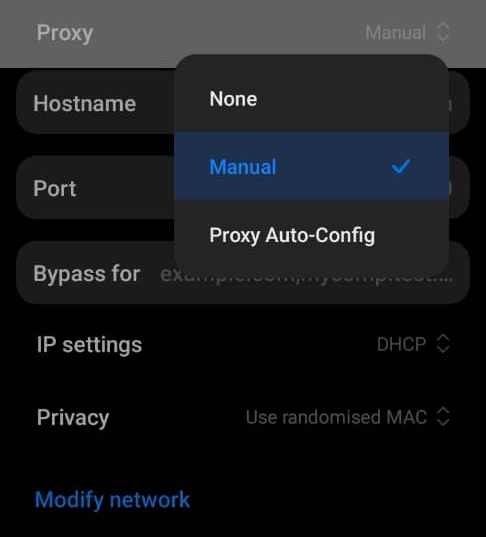
Now, revisit the full Proxy List section in your Webshare dashboard and retrieve your proxy details. Carefully enter the Proxy hostname, port number, and IP address in the corresponding fields. Ensure all details are accurate before proceeding.

Step 3: Authenticate Your Connection and Access Tumblr
Webshare provides two authentication methods, including Username/Password Verification and IP Whitelisting. The first method allows you to retrieve your login credentials from the Proxy List in Webshare and enter them when prompted.
With IP Whitelisting, you won’t need to enter your login details manually. Instead, you can add your device’s IP address in Webshare settings, allowing it to be automatically recognised and granted access.
Once the authentication process is complete, you can access Tumblr.
How to Test Tumblr Proxy
To test your Tumblr proxy, open a browser and visit an IP-checking tool like IPinfo. Check the displayed IP address, location, and internet service provider (ISP), then compare these details with the proxy information from Webshare. If they match, your proxy is successfully connected, and Tumblr will recognize your traffic as coming from your selected location.
For a smoother experience, you should consider clearing your browser cache and cookies before logging into Tumblr. This helps the site correctly detect your new IP address, ensuring seamless browsing and efficient account management.
How to Turn Off Tumblr Proxy
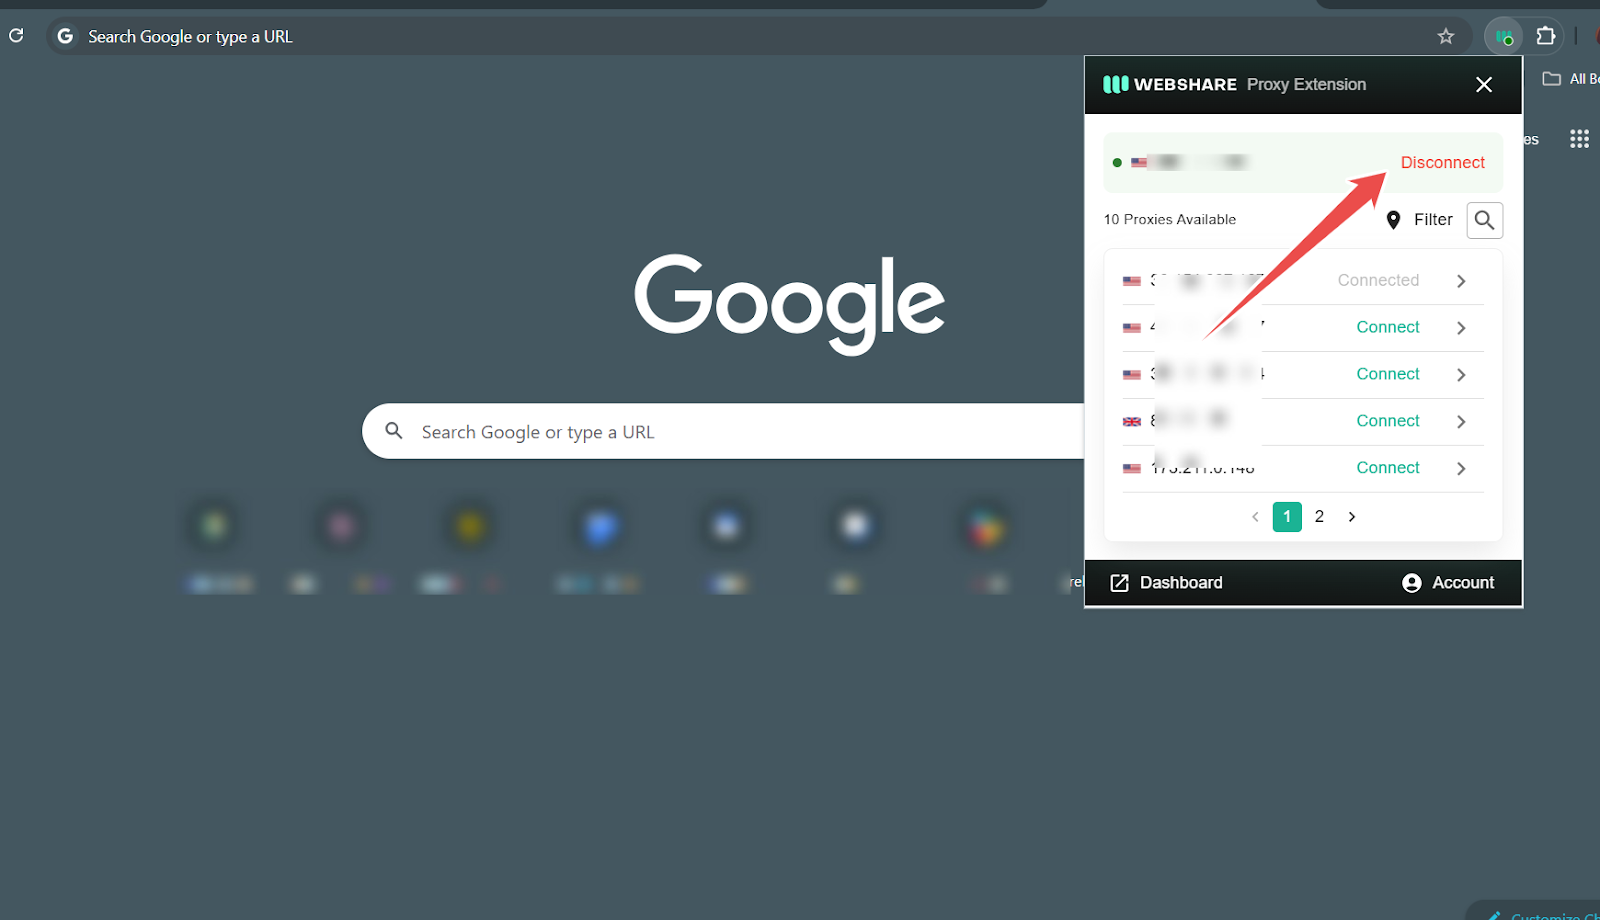
You may want to disable your proxy to enhance browsing speed or restore your original connection. Thankfully, turning off your Tumblr proxy across the three platforms discussed is pretty easy.
Chrome happens to be the fastest and easiest, as you only need to click the Webshare icon in your browser’s toolbar. In the pop-up window, select Disconnect. This will immediately deactivate the proxy and restore your default internet connection, allowing you to use Tumblr normally.
To disable the proxy in Windows, open Settings and go to Network & Internet. Click on the Proxy section, and under Manual Proxy Setup, locate the “Use a proxy server” toggle and switch it off. Click Save, and your connection will revert to its default state.

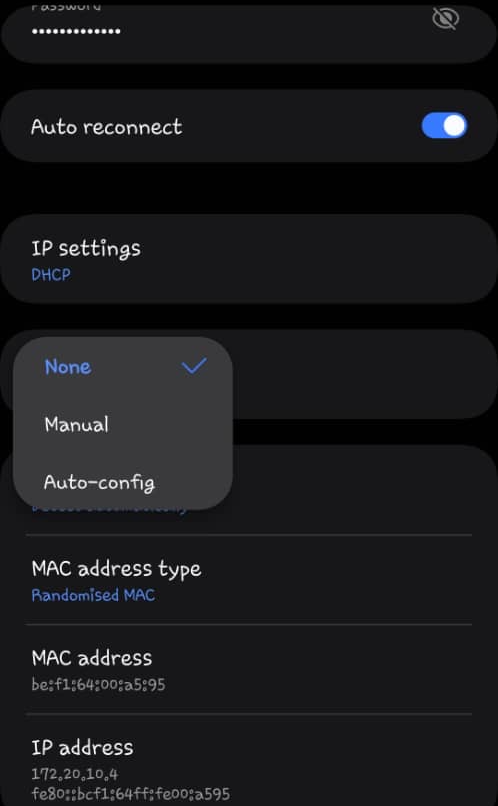
For Android users, simply open the Settings app and navigate to Wi-Fi. Find your active network and tap the gear icon next to it. Go to Advanced or Additional Settings and locate the Proxy option. Finally, switch the setting from Manual to None, then save the changes.
Once done, your device will stop routing traffic through the proxy, restoring your normal internet connection.
What Is the Best Proxy to Use With Tumblr?
If you are new to proxies or want a proxy that works effortlessly with Tumblr, Webshare is a solid starting point. It simplifies the entire process by offering an easy setup, broad device compatibility, and a free plan that suits casual users and dedicated bloggers.
With a handy Chrome extension, you can connect to a proxy in seconds. Moreover, Webshare isn’t just limited to your browser; it is fully functional on Windows, macOS, iOS, and Android. One of its biggest perks? 10 free proxies upon signup, no strings attached. This means you can test the waters before committing to a plan.
More importantly, Webshare supports WebSockets, helping Tumblr run smoothly without lag or interactions. Whether posting, reblogging, or scrolling through your dashboard, a fast and stable connection makes all the difference. Fortunately, Webshare delivers just that!


