


Communication is a basic need for our day-to-day lives, and with the rise of technology today, there are several means to do so. You’ll find different applications like Viber that allow you to stay in touch with your friends, family, and colleagues. However, what makes this platform better is that not only can you send messages and files, but there are also options to call (voice and video).
Unfortunately, like many online services, not every user can use the Viber platform due to regional limitations or network policies. There is a simple solution to this, and it requires using a proxy and any of the three methods we’ll provide in this article.
Before Starting
For this guide, we recommend Webshare, a trusted platform, as your source for getting reliable and fast proxies. These proxies have a number of use cases, including AI development, web scraping, SEO, e-commerce scraping, and social media management (Viber). Webshare has over 30 million IPs from 190+ countries, including the USA, Australia, the United Kingdom, and Canada.
To get started with Webshare, you’ll have to head to the official website and click on the “Sign Up” button. Then, enter your email address and create a password. Or, you could also link your Google account for quick registration.
As a thank you for choosing them, Webshare rewards you with 10 free proxies to use as you want. You can also purchase a subscription plan on a monthly or yearly basis. If you prefer a more custom order, you can contact customer support.
Easiest Method: Viber Proxy for Chrome
If you’re using Viber on your desktop via the Chrome browser, this method is for you. Here’s how to do it:
Step 1: Get the Webshare Proxy Extension From the Chrome Webstore

Load up the Chrome Webstore on your browser. If you don’t know how to, just Google search “Chrome Webstore,” and it should pop up at the top of the page. On the Webstore, search for Webshare proxy, then click the “Add to Chrome” button to install it.
Step 2: Open the Webshare Chrome Extension and Log Into Your Account
Click on the menu option (three dots), usually at the top right corner of your screen. Look for the extensions option and open up the page. You’ll find the Webshare Proxy Extension, which, when you click on it, opens a mini-page.
Once you open the page, you’ll have to log into your Webshare account. You could either enter your registered email and password or your linked Google account.
Step 3: Pick a Proxy and Connect
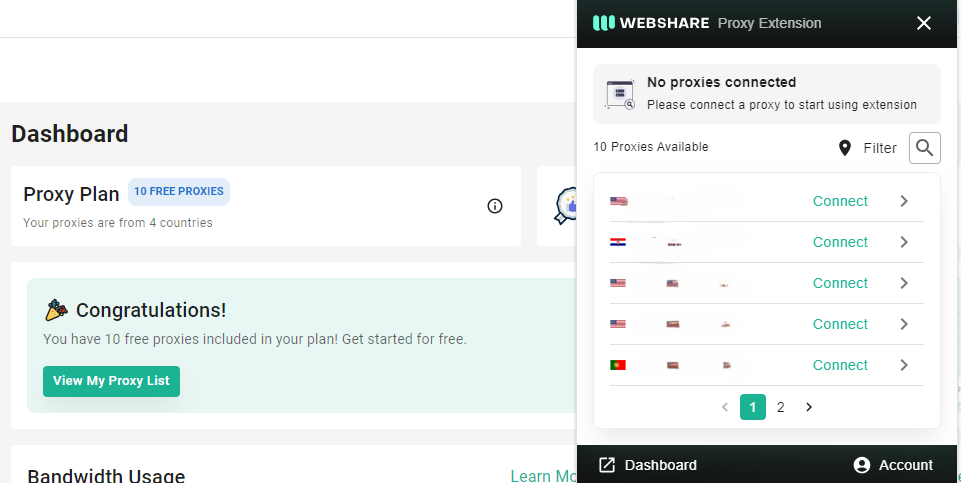
After you access your Webshare account, the extension interface will show all the available proxies. You’ll also see the 10 free proxies on the page. Select the proxy you want to use and click the “Connect” button. Once connected, open Viber in your browser.
Viber Proxy for Android Instructions
The following guide is for users with Windows devices:
Step 1: Access Your Windows Proxy Settings
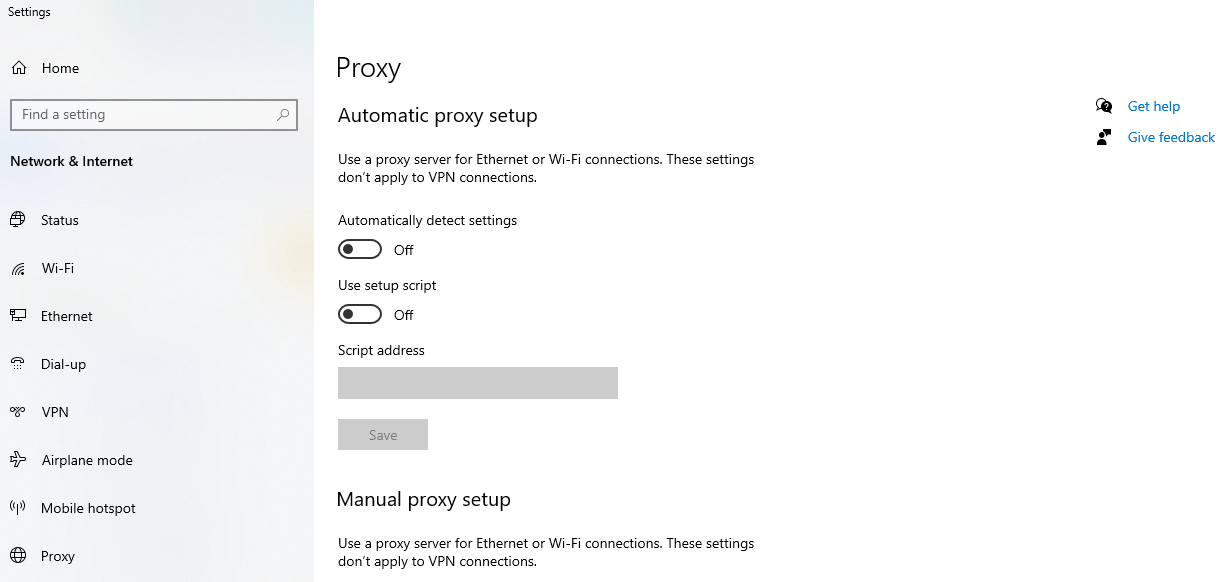
Go to your Windows search bar and type in “Proxy Setting.” This brings up a page with the result. Click on the open button and open the proxy settings page.
Step 2: Set Up the Proxy

Head down to the “Manual Proxy Setup” section. You’ll find the “Use a proxy server” area with a toggle button below it; switch it ON. This opens the boxes where you need to enter the proxy details (address, port, username, and password) from your Webshare account. Click “Save” to apply the settings.
Viber Proxy for iPhone (iOS) Instructions
iOS users are not left out since they can use proxies with Viber. Here’s a step-by-step guide:
Step 1: Connect to a WiFi Network
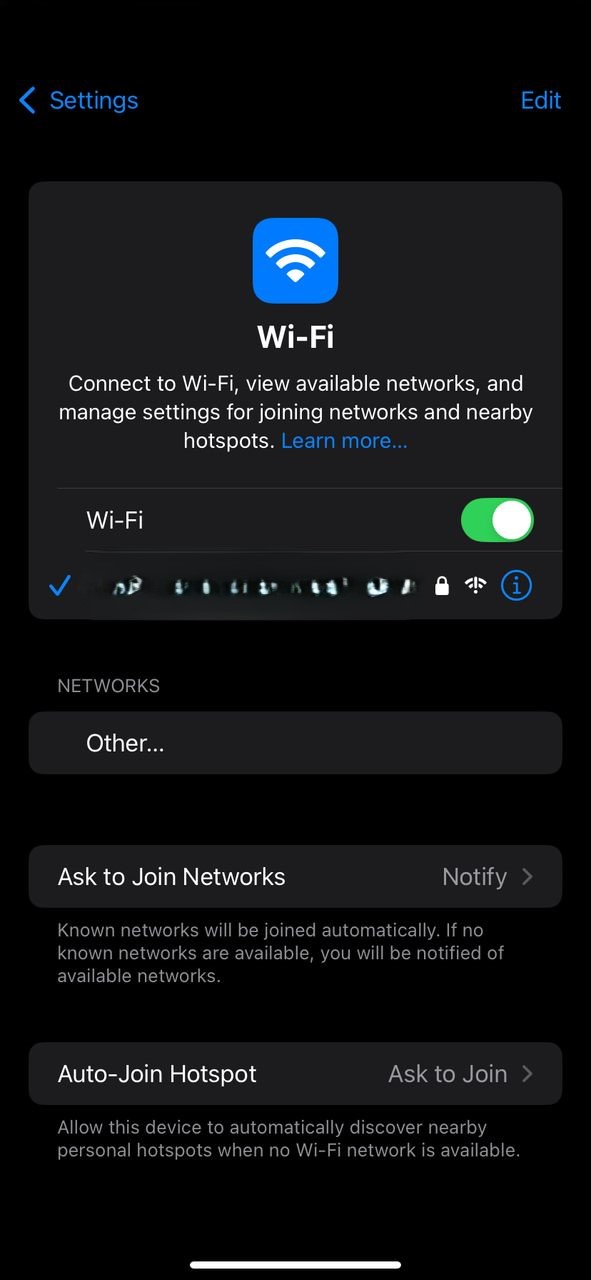
Go to your iOS device’s Settings and tap on “WiFi.” Connect to a stable and secure WiFi network. This shouldn’t be a public network to avoid any problems.
Step 2: Set Up the Proxy Settings
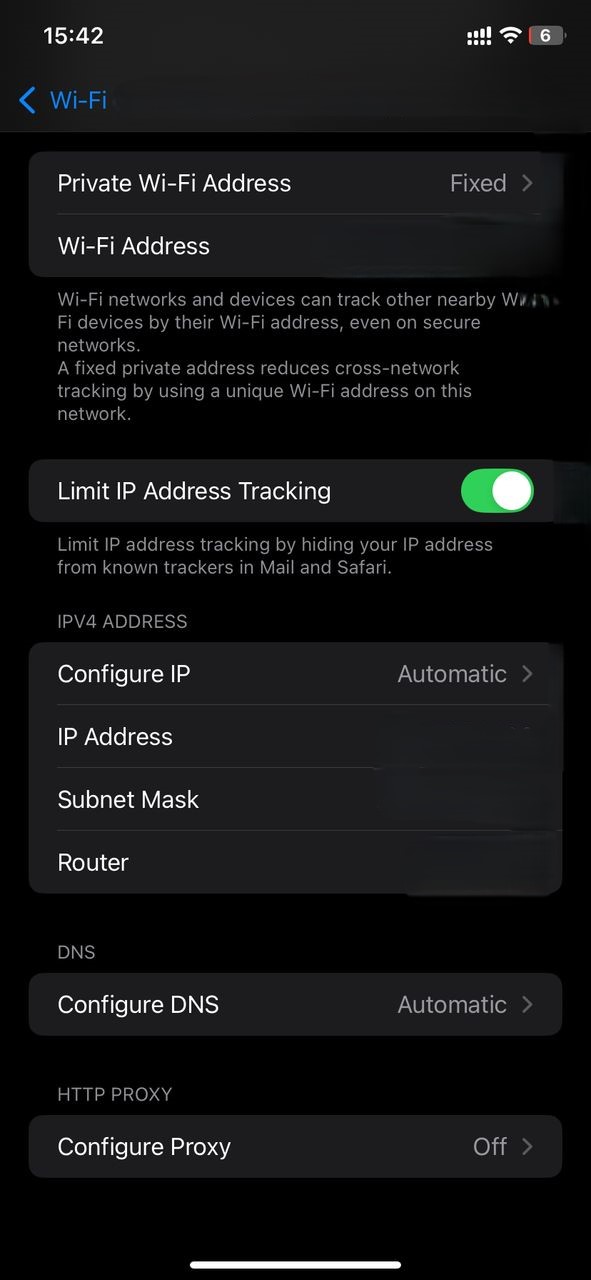
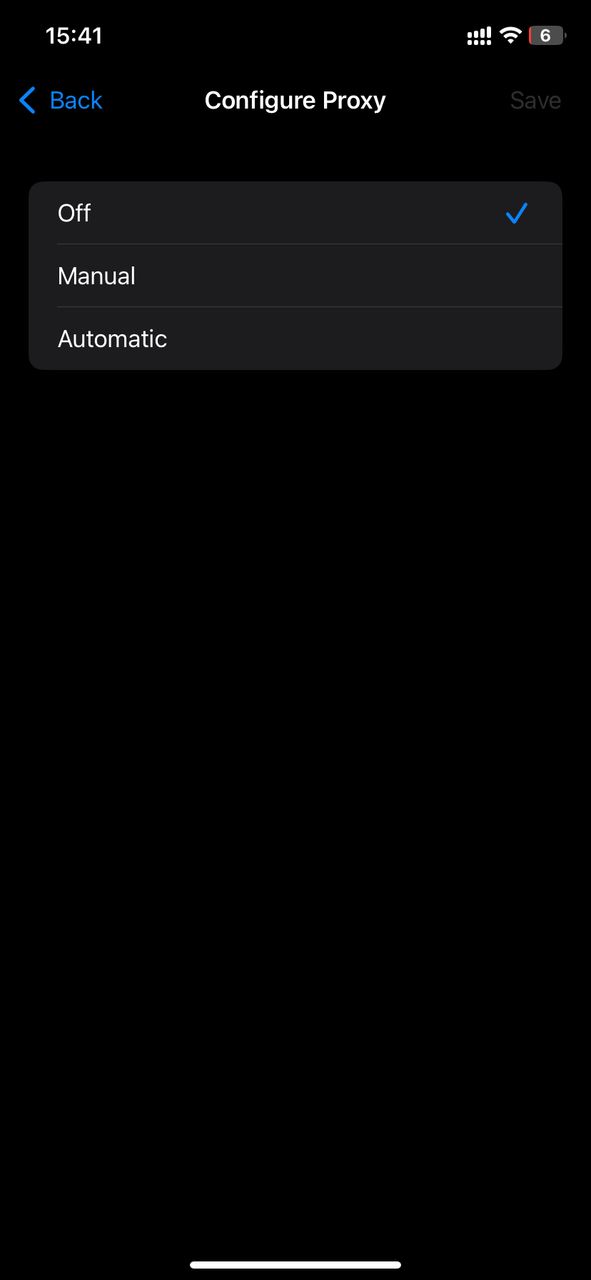
Tap on the connected WiFi network to access its settings. Scroll down and select “Configure Proxy.” Then, choose “Manual” and, like the Windows method, enter the proxy details (address, port, username, and password) from your Webshare account. This should save the setting, and you are free to visit the Viber platform.
How to Test Viber Proxy?
After setting up your proxy, you can test it by using an online IP checker. We recommend using “What is my IP Address?” After loading the website, it should display the IP address you are using to browse and match the one you set up.
How to Turn Off Viber Proxy?
Here are the different methods to turn off your Viber proxy:
- Chrome: Click on the disconnect button on the Webshare extension.
- Windows: Turn off the toggle button under the “Use a proxy server” section.
- iOS: Go to the WiFi settings, tap on the connected network, and change the proxy configuration to “Off.”
What is the Best Proxy to Use With Viber?
The best proxy for Viber depends on your specific needs. However, we highly recommend Webshare’s residential proxies due to their reliability and ability to mimic real user behavior.
With these features, the proxies are less likely to be detected and blocked by Viber’s servers. Also, among the rest, Webshare’s United States proxies are a popular choice for their speed and stability.


