


Yandex is a multinational technology company with its headquarters in Moscow, Russia. It was founded in 1997 and is known to provide internet services such as a search engine, maps, email, and more. It is the largest search engine in Russia, with over 60% of the Russian search market under its control. It's also a popular search engine for Ukrainians and Central Asia users.
Yandex’s algorithm is specifically optimised for the Russian language and Cyrillic script. It also has advanced machine learning features, making it flexible and efficient. However, the platform is primarily designed for users in Russia, so it might be difficult to access it from outside the country. Some countries restrict access to Russian internet services, making it impossible to access platforms like Yandex. Russian servers might block your network access as well.
If this applies to you, a proxy can help you bypass these restrictions. A proxy masks your IP address so that you can navigate regional restrictions. This guide will help you understand how to use a proxy with Yandex.
Get a Free Proxy for Yandex
To use a proxy with Yandex, you need to first have access to the proxy. This can be done by using the services of trustworthy proxy providers. There are free proxy providers like Webshare, which lets you access as many as 10 free proxies. Webshare also gives you access to premium options for free, without asking you to upgrade.
You can get Webshare proxies by simply creating an account on their free proxy page. You’ll need to provide some details, and then create a username and password. After this, you’ll be able to access the free proxies on your Webshare dashboard.
Easiest Method: Yandex Proxy for Chrome
To access Yandex with a proxy, the easiest method is through a Chrome proxy extension. This allows for seamless access to the features of a proxy provider like Webshare while browsing. Here’s how to make it work:
Step 1: Install Proxy Extension
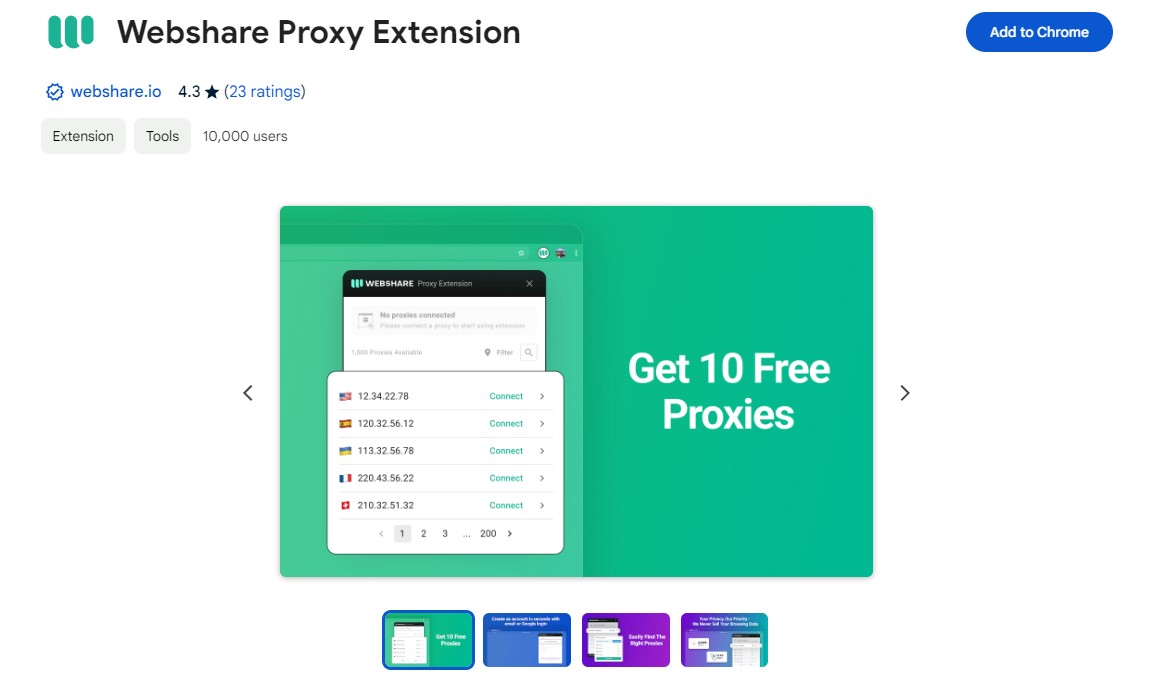
It’s easy to download a Webshare extension on your Chrome. To do this, simply go to the Chrome Web Store and search for ‘Webshare Proxy Manager’. Then, click ‘Add to Chrome’ and wait for the extension to install.
Step 2: Configure Extension
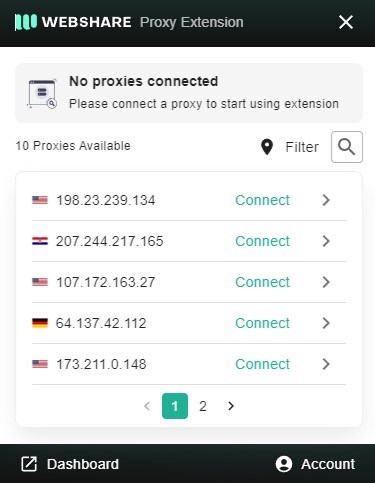
After installing the extension, you need to set it up. This can be done by clicking the Webshare icon and logging into your Webshare account with your username and password. When your login is successful, you can easily access your Webshare dashboard and select your preferred proxy. After making your selection, click save.
Step 3: Connect to Proxy
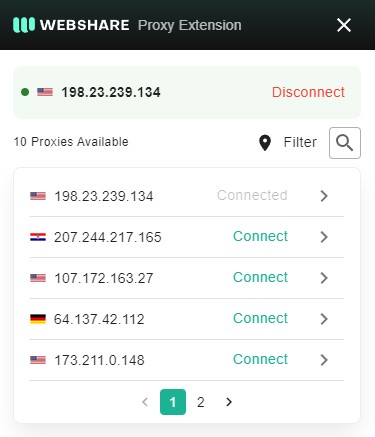
After configuring your extension, you can connect to your proxy by clicking ‘Connect’. You can now have unrestricted free access to Yandex.
Yandex Proxy for Windows Instructions
You might prefer to connect your proxy directly to your Windows system. To do this, follow the following steps:
Step 1: Go To Proxy Settings
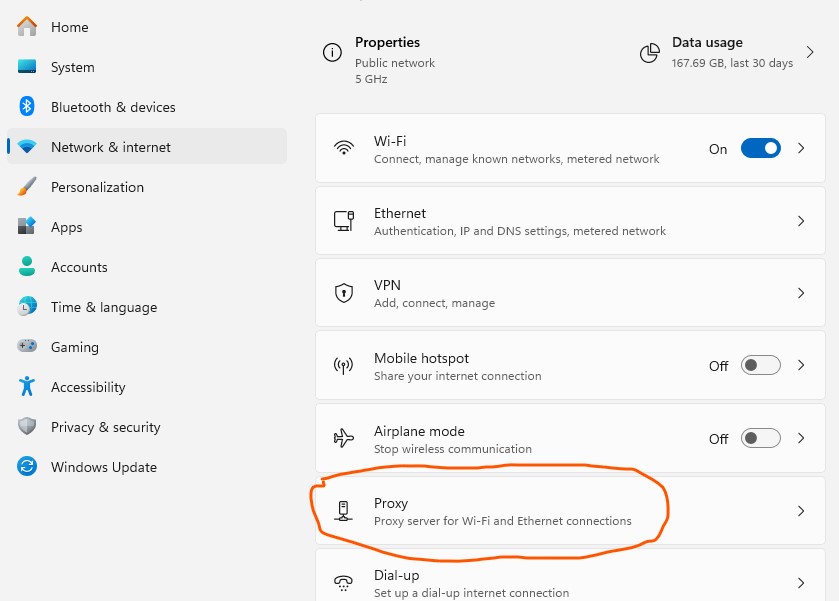
First, you’ll need to go to Proxy Settings on your Windows device. You can do this either by searching ‘settings’ on your search bar or by pressing Windows + I. This will open your device’s Settings, and then you can navigate to Proxy Settings by clicking on ‘Network & Internet’.
Step 2: Set Up Proxy

Once you’ve opened your Proxy Settings page, you’ll see two options: ‘Automatic Proxy Setup’ and ‘Manual Proxy Setup’. If you choose the first option, it means that your Windows will be able to automatically detect your proxy settings but this option is more complex, we recommend using Manual option as that's the more standard and easier to use. Here’s how to finish your setup for this option:
- Click ‘Setup’, the configuration window will open on your screen
- Here, turn on the ‘Use a proxy server’ option
- Input the proxy’s server address and port. You can get these on your Webshare dashboard.
- In the box labelled ‘Use the proxy server except for addresses that start with the following entries’, enter the addresses you’d like to visit without a proxy.
- Finally, click ‘Save’ to update your settings.
Yandex Proxy for Android Instructions
It is also possible to set up your Webshare proxy on mobile devices like your Android device. Some users prefer to access Yandex on their mobile devices. If this is you, here’s how to set up your proxy:
Step 1: Connect to Wi-Fi
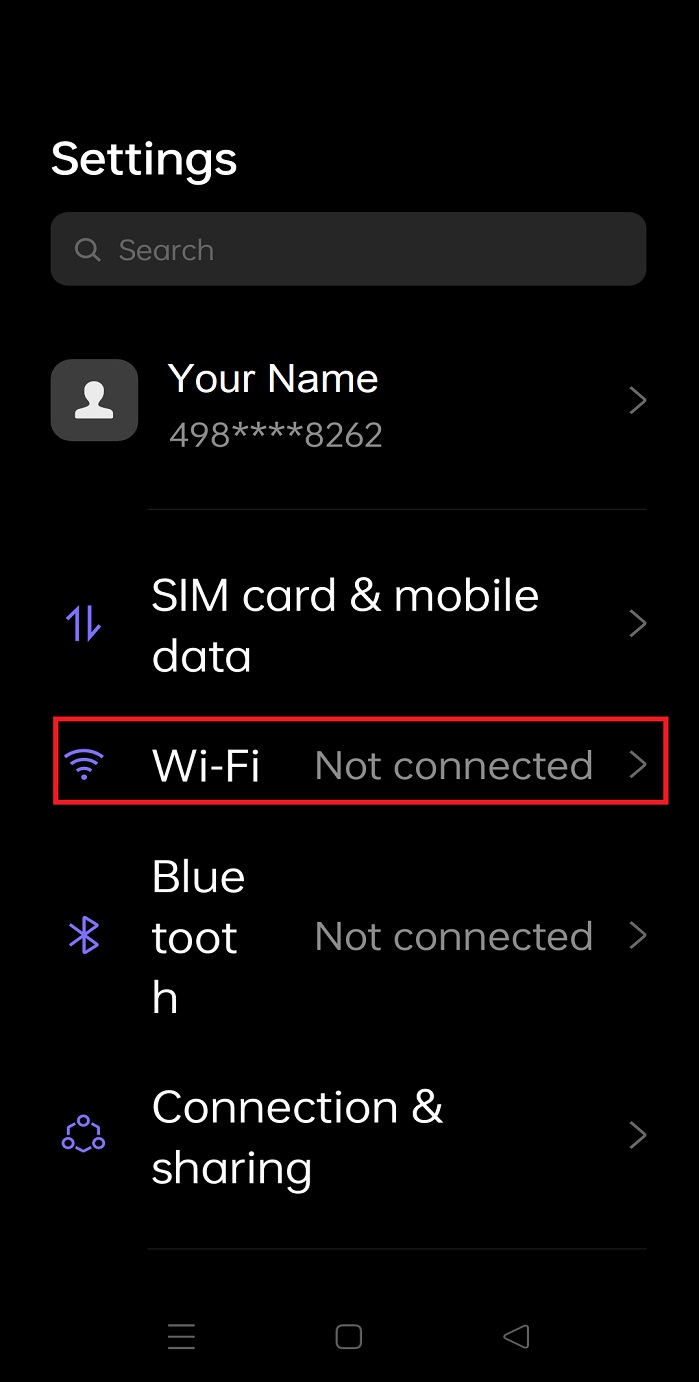
To set up a proxy on your Android device, the first step is to connect to a Wi-Fi network. You can do this by going to your device’s Settings page and navigating to Wi-Fi. There, select the Wi-Fi network you want to connect to.
Step 2: Set Up Proxy
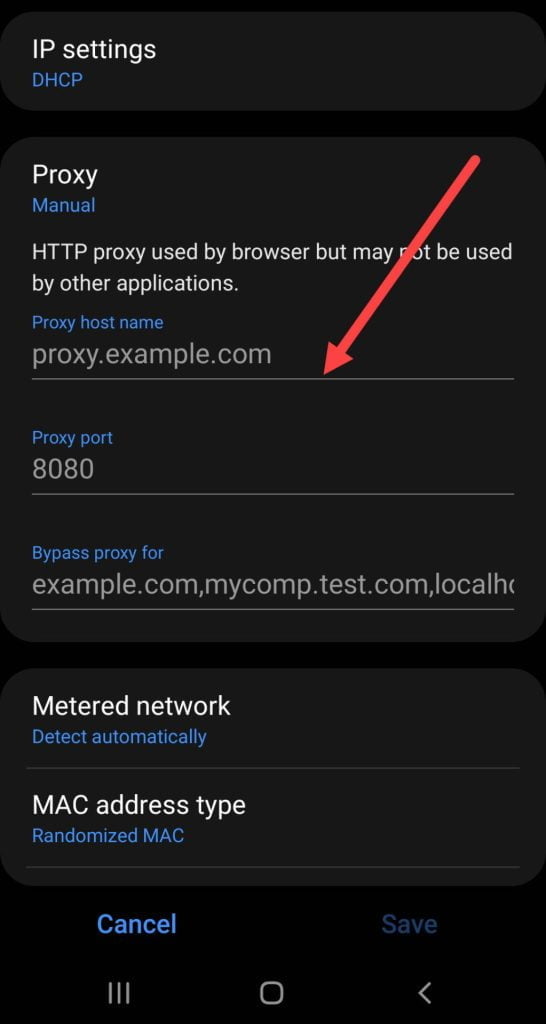
After connecting to your selected Wi-Fi network, click on the settings icon beside it to configure your proxy. On the page that opens, click on ‘Advanced Settings’ and then select proxy settings. Under this, you’ll see three options: ‘None’, ‘Automatic’ and ‘Manual’. Select ‘Manual’ and enter your Webshare proxy host name and port.
Step 3: Select Preferred Authentication Method
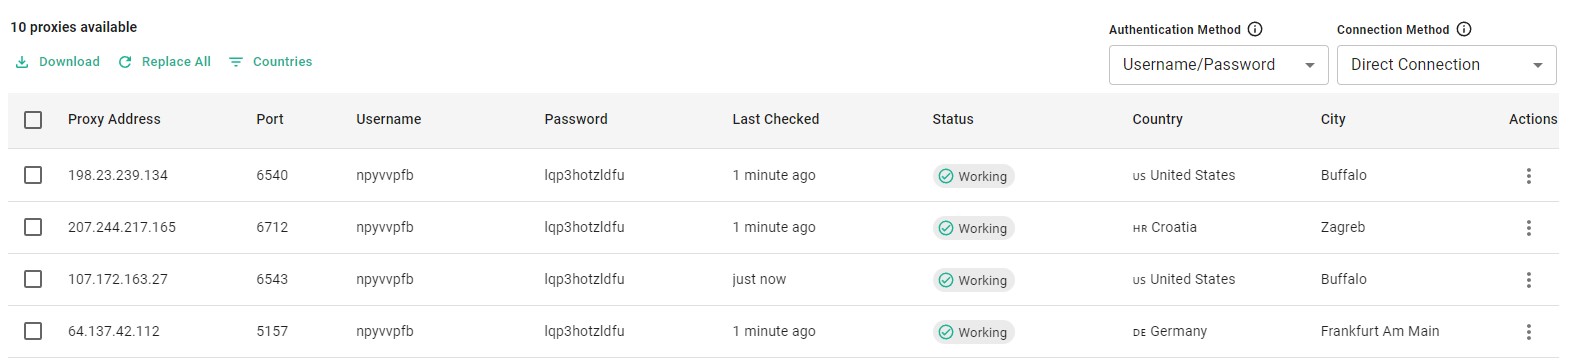
When you’re done setting up your proxy, the next step is to select your preferred mode of authentication. For this, go to your Webshare dashboard. You’ll see two options: ‘Username/Password’ or ‘IP Authentication’.
If you choose ‘Username/Password’, you will be required to enter the username and password for your proxy before you can connect to it on your browser. However, if you choose ‘IP Authentication’, you’ll have direct access to your proxy. All you’ll need to do is input your device’s IP address.
How to test Yandex Proxy?
After configuring your Webshare proxy, you can confirm that it is working just fine by connecting to the proxy and visiting IPinfo.io.
You can double-check that all is in order by visiting the Yandex platform to confirm that you can access it with no restrictions.
How to Turn off Yandex Proxy?
After streaming your favourite shows on Hulu with a proxy, you can turn off the proxy by following these simple steps:
- Chrome: To disconnect from your Webshare proxy server on Chrome, click Webshare on the Chrome extension bar and then click Disconnect.
- For Windows: If you set up your proxy directly on your Windows system, you can disconnect by going back to your Windows Proxy settings and turning off the ‘Use a proxy server’ button. To update this change, click ‘Save’.
- For Android: If you access Hulu with a proxy on your Android device, to disconnect, go to your device’s Wi-Fi settings, navigate to proxy settings, and select ‘None’ in the options provided. Then, click ‘Save changes’.
-fotor-bg-remover-20250204113548.png)


