

Get 10 Free Proxies For YouTube
YouTube is one of the most active social media platforms today. The quality and abundance of content available on YouTube are unmatched, and they have been maintained thanks largely to strict moderation.
Err on the side of the rules and you will be banned from accessing your account with very little wiggle room to defend yourself. Now, if you suddenly can’t access YouTube and would like to enjoy the platform as usual, this is the guide for you.
Before starting: Get free proxies for YouTube
This solution will be very straightforward, and cut across many platforms. However, one major requirement before moving forward is to have a proxy. You could register for a proxy service and find a list yourself.
However, for convenience, it’s advisable to create a Webshare account. If you register, you can take advantage of the current offer that provides 10 free proxies for you to use without needing a credit card. Once you’ve sorted out your proxy provider and have a list of addresses, you can proceed to the next step.
Easiest method: YouTube proxy for Chrome
Proxies are a tried and tested avenue to truly protected browsing. As such, there are many ways to deploy a proxy on your computer. The easiest and most convenient method would be to set a proxy on your Chrome browser. Here’s how you can do just that.
Step 1: Setup the Proxy
Setting up the Webshare extension on Chrome is a very straightforward process. No background activities are involved, and starting is as simple as finding your way to the Chrome extension page on the Webshare website.
Once on this page, you should immediately notice the Add extension for free button. If not, pay attention to the bottom left corner of your browser window.

Clicking this button is a quick way to reach the Webshare extension front page on the Chrome web store. However, you could also just visit the web store and search for Webshare. It will be the first response that pops up.
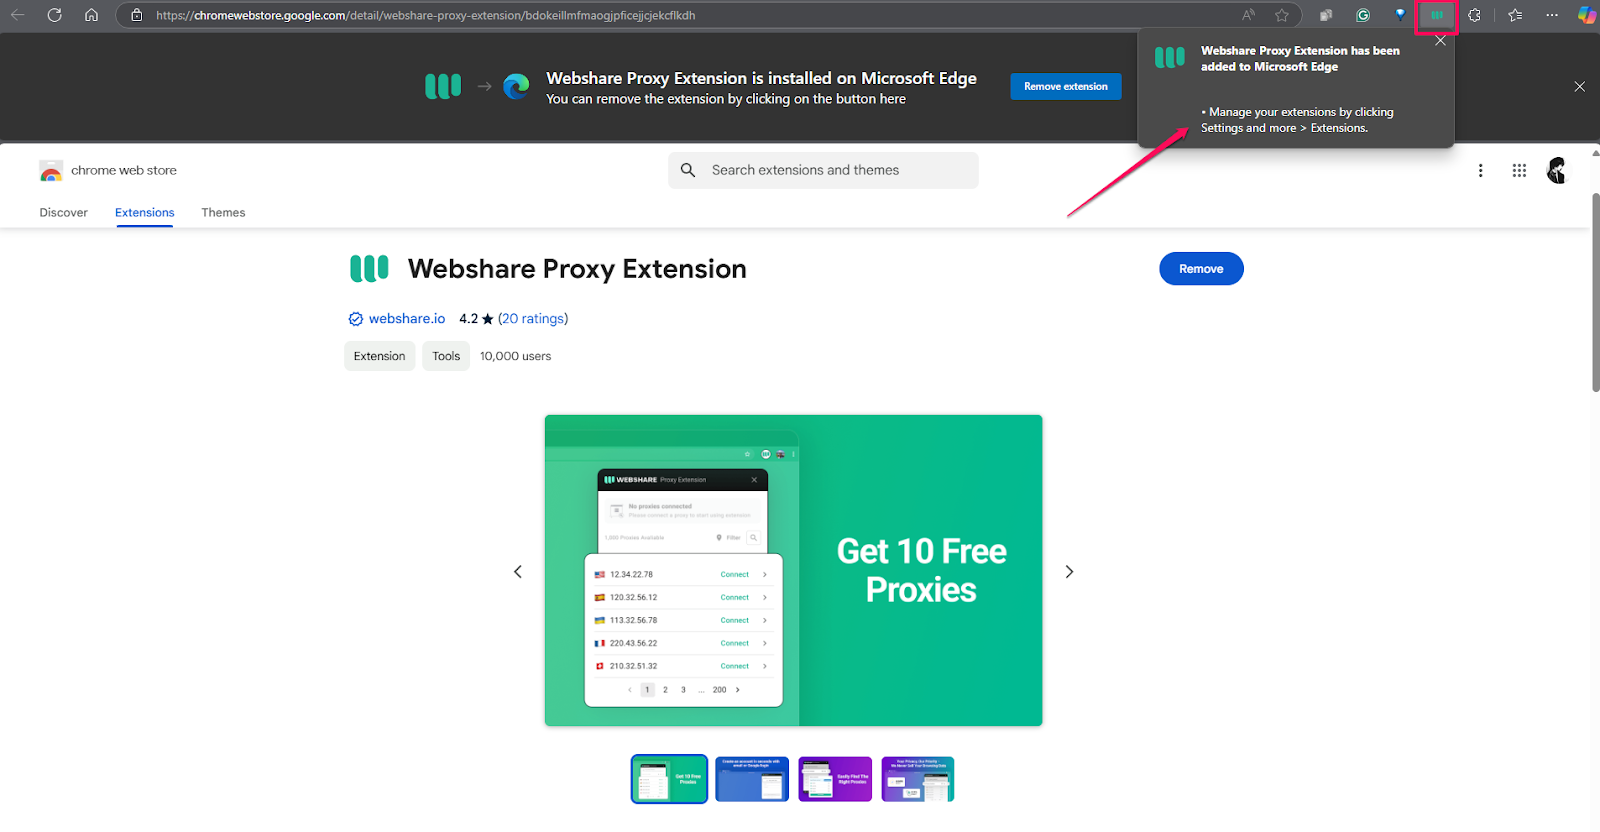
You’ll know you’re on the right page when you see the Webshare Proxy Extension header at the top of the page. Once here, select the blue Get button in the top right corner.

Once you press this button, the Webshare extension installation process will begin. The first stage shows a pop-up in your browser window outlining the permissions needed for it to work properly.
Then, you can click the Add extension button after confirming the permissions listed in the small pop-up.

The rest of the installation process doesn’t require interaction from here. You should be able to track the progress, by watching as the extension files are downloaded and installed. This should only take a few seconds, and you’ll know it’s successful when the Webshare widget icon appears on your address bar.
Step 2: Connect to Proxy
Now, click on the Webshare icon on your address bar. If you don’t immediately spot it next to your other extensions, it might be in your extensions or plugins list. Access that, and click on the little icon.
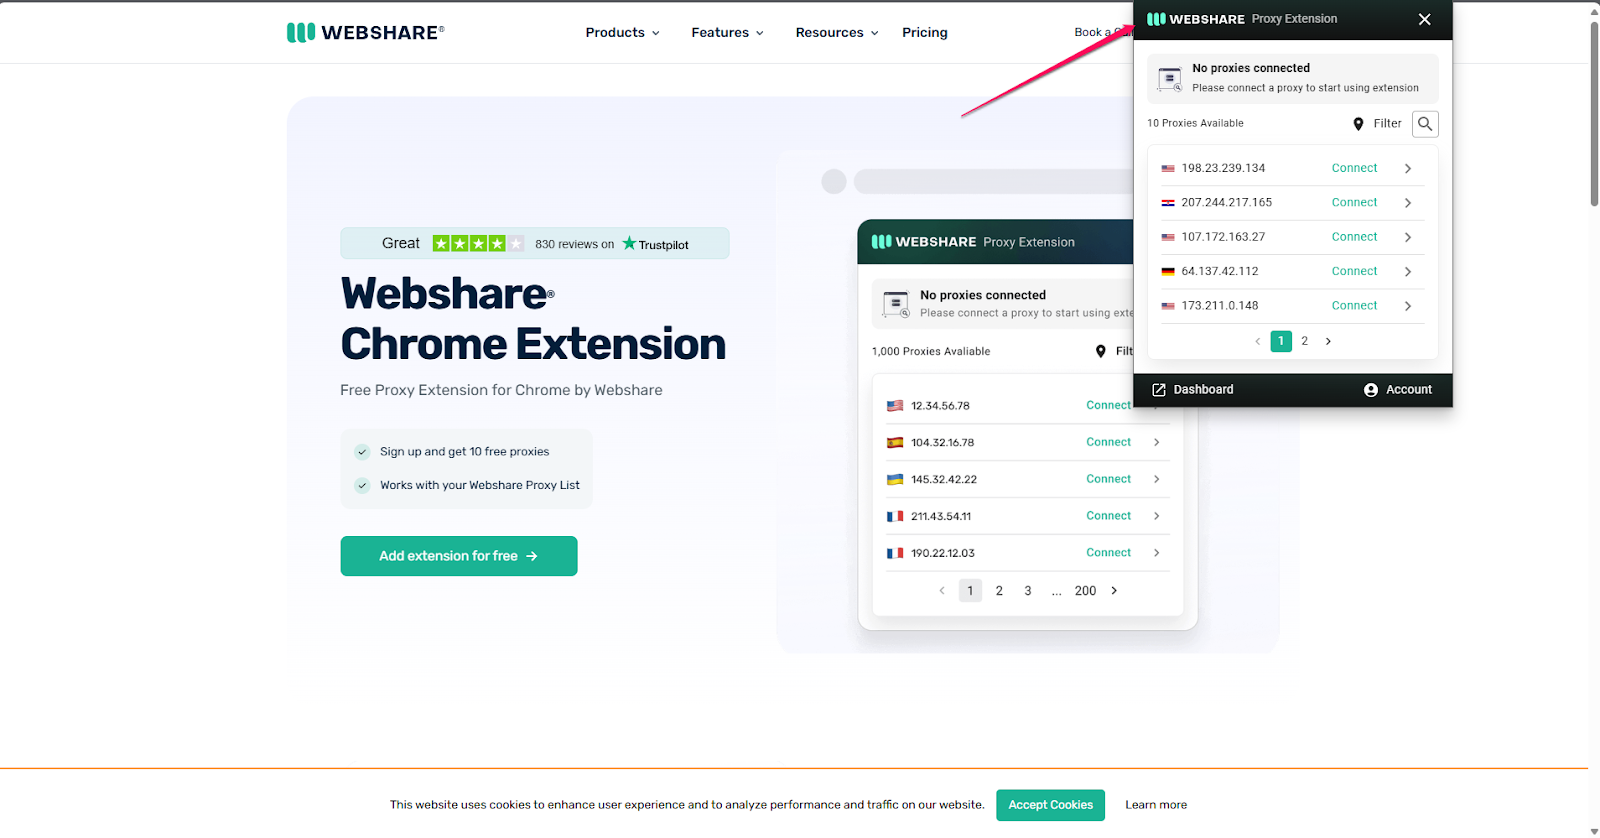
At this point, you should be able to reap the rewards of creating a Webshare account. Where your extension panel would ordinarily be empty, you should notice ten free proxies tied to your account. These proxies cut across different locations worldwide.
Any of them should do just fine for helping you reconnect to YouTube, but it might be wiser to choose a proxy location that is very close to your actual location. However, if you want to interact with content from other parts of the world, select those locations accordingly.
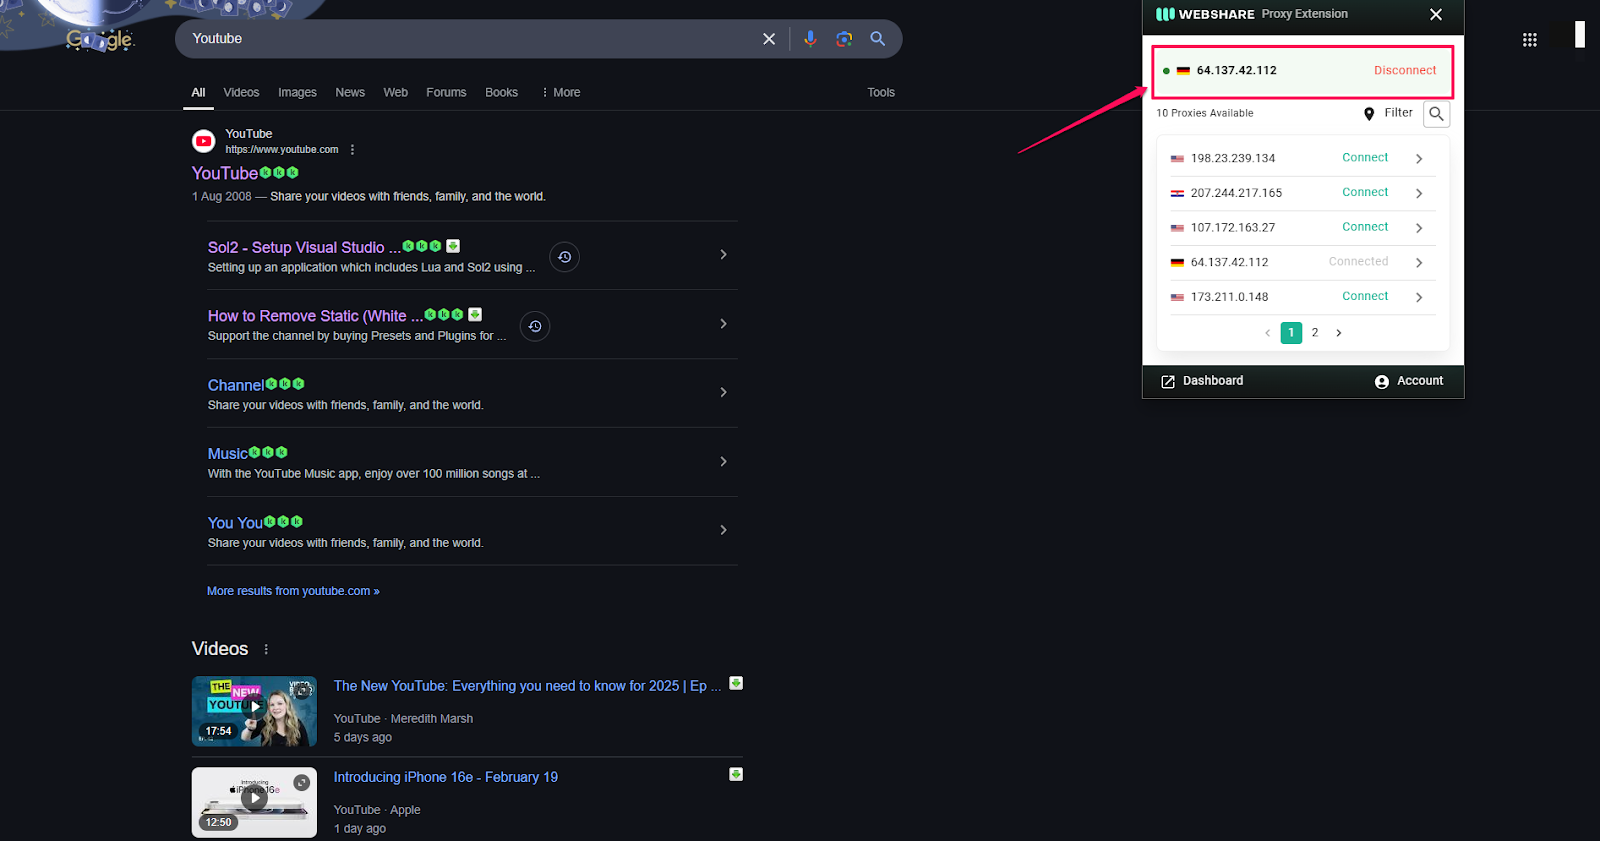
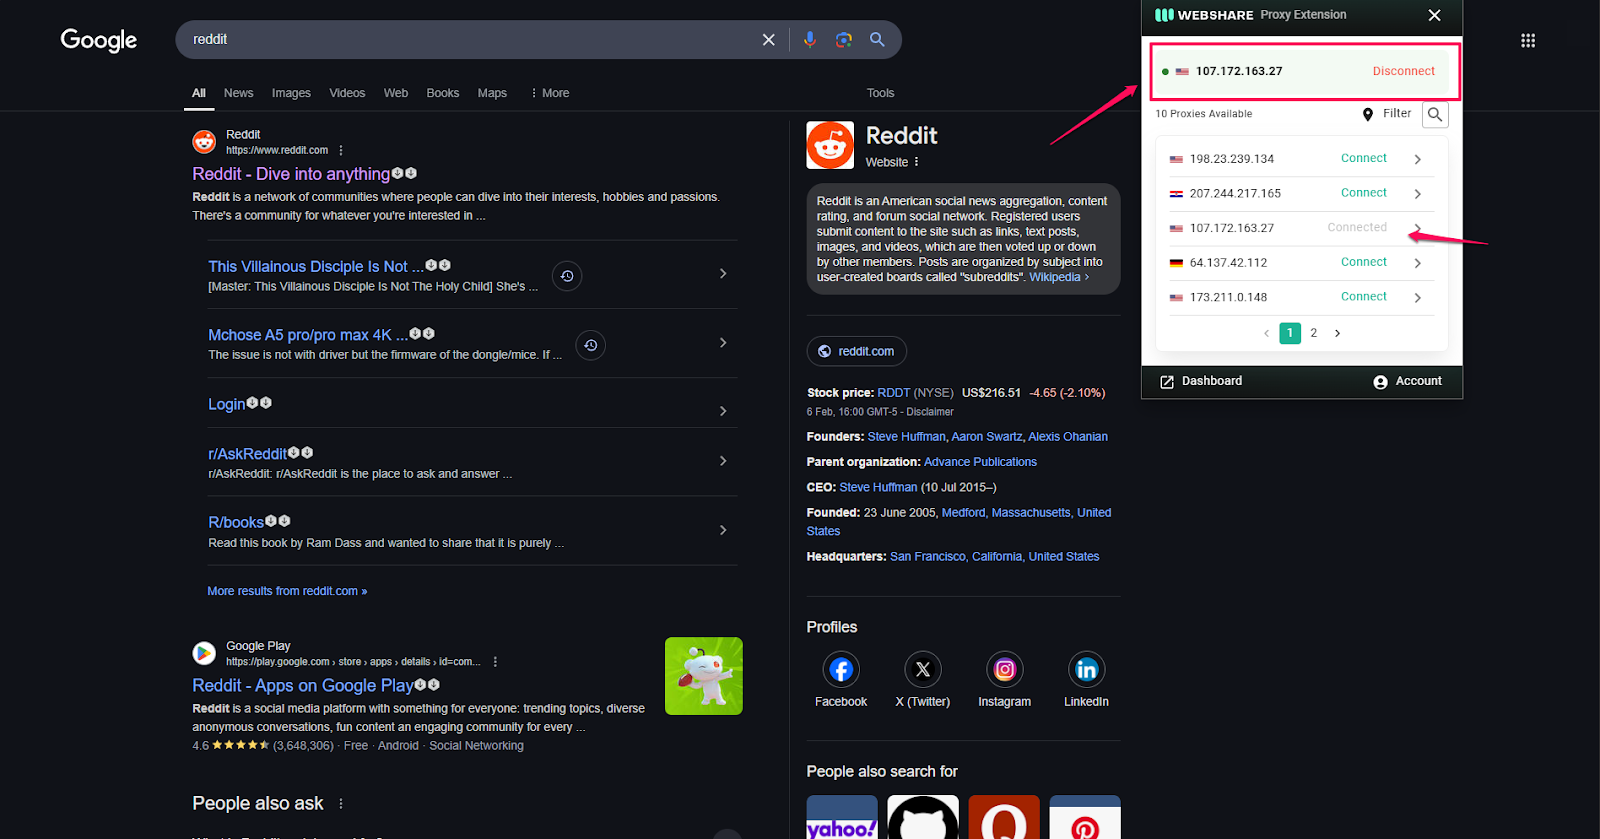
Once you’re clear on the proxy address to use, select the light green Connect button next to it. You’ll know you’re successfully connected when the button greys out and the address is pushed to the top of the widget. A green indicator should also appear next to it.
Step 3: Go to YouTube Website
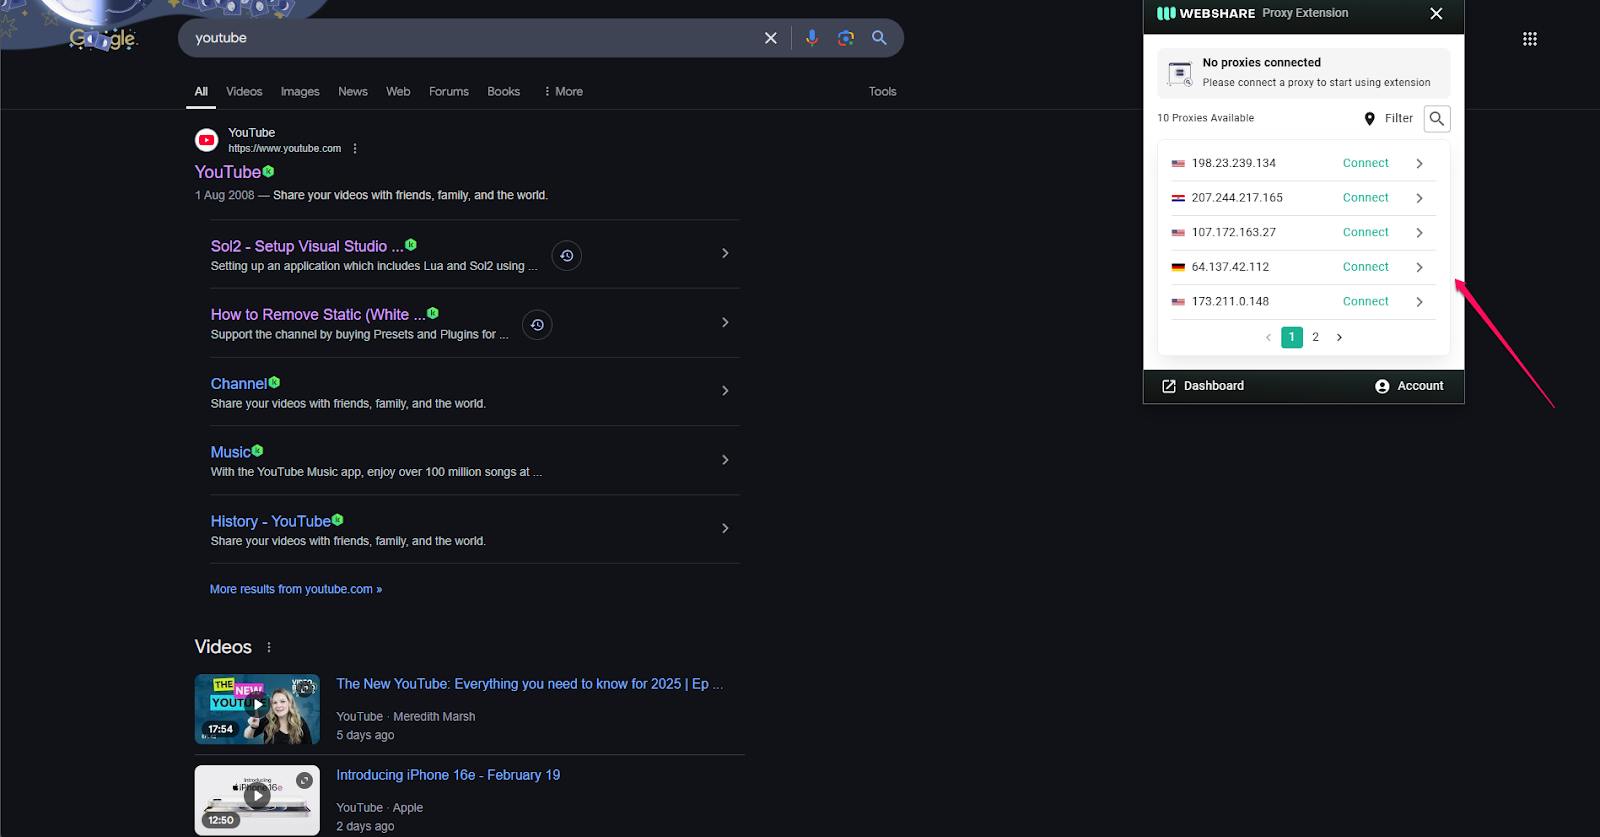
With a working proxy address in your back pocket, you can now try connecting to YouTube. You can visit the platform by searching for it, or entering the address directly into your search bar.
However, ensure you are connected to your chosen proxy address before venturing to YouTube.
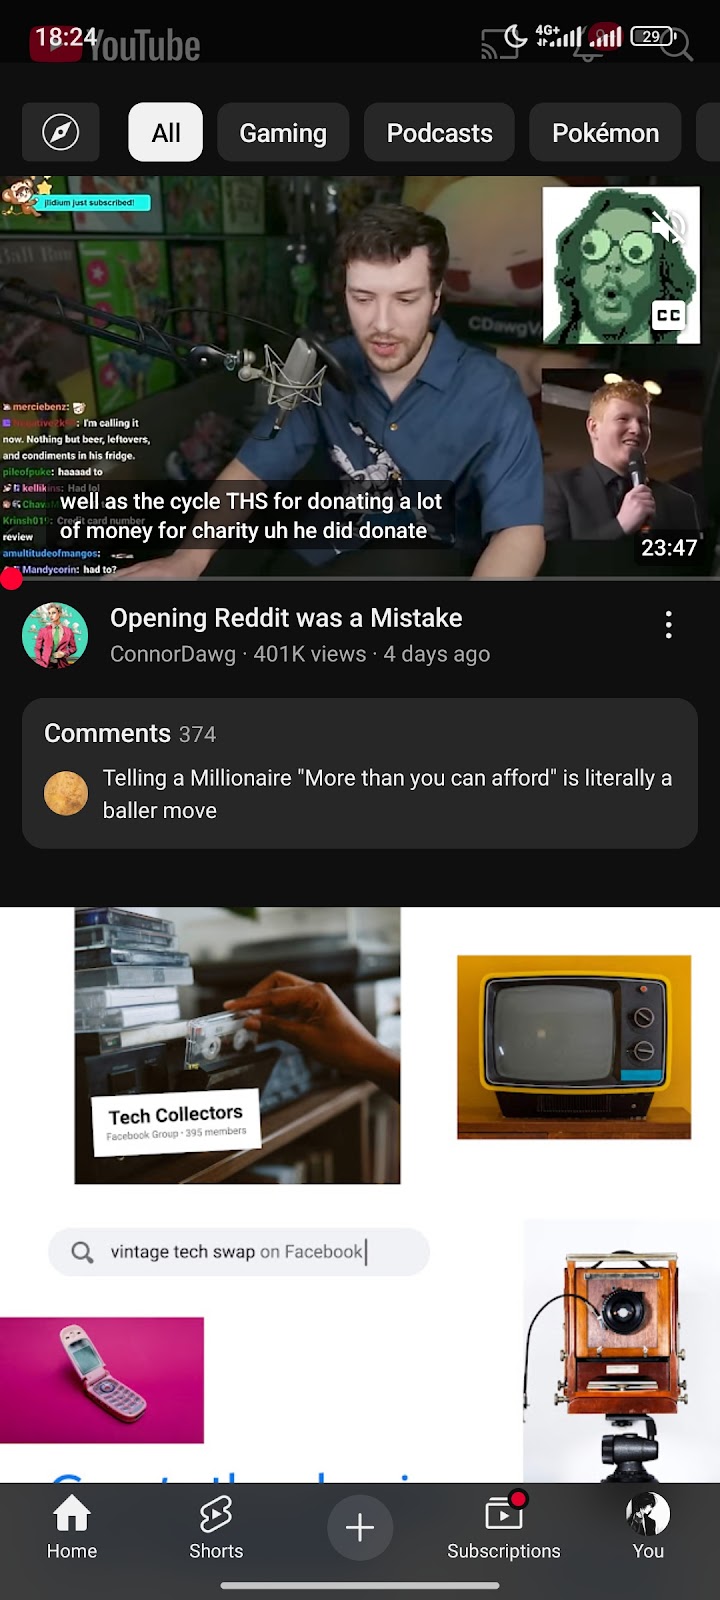
As long as you didn’t make mistakes with the setup and you have confirmed your connection to one of the proxies on your list, you should now be able to access YouTube without problems. You are now free to either make a new account or watch your favorite videos unbothered by bans.

YouTube Proxy for Windows
If you want to use the proxy with a different browser, then the process will be a little different. Fortunately, you can also set this up on Windows to cut across all your web sessions. Here’s how to pull it off:
Step 1: Secure Your Proxy Details
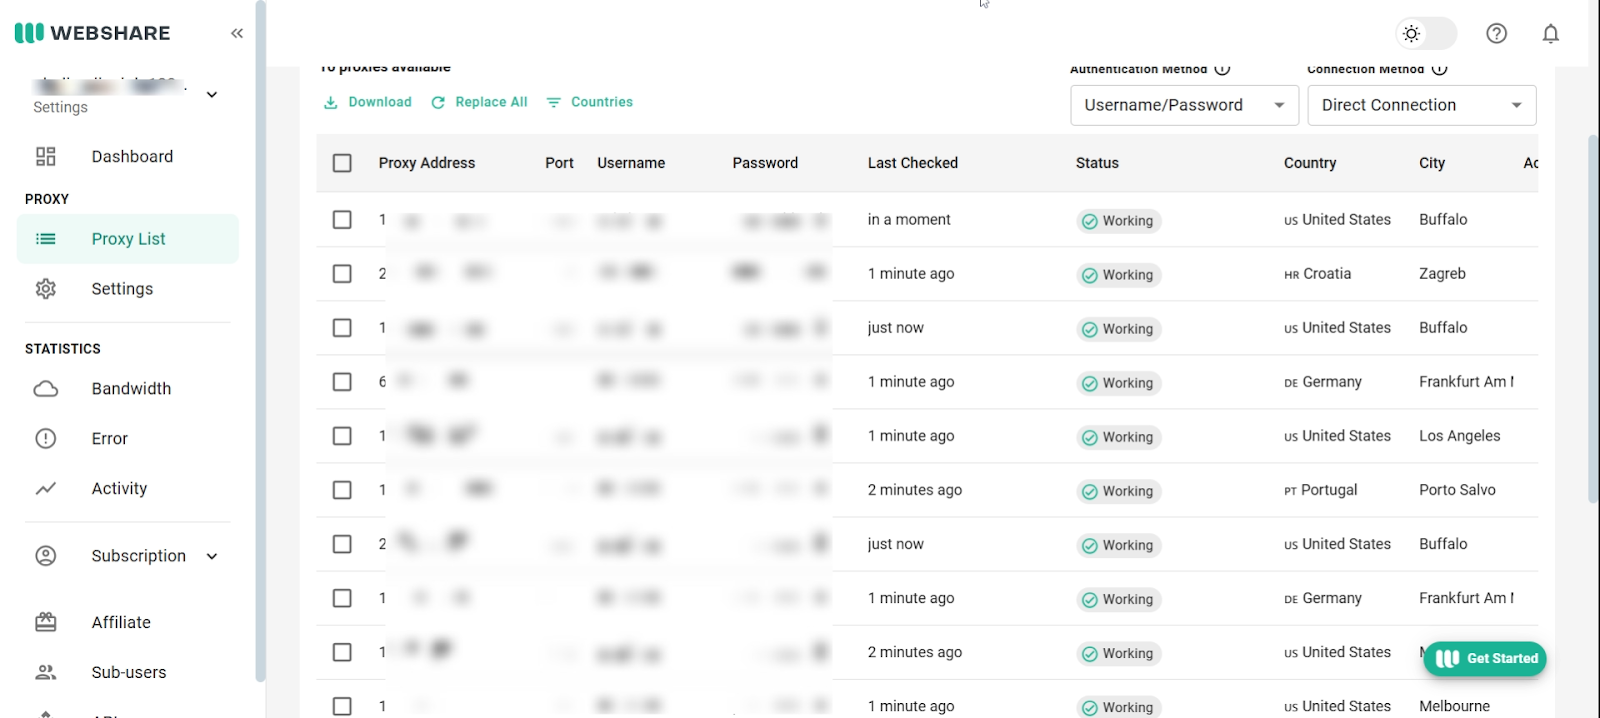
Setting up a proxy on Windows is still pretty straightforward, but it is not as easy or convenient. You should secure details related to your proxy addresses before starting the process. You can retrieve this information by visiting your Webshare dashboard.
Step 2: Manually Connect to Proxy
To manually set up a proxy, head over to the Network & internet section of your settings page. Then, ensure that the Automatically detect setting is toggled off.
Now, turn your attention to the bottom half of the Proxy menu in your Windows settings. You should notice a Manual proxy setup section.
The details you saved from your Webshare dashboard will be relevant to this section. Click the Setup button in the Use a proxy server tab.
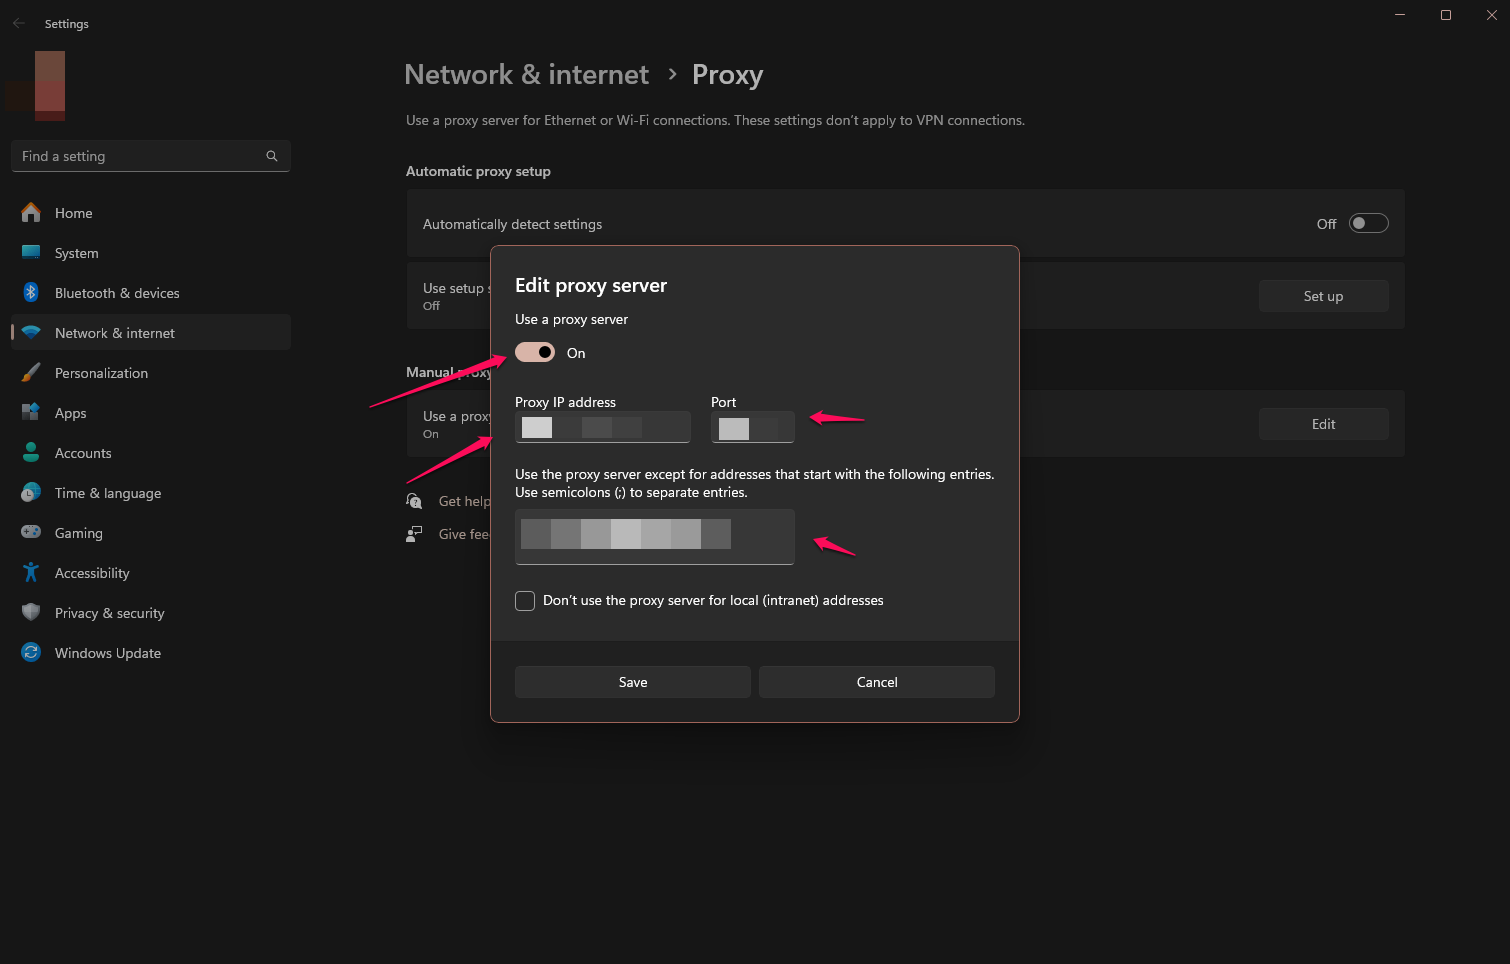
Enter and double-check each detail, then hit the Save button to connect to the proxy address and return to your browsing session. You should now be able to access YouTube, bypassing the block.
YouTube Proxy for Android
Android devices have varying interfaces, but share similarities in settings. So, while setting up a proxy might differ based on your device, there should be some overlap. Here’s what to do.
Step 1: Head Over To Your Wi-Fi Settings
Look for the network or Wi-Fi settings on your device. It should be on the home screen of your settings, or you can look for it using the search bar.
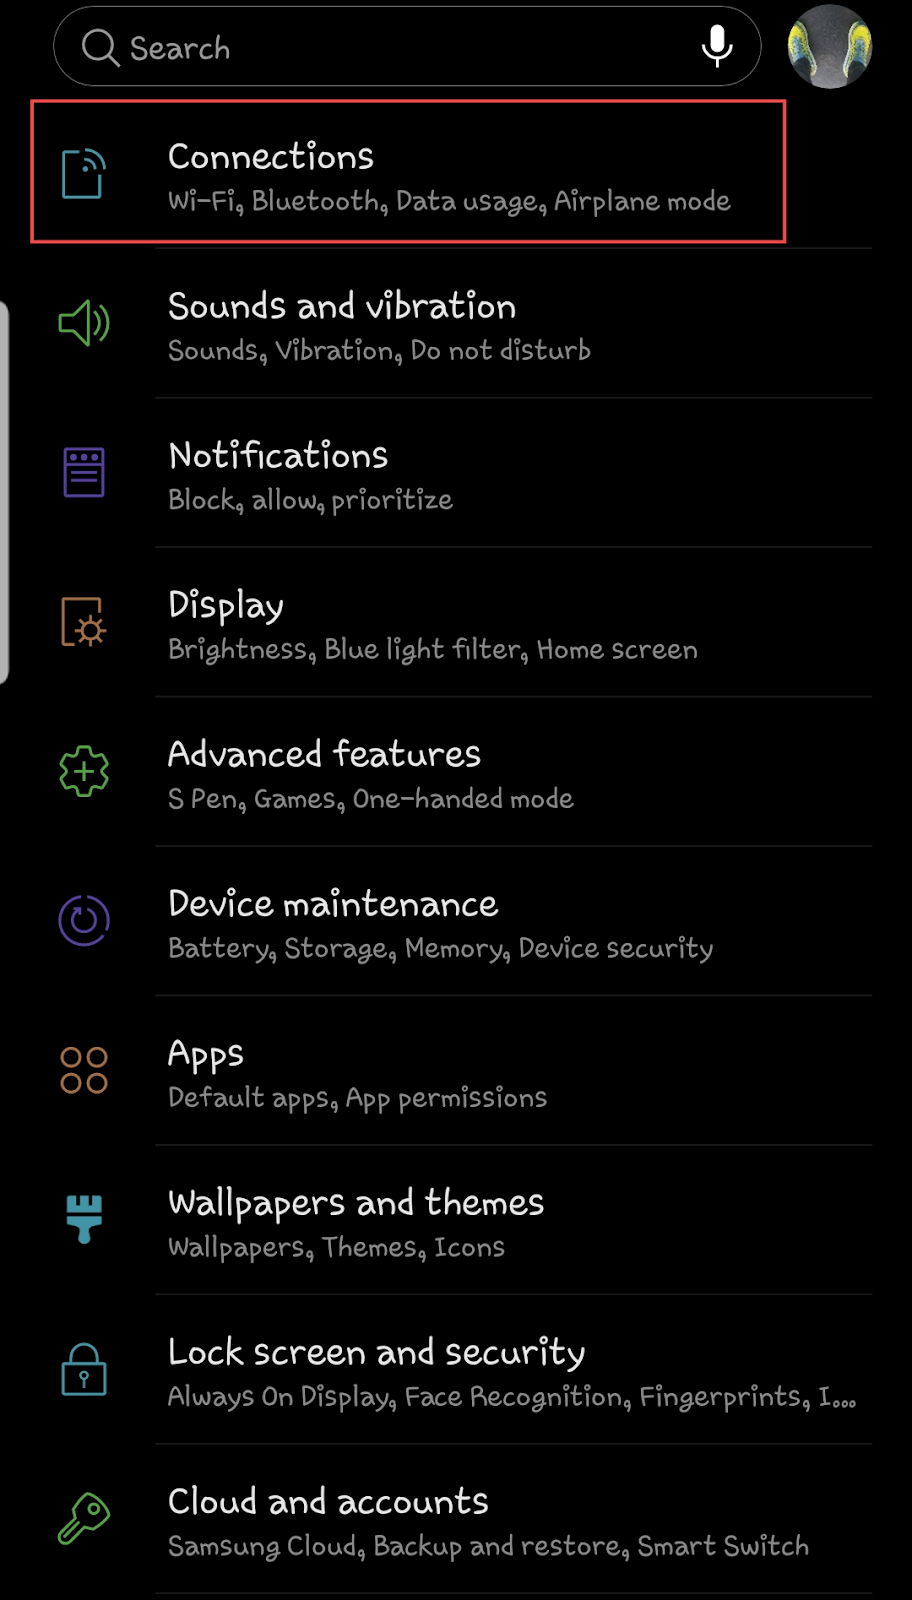
You might not immediately find proxy related settings in the network tab. Instead, try to find advanced network settings.

Step 2: Configure Your Proxy
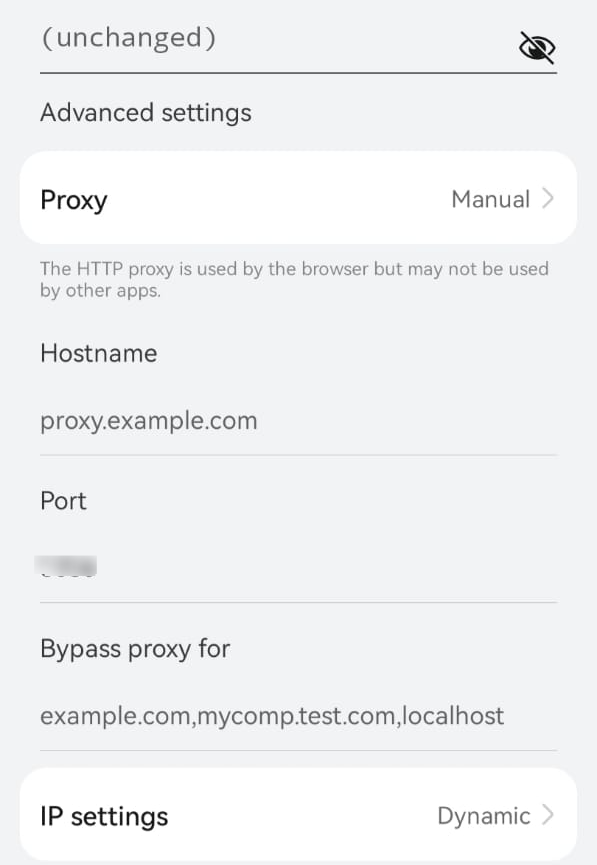
Once you find your proxy option, click it and wait for a prompt to pop-up. You’ll be given a few options, but choose the Manual setup to leverage your Webshare proxy.

Once you choose this, you’ll be directed to a new page with fields that accept all of the information from the Webshare dashboard.
Step 3: Verify Your Proxy
Next, you will be prompted to enter the username and password associated with the proxy you entered. This extra step helps confirm that you have permission to use the proxy details you entered.
This information is also provided on the Webshare dashboard. Once you’re connected, you can use YouTube as needed.
How to Test a YouTube Proxy
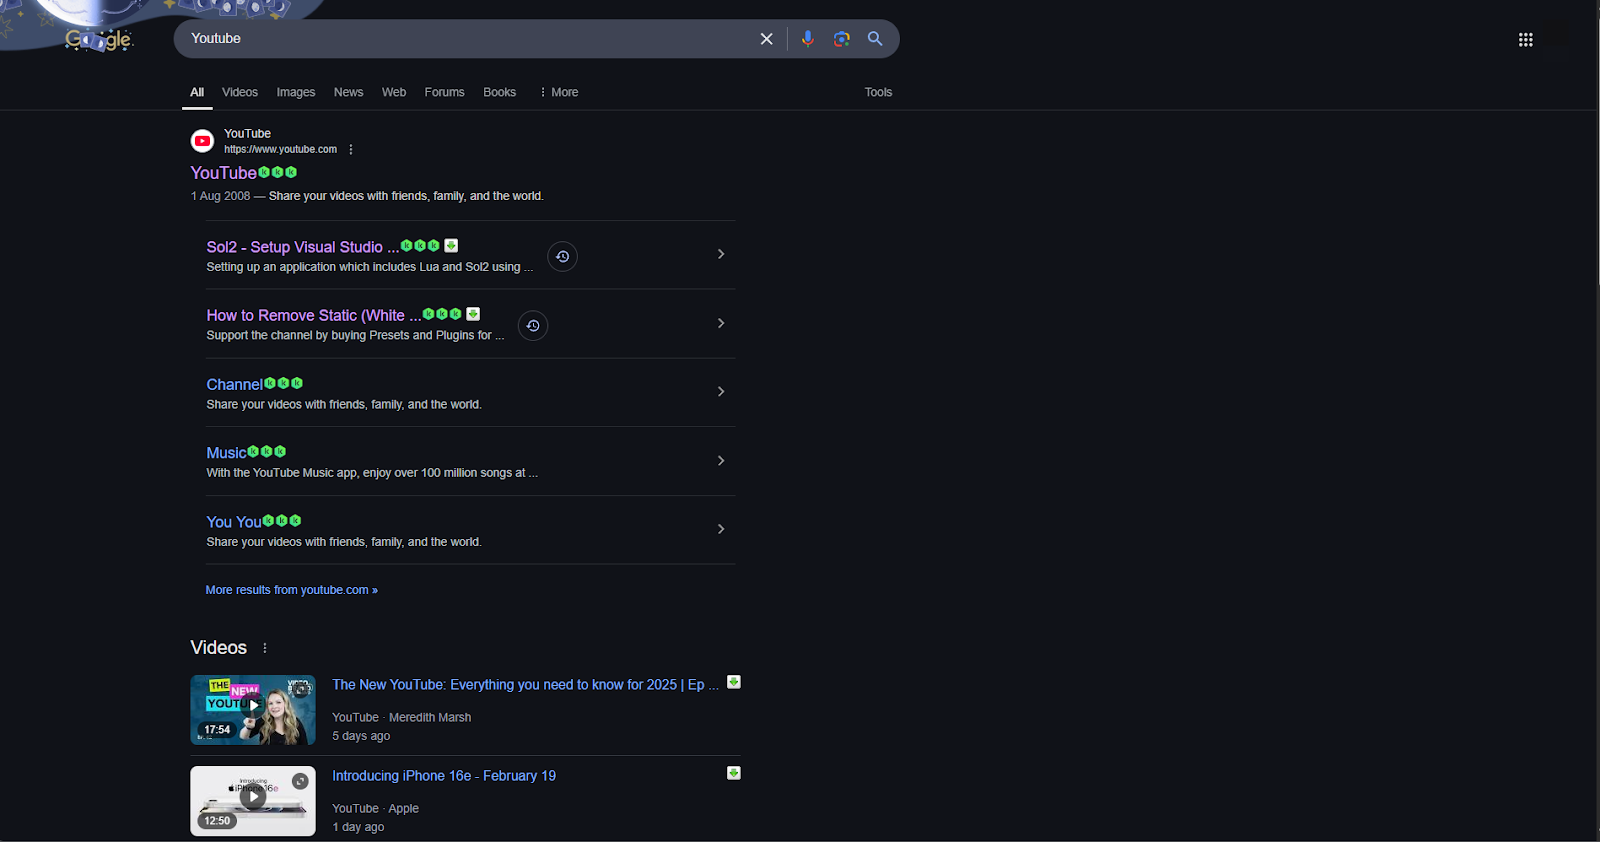
The goal of this guide was to help you regain access to YouTube using a proxy. You should be able to do this now, as long as you’ve followed the steps outlined above. However, testing your connection before diving onto YouTube might be worth it.
If you installed the Webshare extension on your browser, you’ll know you’re connected when you see a green indicator beside your chosen proxy address. You can also test this further by logging onto geo-unique web pages like Google that show content specific to whatever region you’ve connected to.
How to Turn Off a YouTube Proxy
So far, this guide has highlighted three unique ways to connect to a proxy. If you’ve been following along, you’ve either tried to connect to a proxy on your Chrome browser, Android device, or Windows computer.
However, you might not need a proxy for some specific instances. In those cases, here’s how you can turn off a YouTube proxy.
For Chrome
The Chrome extension makes disconnecting and connecting to any of the proxies on your list as easy as clicking a button. Remember that the proxy you connect to is sent to the top of the Webshare widget menu. You’ll notice a Disconnect button to the right of it in a red font. Click that button whenever you’re done, and the connection will be broken.
For Windows
When setting up your proxy in Windows, you must enter details related to the address in the manual menu. Return to the manual settings to toggle off this connection and clear your proxy details.
Once you’ve toggled Use a proxy server off, click save to sever the proxy connection. Note that you can always re-establish the connection when you need to.

What is the Best Proxy to Use With YouTube
There are a wide variety of proxy services available online, differing based on price and capability. The best proxy to use with YouTube could depend on how much you can pay for this service.
Ultimately, Webshare is a great starting point, especially if you’ve never used a proxy service. This is because you get 10 free proxies to try without needing a credit card, allowing you to fully test out the service before committing financially.
Conclusion
YouTube is an excellent streaming service, especially as more creators find their way to the platform. However, Google reserves the right to deny users access if they feel that the terms of service have been violated.
Thankfully, you don’t need to let this interrupt your favorite shows and creators. If you apply the methods explained and connect through a proxy, you can pick up where you left off with your last video. Happy watching!


