Get 10 Free Proxies For ZennoPoster
ZennoPoster is an automation tool widely used for web scraping, SEO campaigns, and repetitive online tasks. However, with great automation power comes the need for privacy and security. That’s where proxies come into play. This article will walk you through everything you need to know about setting up proxies in ZennoPoster. We’ll also introduce you to Webshare’s free proxy starter offer, which provides 10 free proxies to get you started at no cost.
What is ZennoPoster?
ZennoPoster is an automation tool that simplifies repetitive online tasks and makes it a valuable solution for businesses, developers, and digital marketers. Its primary capability lies in mimicking human actions in a browser or even simulating the efforts of an entire team in its Pro version. With ZennoPoster, tasks such as web scraping, data entry, and account management are no longer time-consuming manual processes. Instead, they can be automated, optimized, and scaled efficiently.
What is a Proxy in ZennoPoster?
A proxy in ZennoPoster is an intermediary server that routes your internet requests through its own IP address. It will help to mask your identity and protect your primary IP. Proxies are essential for tasks like web scraping, account creation, and SEO automation, where repeated actions from the same IP could lead to bans or restrictions.
ZennoPoster supports various proxy types, such as HTTP, HTTPS, and SOCKS5, with SOCKS5 being the most suitable for speed and security.
How to get proxies for ZennoPoster? Free starter
When setting up proxies for ZennoPoster, finding a reliable and cost-effective proxy provider is key. Webshare stands out by offering a free proxy starter plan, which is perfect for beginners or those testing automation tools like ZennoPoster.
How to claim your free proxies?
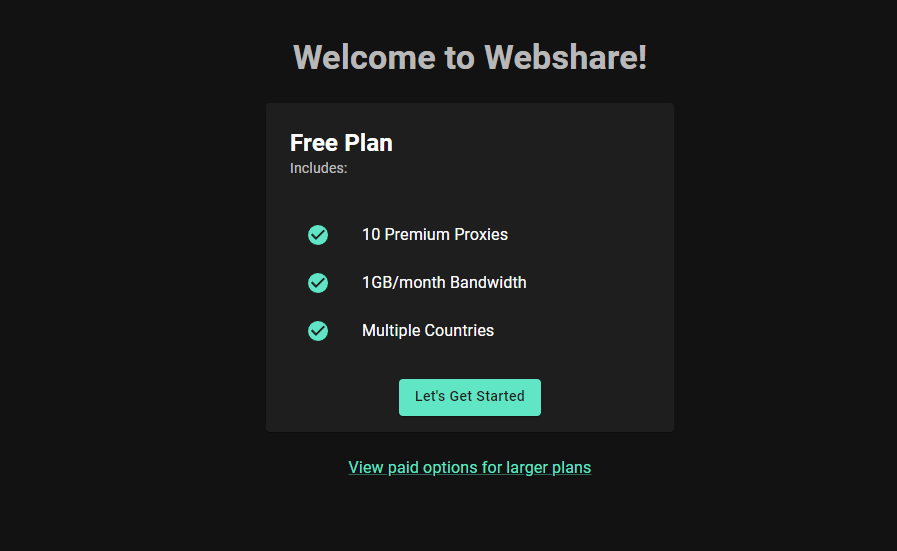
- Visit the Webshare's free proxy page.
- Create a free account.
- Retrieve your proxy credentials, including IPs, ports, usernames, and passwords.
Once you have your free proxies, you’re ready to configure them in ZennoPoster and start automating tasks securely.
ZennoPoster currently has 2 offerings. The first one is a demo version which has limited features and a professional version. The professional version will have unlimited threads, the ability to install it into 3 machines, maximum proxy checker speed and club support. There is also good news since they are having a New Year Sale for which the pro version’s price will be reduced from $37 to just $3 per month.
How to set up a Proxy server with ZennoPoster?
Follow the instructions given below to set up a proxy server with ZennoPoster successfully.
1. Download ZennoPoster
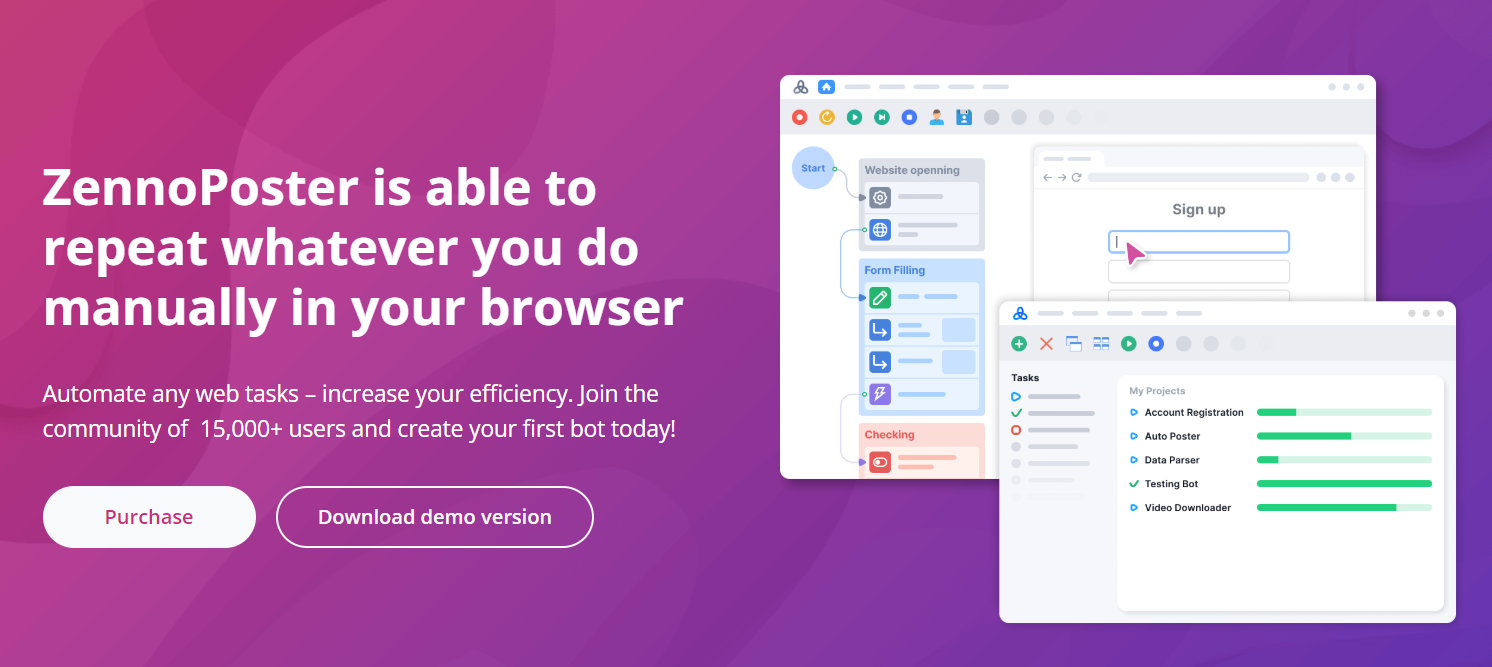
The first thing on your list of to-do’s is to download the setup file onto your computer. If this is your first time working with proxies, you should probably stick to the demo version. Just go to ZennoPoster’s landing page and click on the “Download demo” option. They will ask you a bunch of questions regarding why you want to use their product. At the end, you will receive a download link to your email. Use this link to download the setup file onto your computer.
Once you click on the setup file, you will be prompted to accept their terms and install the application. Once you open the app, there is a small tutorial session which will help you get familiar with the interface.
2. Create a new project
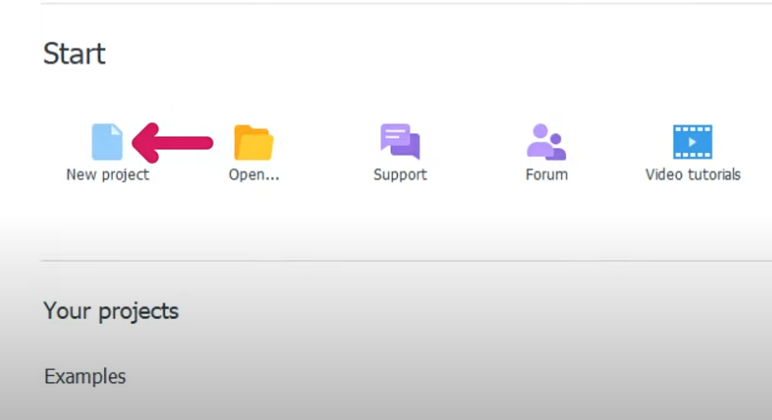
First, click on the “New Project” icon on the start menu. You will now see a graphical representation of the process with a start circle. Right-click on the screen next to the start circle, select “Add action”> “Browse”>” Settings”.
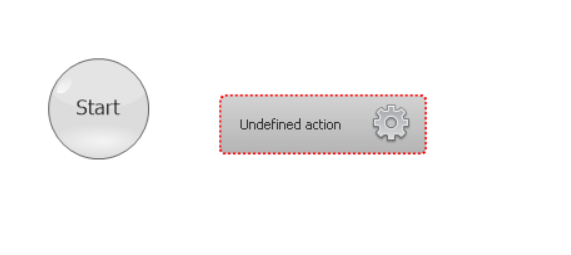
Now an undefined action box will appear on the screen. Click on this box. Scroll down to find the action properties tab. Click on the “select action” dropdown, look through the list and select “set proxy”.
3. Fill out your Proxy settings
Once you select the “set proxy” option, an input field will appear. You have to enter your proxy details here. Now remember what we did in the “Before Starting” section of this article. Log in to your Webshare account and select the proxy list page to view the 10 proxies that you received for free.
Now simply check their country and city before selecting one. After you have chosen one, just copy the proxy details from the Webshare page onto the input field in the ZennoPoster application. Note that the proxy details must be given in the format below.
Username: Password: Separator: Address: Port
Eg: username: password@69.193.541.132: 4050

4. Connect the elements

After you complete the above step, you must connect the start circle and the “set proxy” action box. You can do this by clicking on the circle and dragging your mouse to the action box.
Now, go to the top and hit the restart button on the top-left corner of the page. You will see a pop-up window asking whether you want to run the project from the beginning. Select “Yes, step by step” and finally save the project on your computer.
How to test a proxy connection on ZennoPoster?
ZennoPoster also gives you the option to test out the proxy server connection that you configured. Right-click on the action box and select “add action”> “Tabs” > “Go to page”. Another box will appear with an internet symbol. Drag this box to the “set proxy” action box and see that they link.
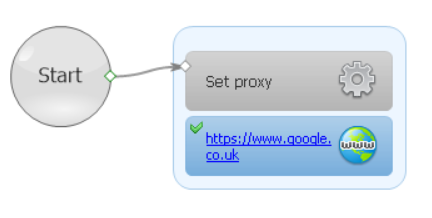
Click on the new box and scroll down to action properties. In the URL input field, you can enter any working URL like https://www.google.co.uk/. Now just go to the top of the application and select the play button. If the connection is successful, green tick marks will appear on the action boxes and the page associated with the URL you entered will load up on the right side of the application. Additionally, you will get a project success message at the bottom of the screen.
How to set up a residential proxy with ZennoPoster?
Residential proxies are ideal for tasks requiring high trust and authenticity, as they use IPs associated with real devices. Before setting up residential proxies, we must obtain the credentials of these proxies. So head on over to Webshare. Here you can purchase the type of residential proxy you require.
There are 3 methods from which you could set up a residential proxy with Webshare. You can use a direct connection, a rotating proxy endpoint or a backbone connection. Once you’ve obtained the credentials relating to a proxy, you can use it with ZennoPoster in the same way we set up a normal proxy server in the previous section of the article. The only change you have to implement is the proxy details you add in the action properties tab of the “set proxy” action box.
How to turn off the proxy on ZennoPoster?
To turn off the proxy simply click the stop icon found on the top of your screen. Once you’ve done that you will be browsing the net with your normal IP address again.
What are the best proxies to use on ZennoPoster?
The best proxies for ZennoPoster depend on your tasks. SOCKS5 proxies, known for their speed and security, are perfect for most automation tasks commonly used in ZennoPoster. Residential proxies provide high trust and are excellent for bypassing geo-restrictions or accessing sensitive sites. For long-running tasks, rotating proxies guarantee continuous IP changes and minimize bans. Furthermore, reliable providers like Webshare give high-quality proxies for ZennoPoster workflows.
This wraps up our guide on setting up proxies with ZennoPoster. By now, you should have a solid understanding of how to browse securely and efficiently using proxies.
While most proxy providers require payment upfront, Webshare stands out by offering 10 free proxies without any credit card requirement. Take advantage of this opportunity by creating a free Webshare account and integrating these proxies with ZennoPoster to improve your automation experience.


